
Agony Al: Glowy Base Routine for Textured Skin

Make it stand out
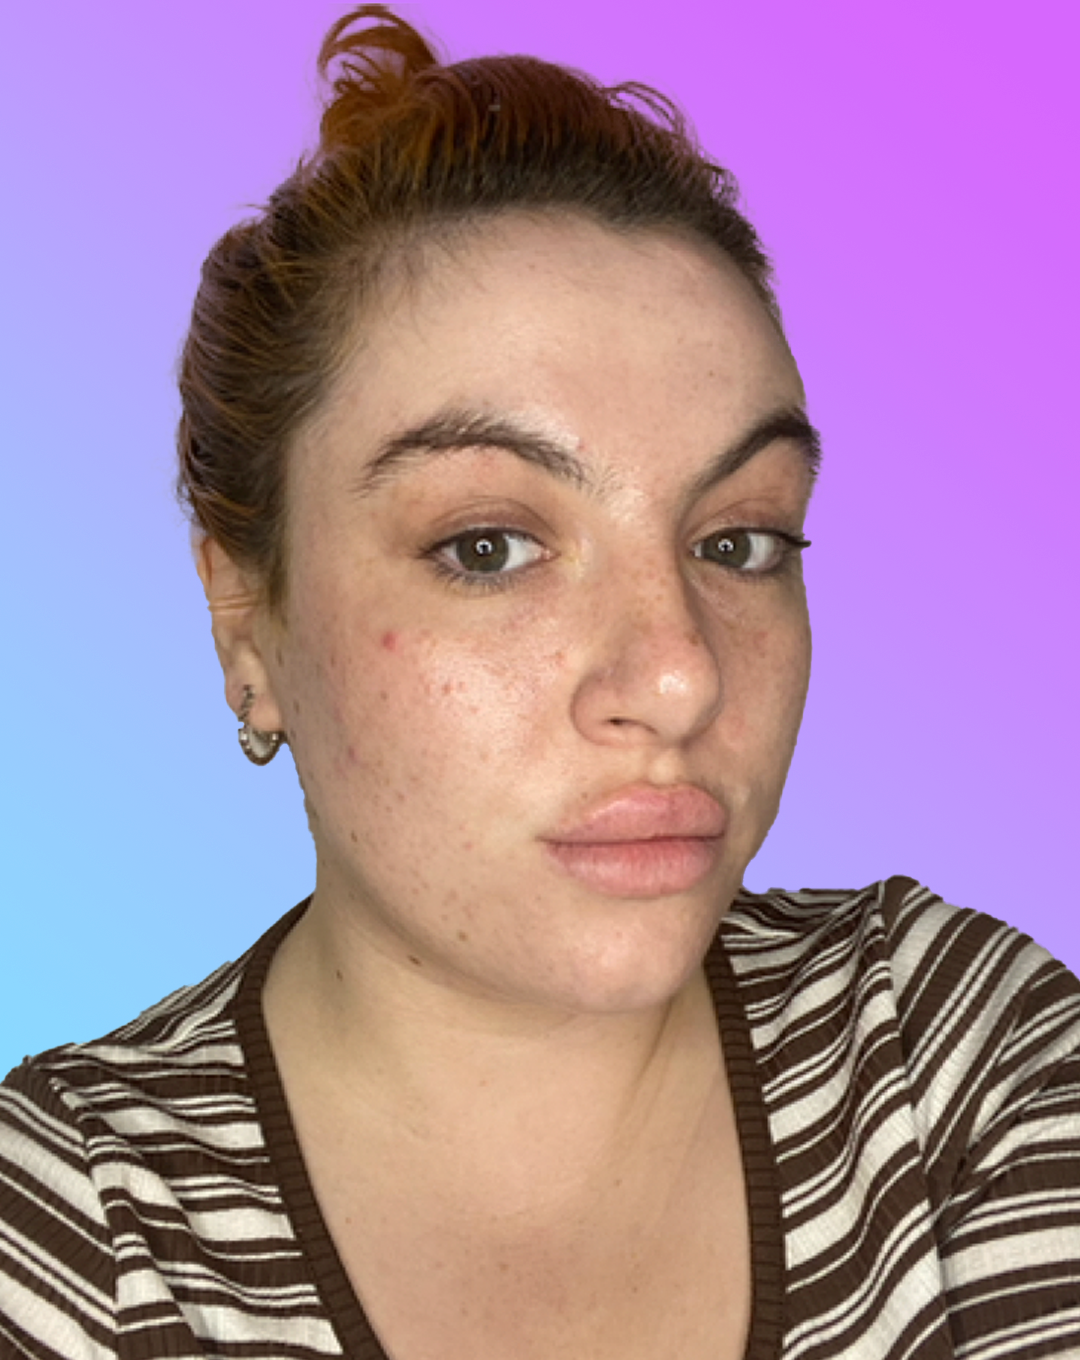
YOU ASKED: how can I get glowy, summer skin when I have spots and texture?
Maybe it’s how gross makeup can feel under a mask (but not with these tips hehe), maybe it’s because heavy makeup feels oppressive after a year inside and barefaced, or maybe a more minimal routine feels more financially viable in the current economic client: I wish I could time travel to boot the more-than-hourly-minimum-wage powder 2019 me baked my face with out of my wasteful hands! But in a post lockdown world, everything is getting lighter: our wallets, our tolerance for government nonsense and, most interesting to me, our base makeup. I’m a recovering full coverage foundation addict, but even I have found myself reaching for skin tints or forgoing foundation altogether. I have always struggled with acne and even though my skin is the best it’s ever been, it’s FAR from perfect. I’m currently going through a purging phase with my prescription retinol so I have the holy trinity of skin issues: redness, peeling AND spots.
Despite this, my inbox has been blowing up with questions about my current foundation! HUH? If, like me, you want to trick people into thinking you have a supermodel glow, don’t anxiously pick craters into ya visage and would never ignore your passive aggressive water drinking app’s notifications, here’s my fool proof, glowy base routine:
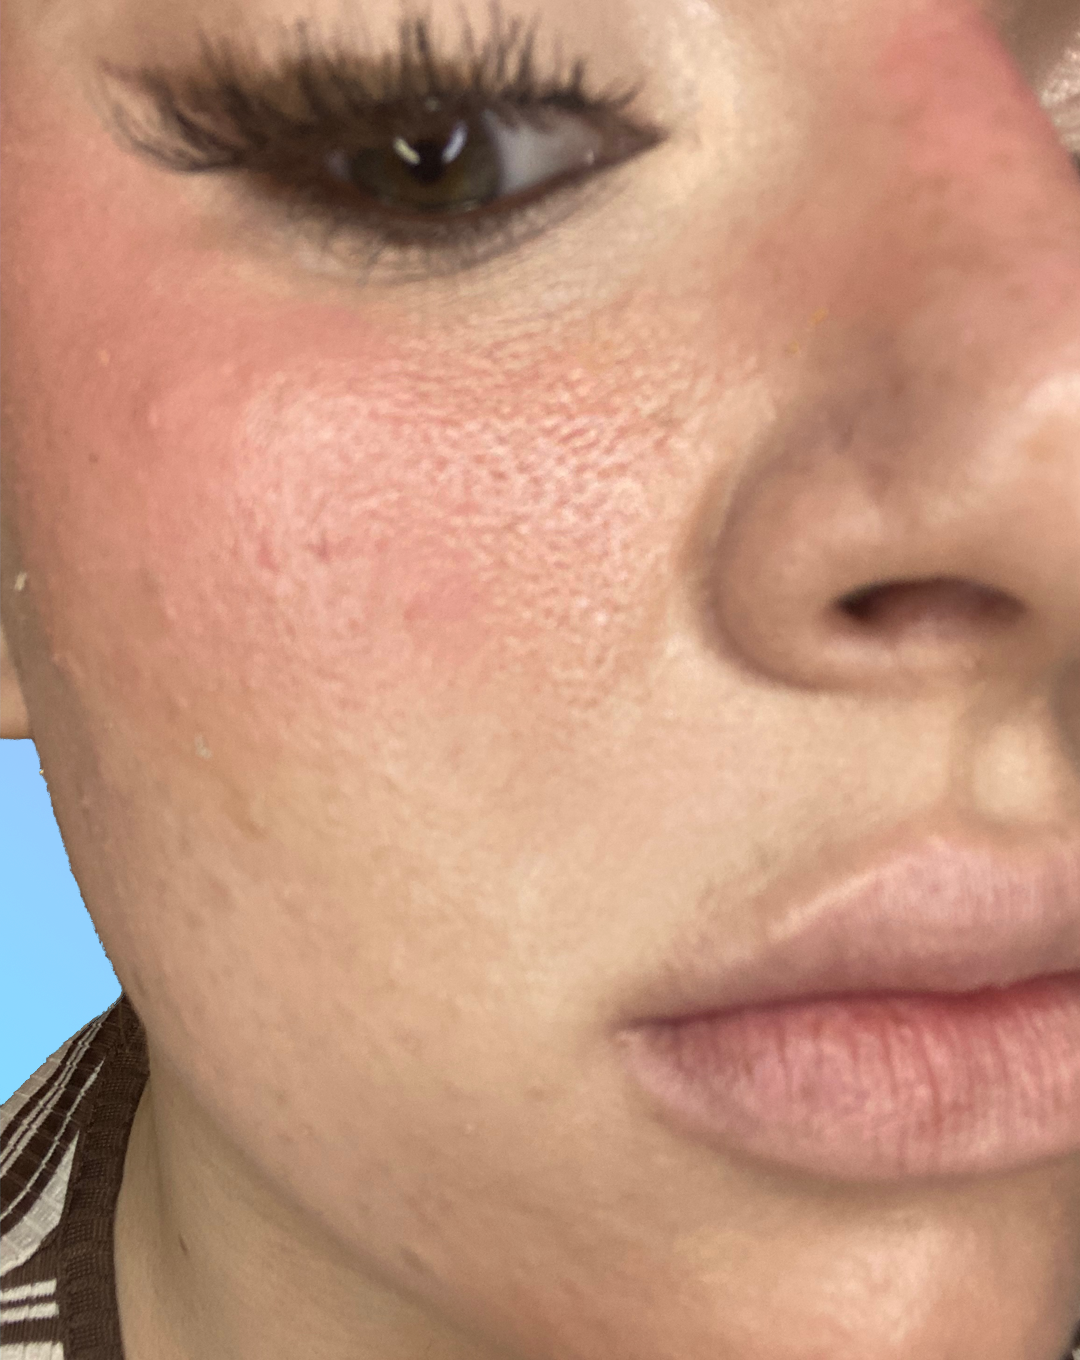
Contrary to what I’m trying to have the general public believe, my skin is not even close to perfect.
When you’re looking to glow, skin prep is extra important. I have dry and sensitive skin, so I always prep for makeup with a hydrating toner, serum and moisturiser. If you’re more oily, I recommend using products catered to your skin type, such as a balancing toner, then a gel based moisturiser. After your initial skin care has sunk in, it’s time for makeup application.
___STEADY_PAYWALL___
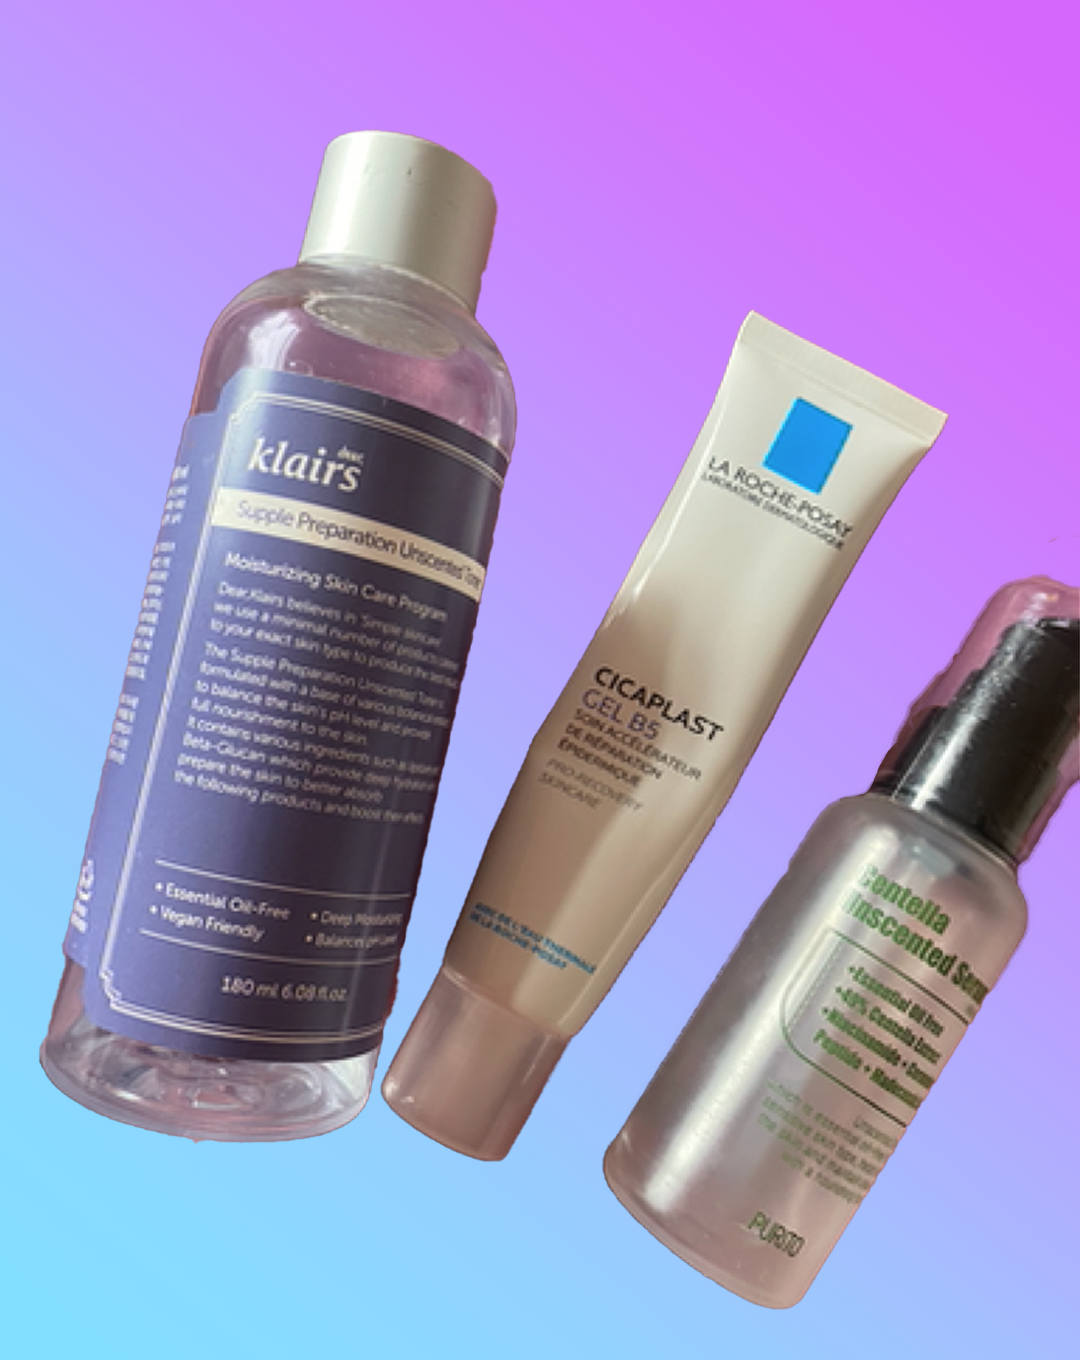
I use Klairs unscented toner, Purito Centella serum and La Roche Posay Gel Moisturiser.
Here’s where things take a little turn: I apply oil. All over. Regardless of skin type. This step is controversial and often has people in my makeup chair vibrating in doubt, but trust the process! Oil actually helps to regulate your skin, hydrating areas that need extra loving and telling oily areas to chill out and stop producing oil. This step is a really good way of finding out which bits of ya face need powdering too; drier areas will drink up any product, and you’ll notice your greasier areas will have excess product sitting on top.
While the oil is sitting, get to work on your eyes and brows. Today I’m going for a glowy, eye brightening shadow look, but this base routine will work with any look.
If you mention my roots, your skin will Never glow.
To amp up that lit from within, slept for over eight hours, live off kale and have never had a fizzy drink glow, my next step is to use a glowy primer or liquid illuminator. While it’s tempting to lather this all over, with textured skin and acne, you’ll have to think strategicall - anything with a shine or shimmer is going to emphasise lumps, pores and dry patches. I dot my illuminator on the centre of my forehead, the tops of my cheekbones, on the bridge of my nose, and the lower part of my chin.

I use Charlotte Tilbury’s Hollywood Flawless Filter, which annoyingly is as good as it is expensive. A budget option is Revlon’s SkinLights illuminator or Milani’s Complexion Enhancer.
Once you’re a sexy tin man, it’s time to tackle any imperfections. The logic behind erasing imperfections before applying foundation is that you’ll eventually have to go in with less product and less product equals less texture, less likelihood of it slipping and more of your juicy, hydrated skin glowing through the makeup.
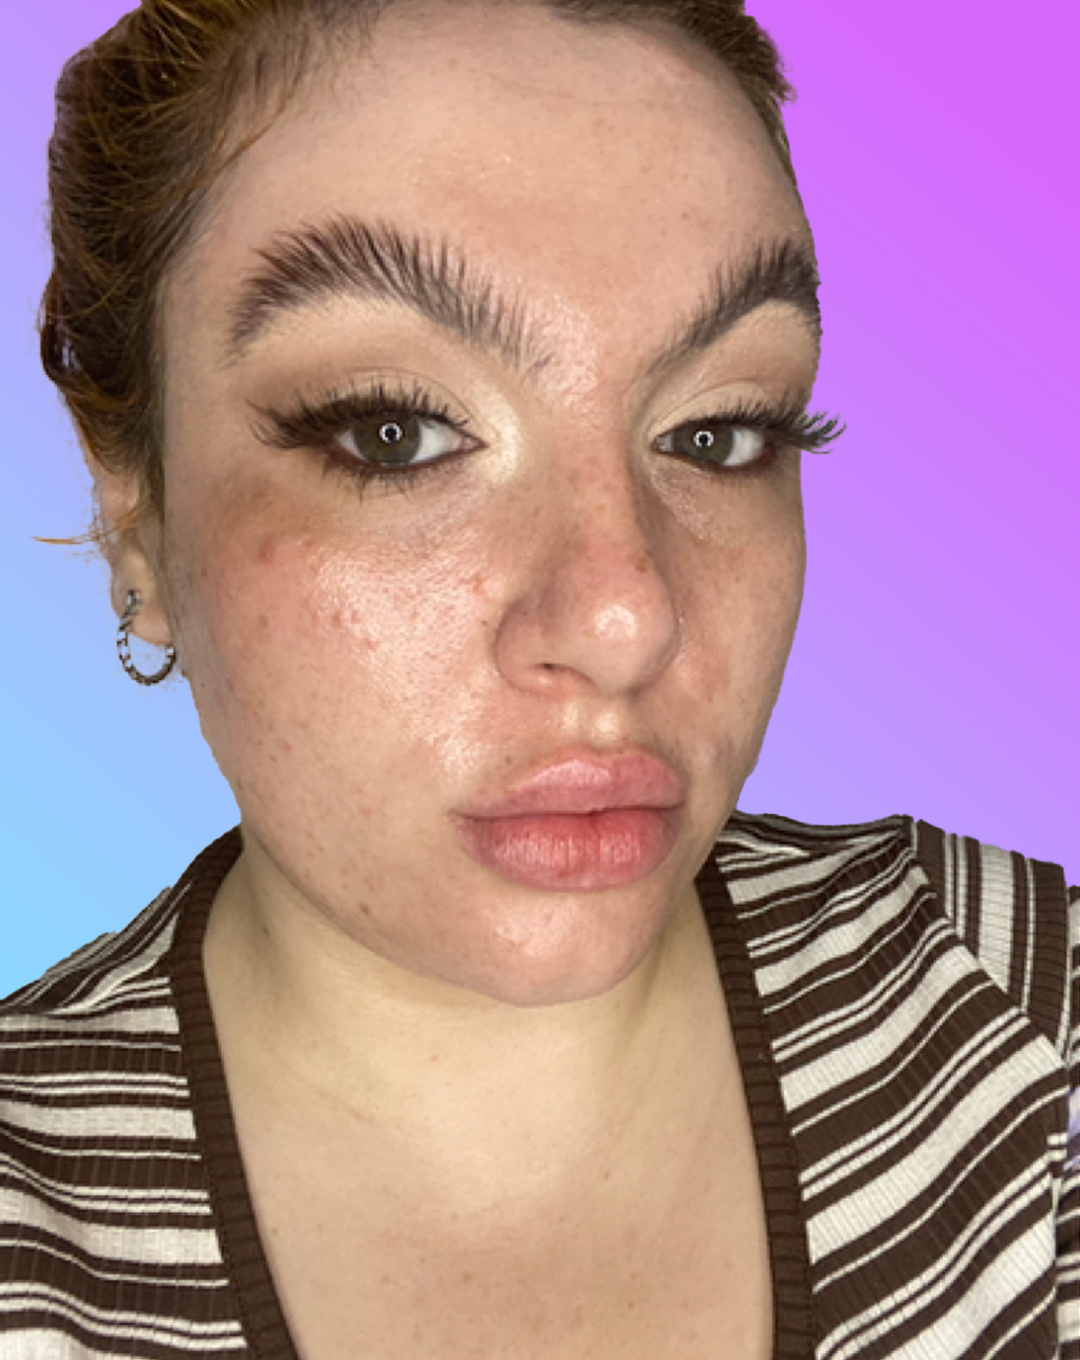
First, tackle any acne and hyperpigmentation. Using a matte concealer, take a very small amount and dot it on your blemishes. You don’t want to erase any of the hard work you’ve done getting your skin to glow with a heavy layer of matte concealer, but anything *but* a matte texture is going to emphasise spots, so using as little as possible is super important. I lay my concealer down with a teeny eyeliner brush, then buff out the edges using a sponge or a fluffy eyeshadow brush.

The left half of my face is the concealer applied, the right side shows the concealer blended.
After your spots are covered, turn your attention to your undereyes. Find the darkest area and concentrate your concealer here. You can go in with the matte concealer you used earlier, but as I am more dry skinned and pushing thirty, I like to go in with something more hydrating. As tempting as it is to draw on the bright white triangles of concealer, less is more with a glowy look, so once my darkness is covered, I either put the concealer away or apply a tiny bit to my outer eye in an upwards direction, trying to lift my face. You’ll notice I’m using a shade that’s a little lighter than my face, this is playing with shadow and highlight to bring the hollows under my eye forward.

I’ve used the Makeup Revolution Conceal and Hydrate concealer and tried not to take it any further down than necessary.
If you feel like your skin is looking gorgeous here, you can stop, but I now go in with a skin tint. Use a light coverage liquid to even out any discolouration and further blend the areas I’ve concealed. Adding a product all over is going to hide any textural inconsistencies like the matte concealer we used to cover our blemishes. I place my skin tint on the areas that need most coverage, then blend outwards. To avoid aggravating any peeling patches or dryness, try to tap over these areas, as opposed to swiping or buffing with your brush or sponge.
Very beige, VERY radiant.
Now the base is done, we’re going to add dimension and colour back in. For maximum radiance, opt for liquid and cream products. If you only have powder products, a glow enhancing hack is to swirl your brush into a powder highlighter before you dip it into your powder blush or bronzer.
Bronzer and blush placement is really personal, but to get a summer glow, I opt to add colour in the places the sun would naturally hit. For me, that’s the higher plane of my face: the sides of my forehead, across the bridge of my nose, the tops of my cheekbones and a little on my chin.

Twelve year old Alex read that sunburn is the sexiest thing a person can have, but melanoma isn’t sexy at all, so I emulate a sun ripened tomato by using A LOT of blusher.
At this stage in the makeup application, you’ll definitely be GLEAMING, but that glow may also extend to bits of your face you’d rather not highlight. Whether you want to tone down large pores, fine lines or dryness, I’ve got ya covered.
This is the most hashtag vulnerable I’ve ever been on the internet.
To tackle large pores, take clean, firm brush and dab and swirl over the area, ensuring that any product is pushed right in. Next, grab a setting powder and using the same firm brush, tap on your powder. You’re aiming to fill any hollows, so don’t be afraid to pack on the powder here. Once the product is laid down, you’re going to use a light hand to dust over with the brush and as if by magic, your pores should look minimised.

What’s a pore? I don’t know her.
In a lot of online tutorials, artists recommend setting under eye concealer the second it’s applied, but I like to allow the product to set down and move with the face so you can see where it’s likely to create and take action. Similar to how you erased your pores, you’re going to come at your lines with a clean brush, this time however, I recommend a more fluffy tool or a sponge.
Take the brush and pat it over the area; your aim is to get rid of any excess product that’s likely to settle into wrinkles and ruin the makeup’s healthy, youthful vibe. Once you’ve got rid of the creasing, use the same fluffy brush or sponge to fill the cracks in with a healthy amount of powder; the fluffy brush will blend as you apply, allowing you to get powder on without it looking cakey.

God bless setting powder.
If, like me, you are devoid of moisture, you might have annoying patches of peeling skin. In my years as a makeup artist, and in my personal experience as World’s Driest Human, the driest areas tend to be around the nose and mouth. I let these areas breathe by keeping them free of powder and, if the liquid products applied are sitting particularly horribly, I dip a cotton bud into a tiny bit of vaseline and use it to push the dry skin flush with the rest of my face; not only does this act to disguise lifting skin by laying it down, it also dissolves makeup in the same way a micellar water does, without being as drying.
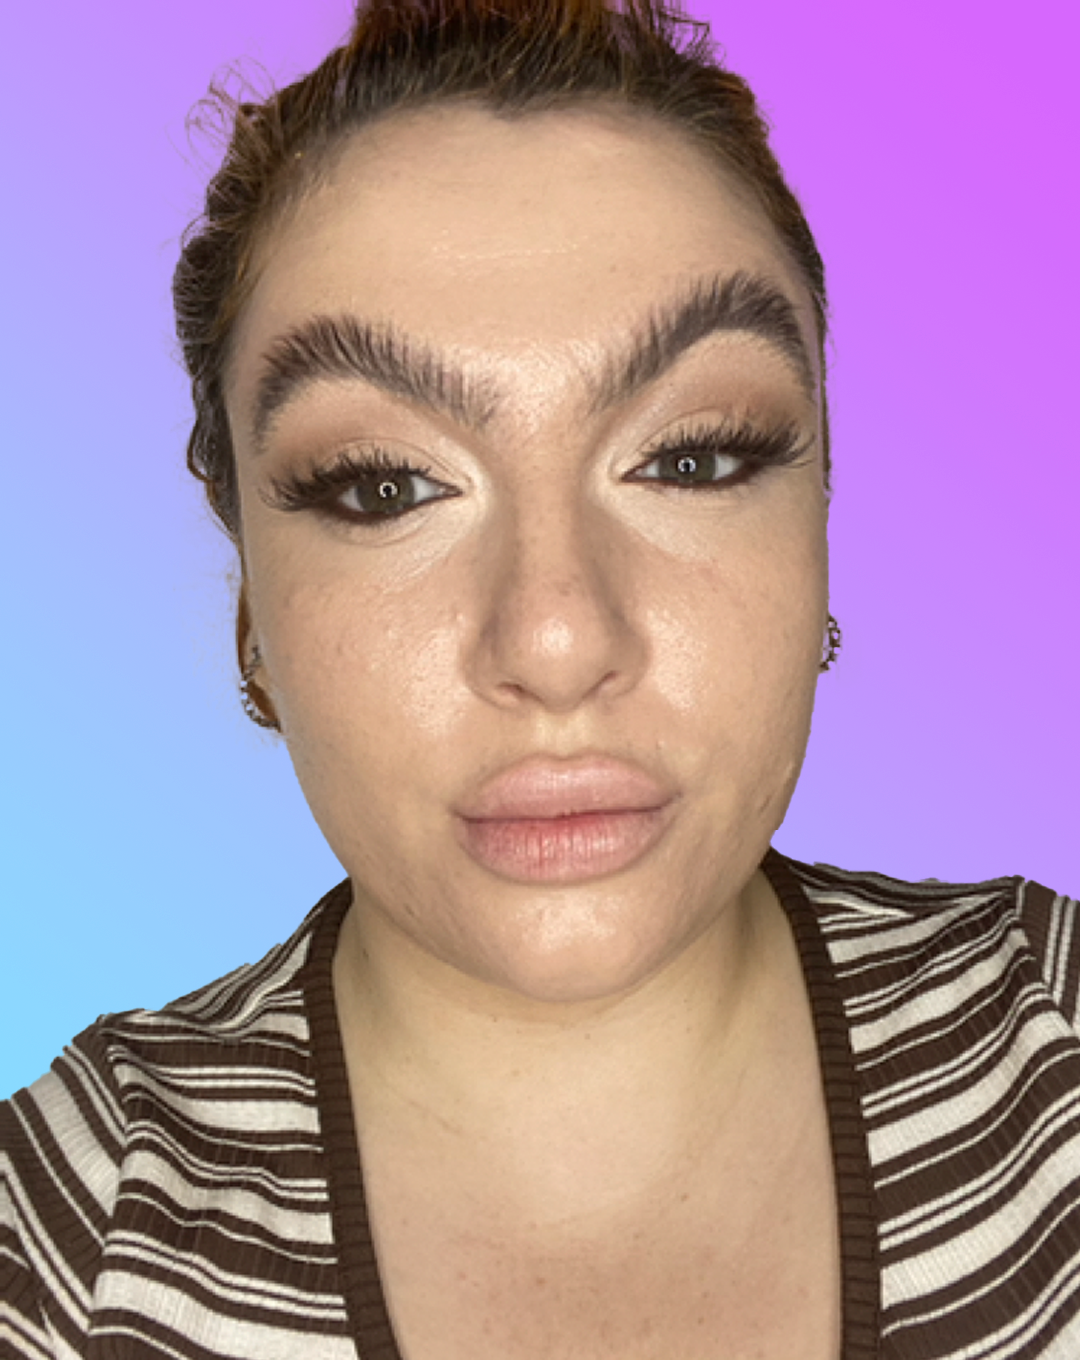
At this point, you’re free to pop on whatever lip you fancy and stunt your “perfect” skin Go forth and glow babes!

I added some more definition to my eyebrows, a glossy lip and some eyeshadow to my lower lash line. Agony Al, more like A-glowy Al har har har
XOXO, Agony Al
Got a question? Email us at hello@polyesterzine.com with subject line AGONY AL, or DM @polyesterzine or @lipglosslezza on Instagram.