
Agony Al: How to Get the Perfect Indie Sleaze Makeup
I am sick of “clean girl beauty”. Being trapped inside for the past few years had us focusing on skincare and natural makeup, looking clean and polished, tricking ourselves we’re subverting the male gaze by binning our full coverage foundations and embracing “reality”. Sike! The clean girl aesthetic is just as damaging, having us obsess over getting flawless, poreless skin and looking well rested.
When one of you wrote in to ask me for indie sleaze makeup, I jumped at the chance. I wanted something easy, something effortless, with minimal products and maximum pay off. The antithesis to clean girl makeup: party girl makeup, aka indie sleaze makeup.
The 1975 and Arctic Monkeys have just dropped albums, black tights are cool again and teenagers on the internet are touting nicotine and caffeine as a viable breakfast. (It IS NOT. Solidarity to my fellow Tumblr vets battling body image issues the hell site implanted on us). Indie is back baby!
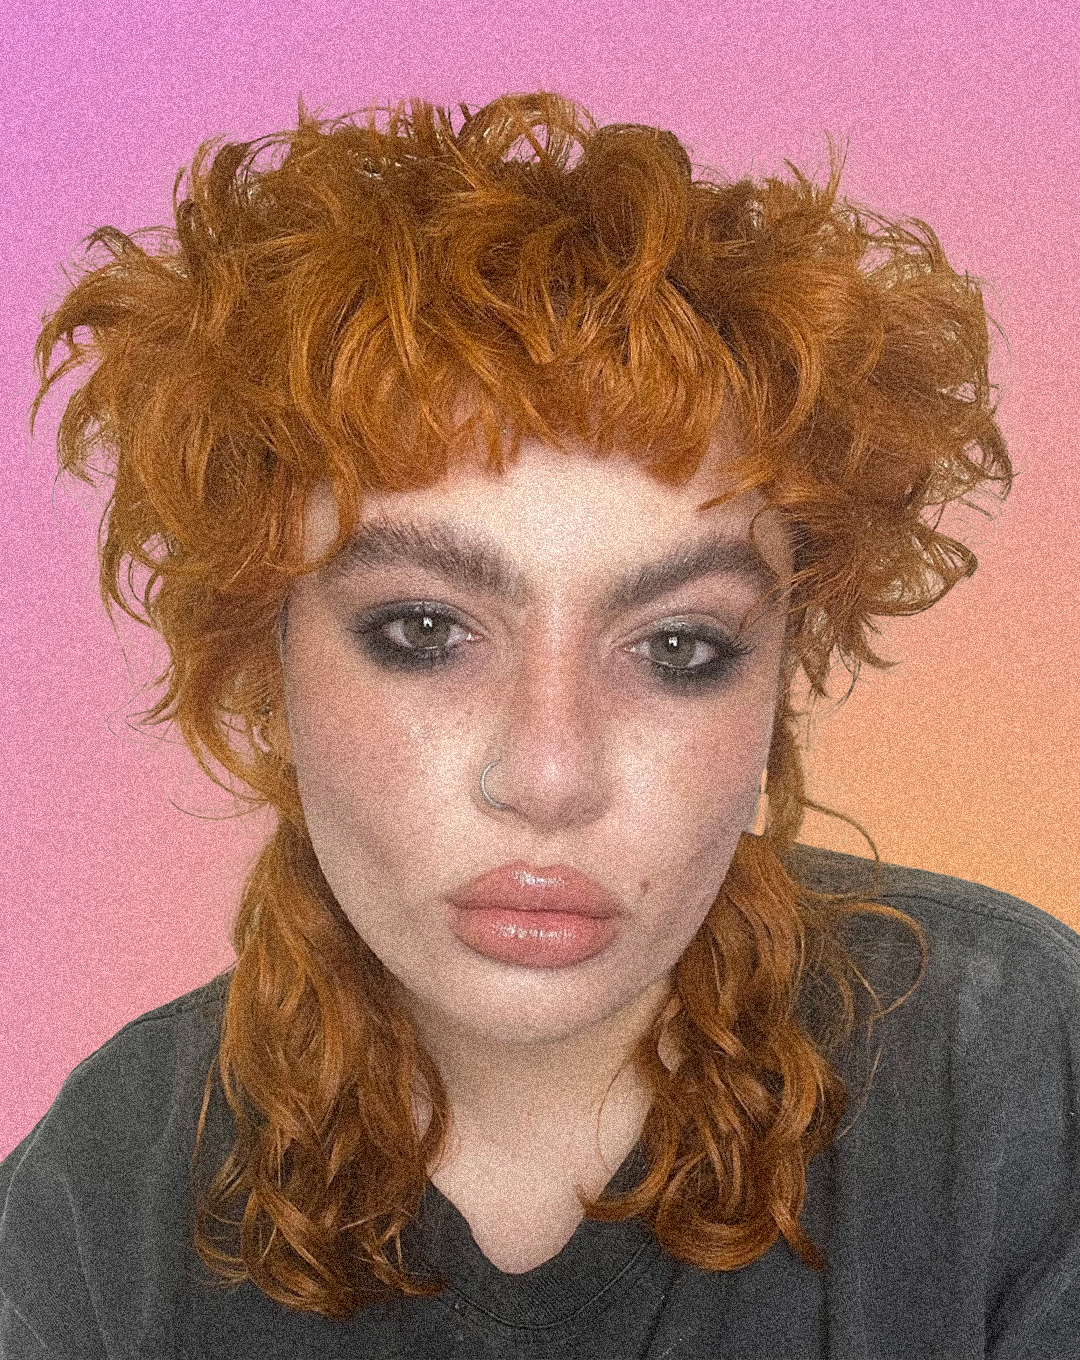
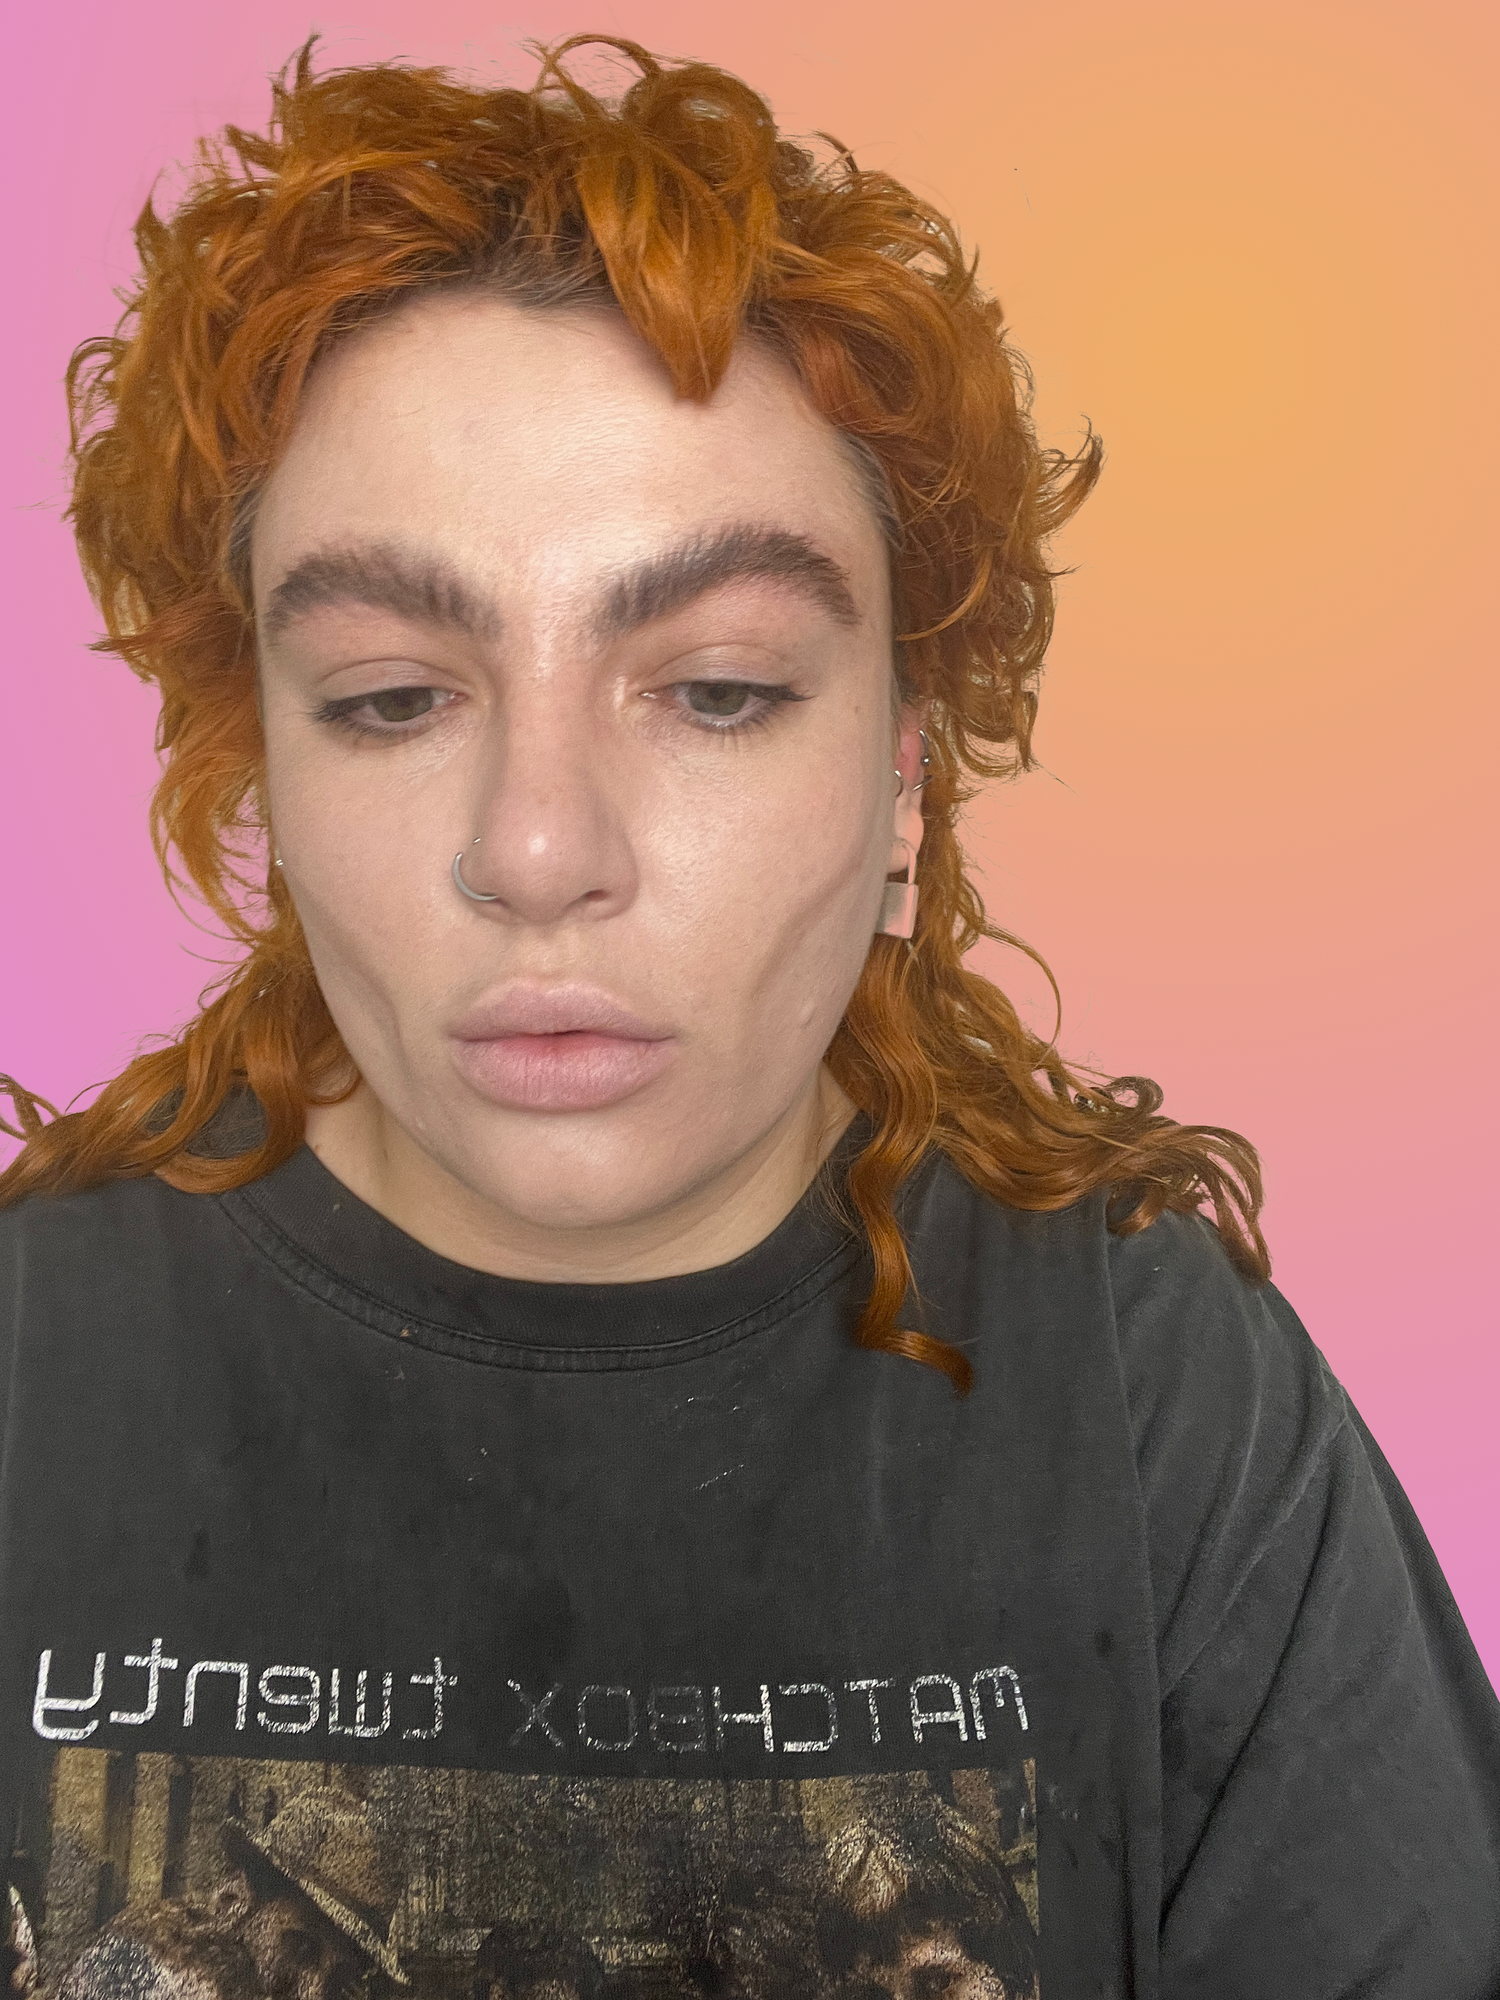
Whether you were deep in the trenches of 2012 Tumblr, reblogging pictures of ripped fishnets and Doc Martens or you were too young for the trend - good for you - and are loving the revamp now, this is the makeup for you. Worn in, dark eyes, effortless skin and lipstick obvious enough it would leave a photograph worthy stain on the tip of a cigarette (but subtle enough it could have been applied at last night’s party). Here’s how you do it:
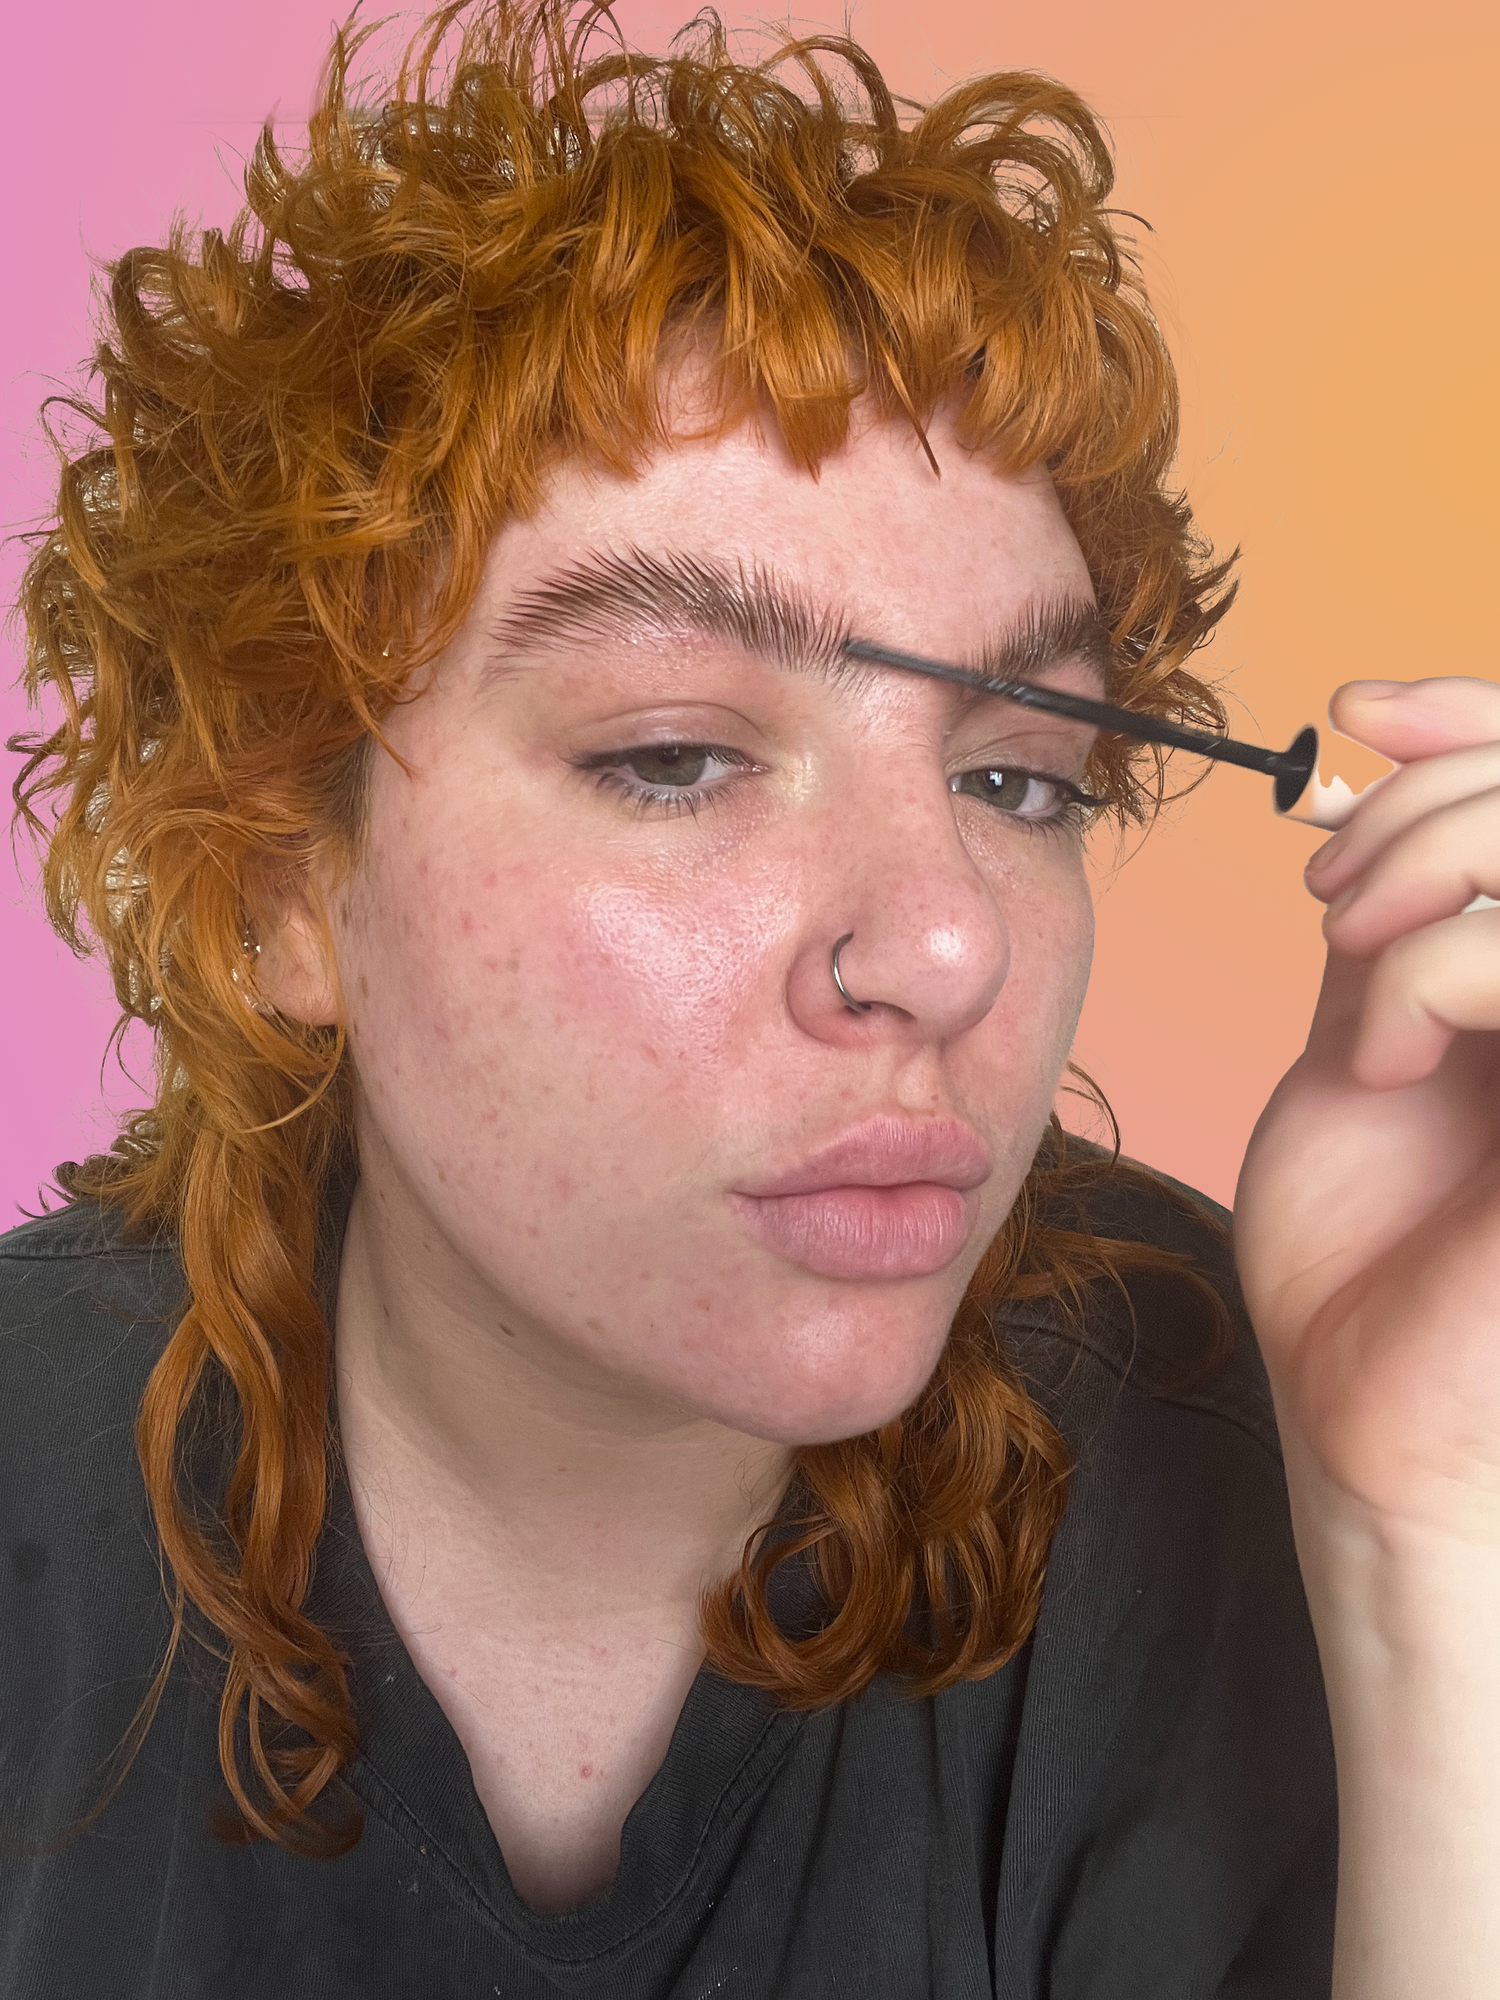
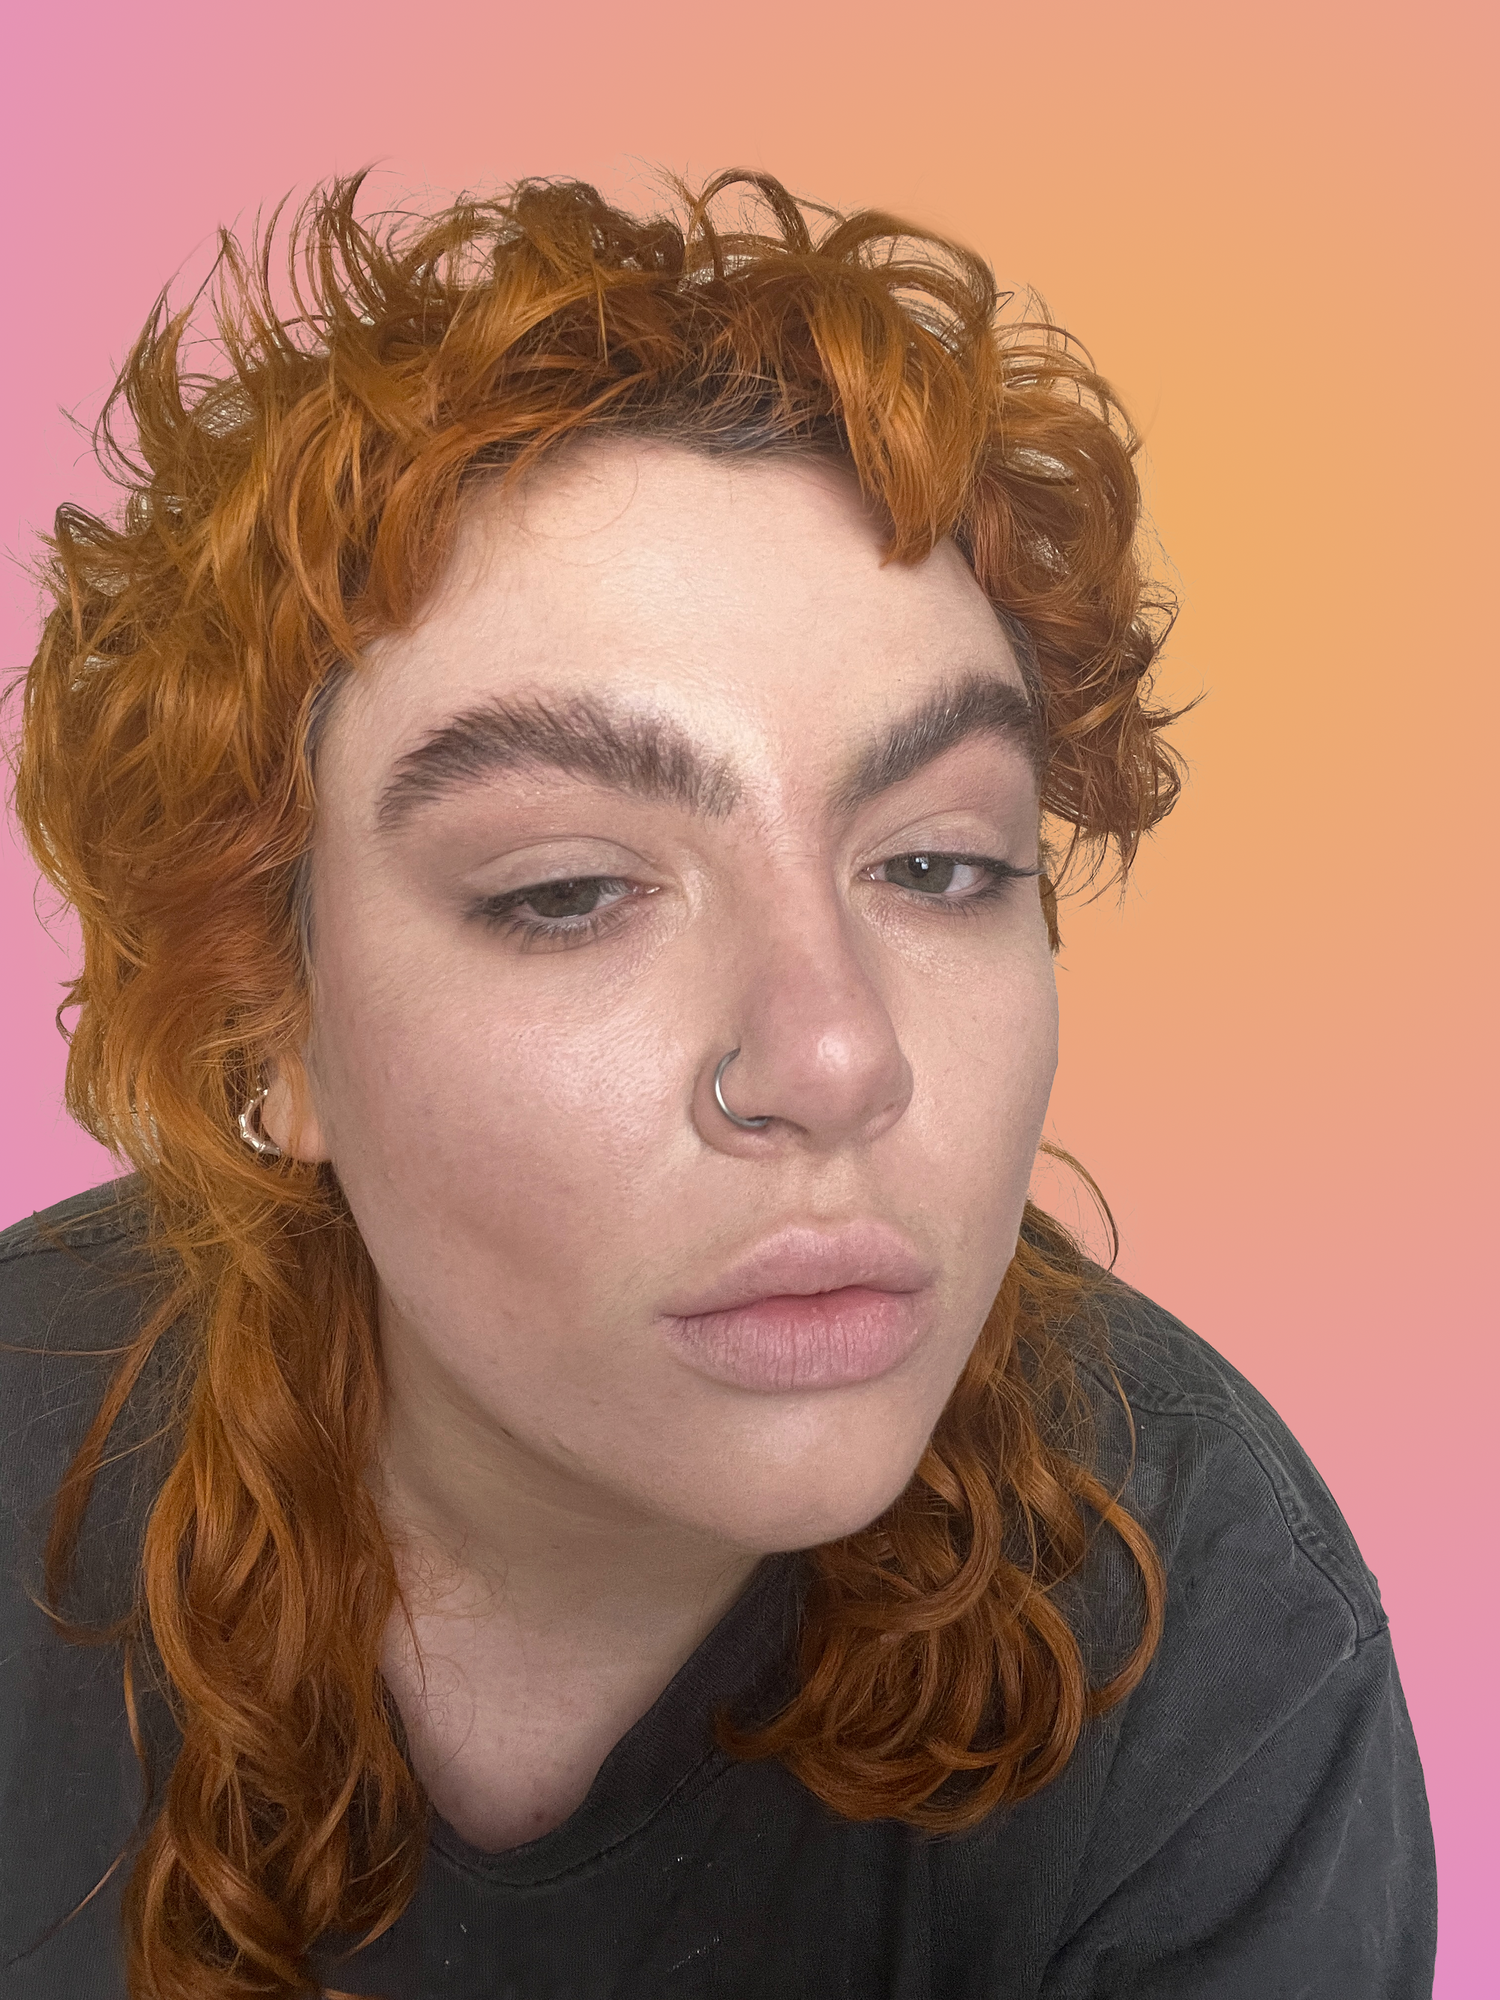
I’m a lover of big brows, but I want to make mine look naturally full rather than laminated today, so I’m brushing them up using a brow gel rather than my usual rock solid hair gel. Think of Tumblr girlies Bambi Northwood Blyth and Barbie Ferreira’s natural, unkempt fluffy arches, rather than Tik Tok’s Jess Hunt or Matilda Djerf perfectly slicked up ones.
___STEADY_PAYWALL___
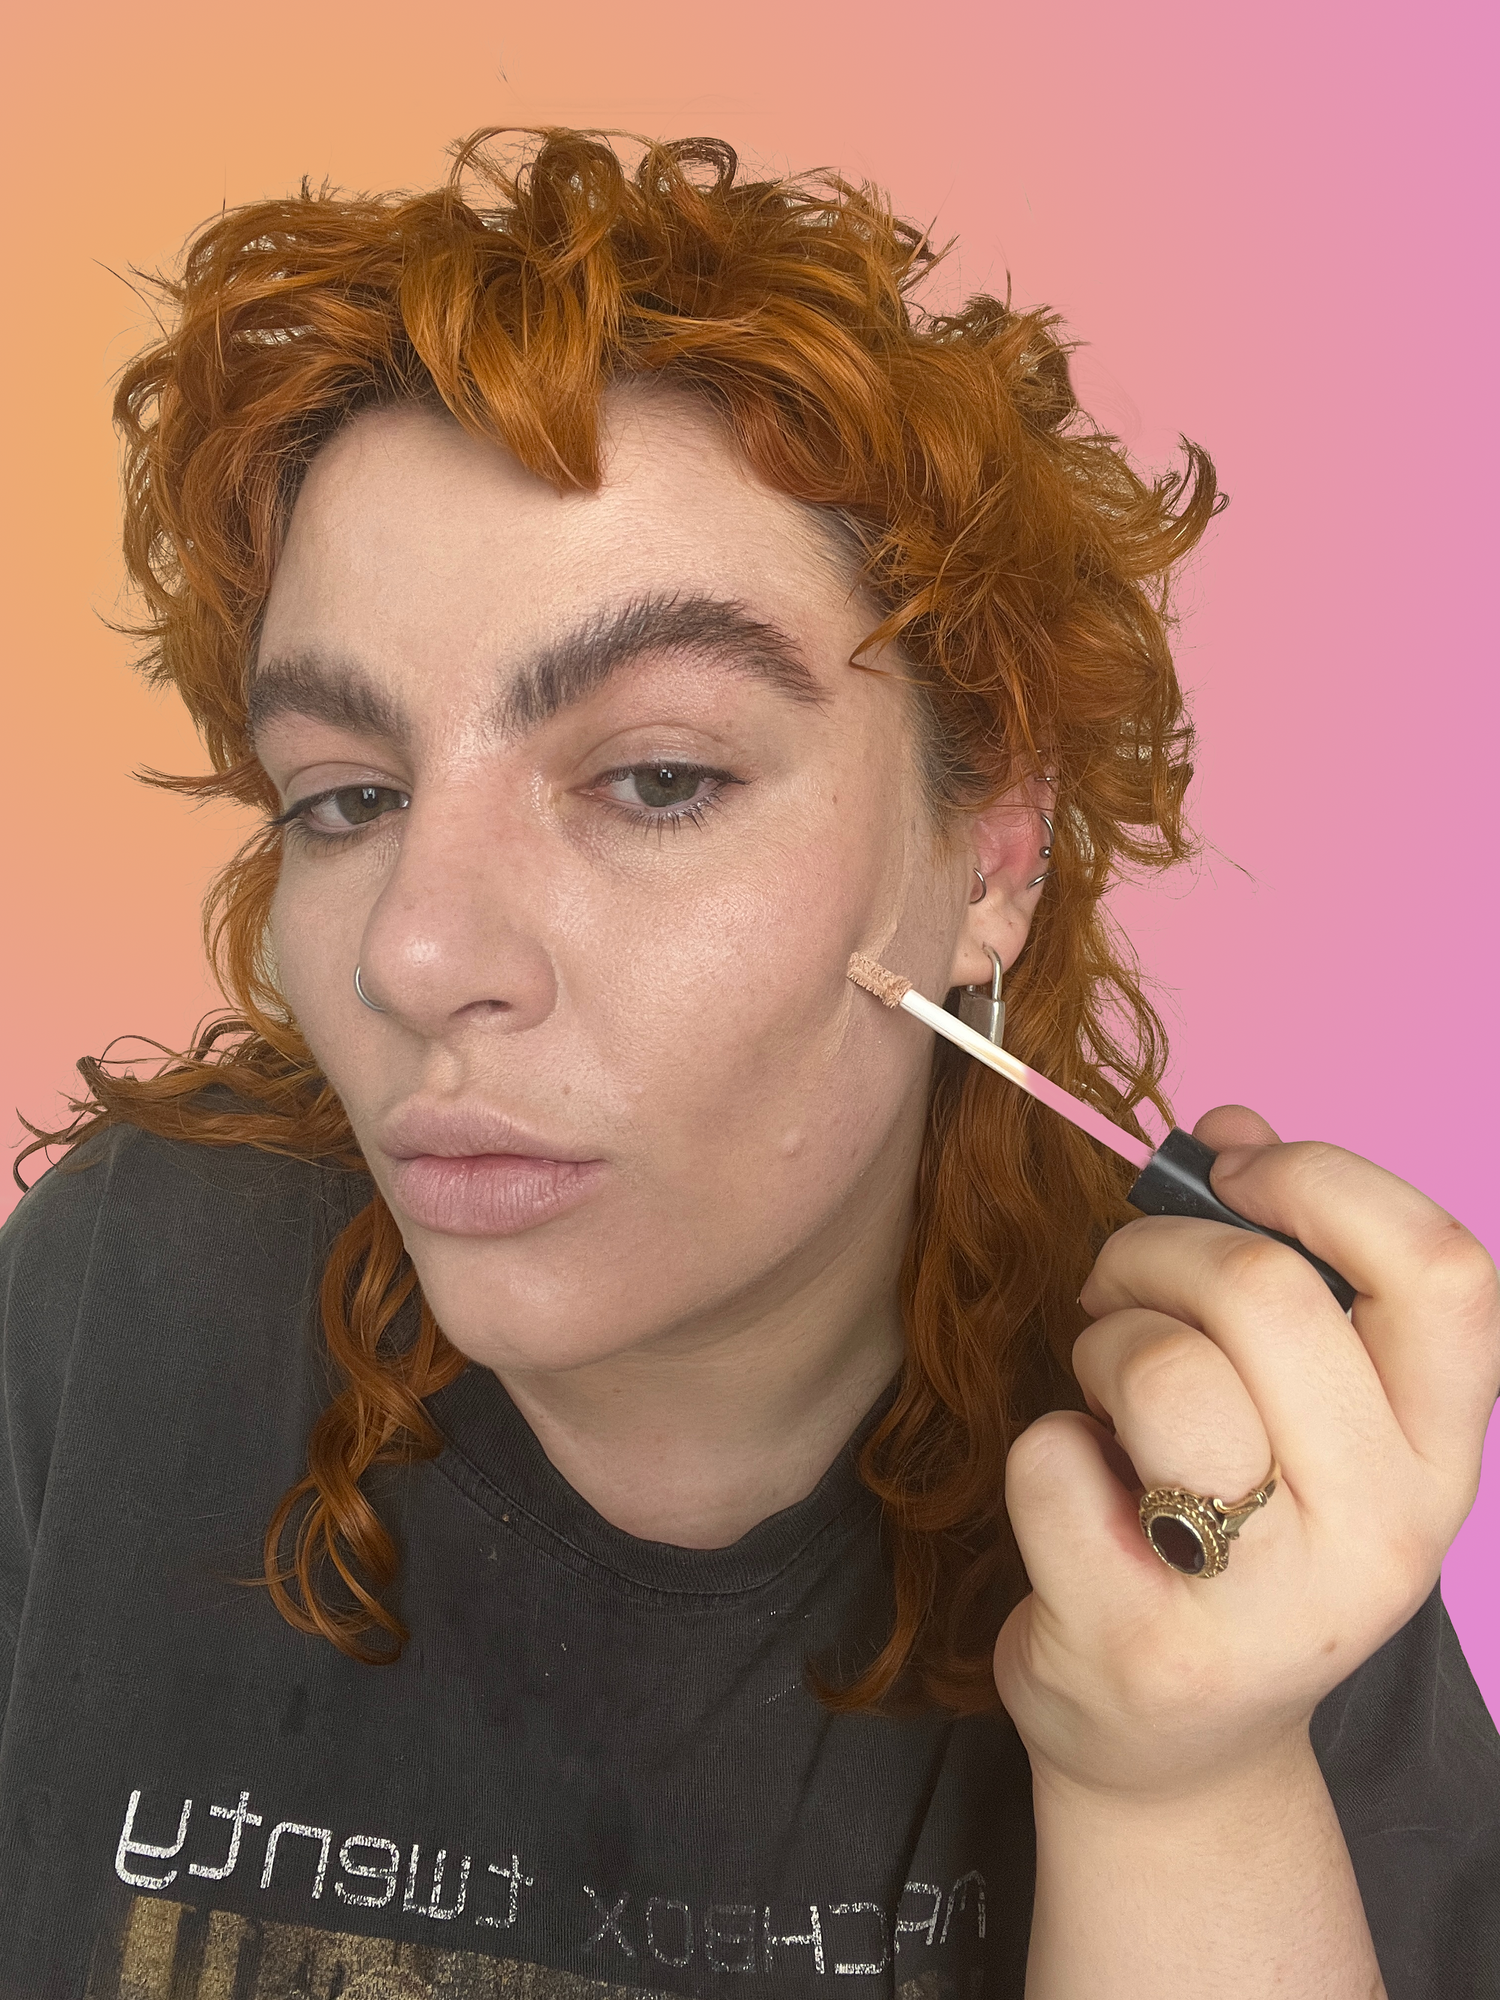
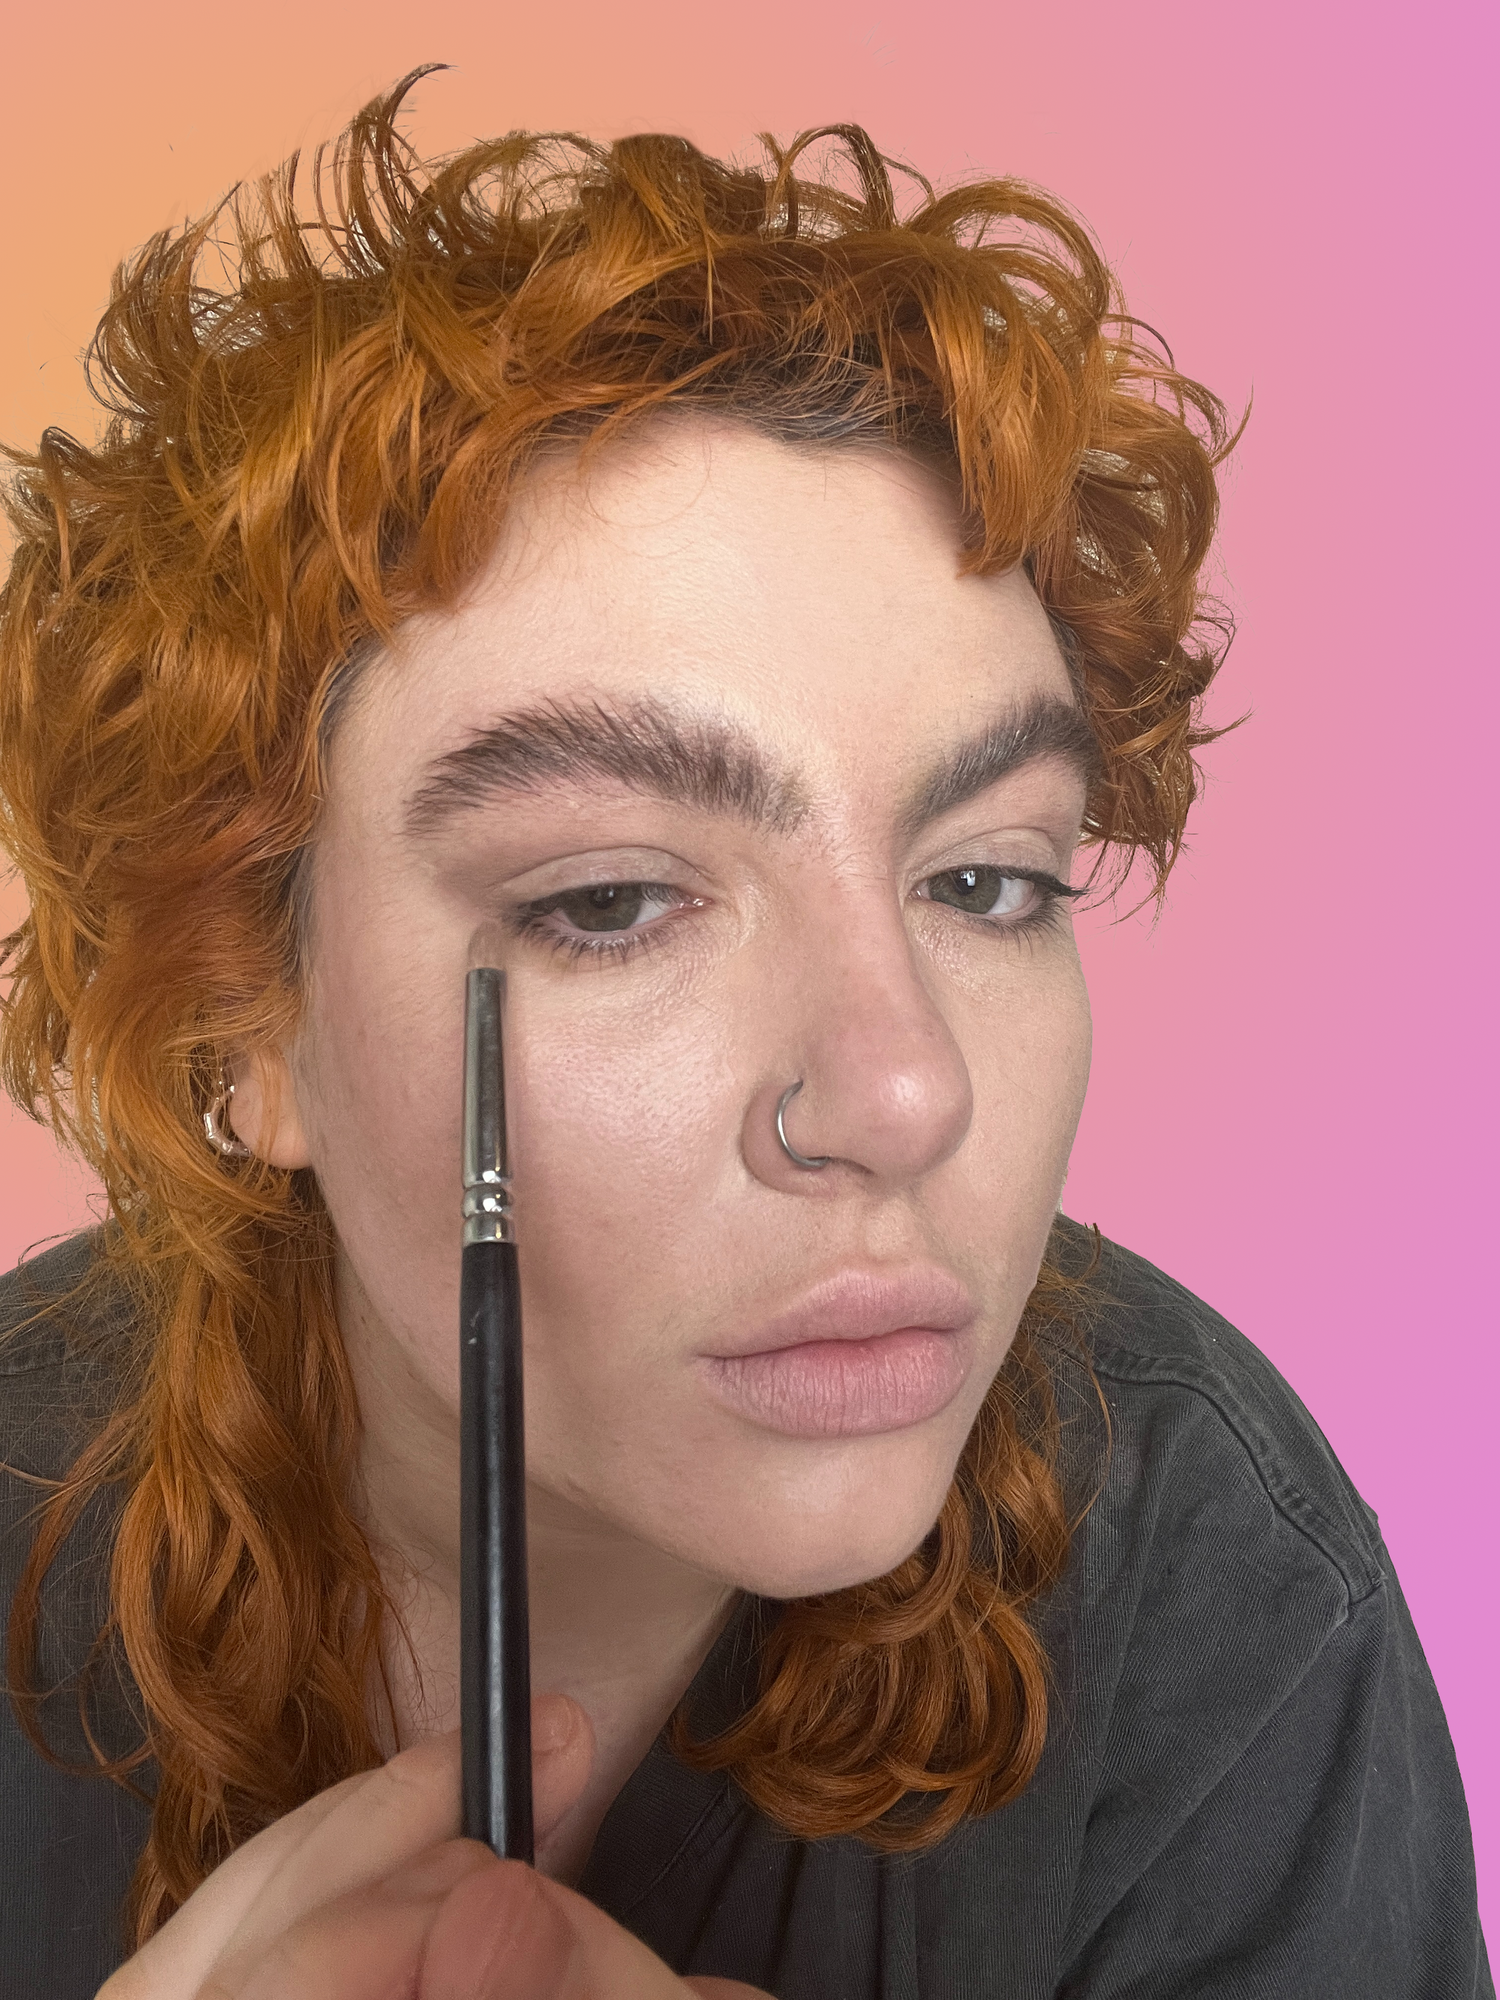
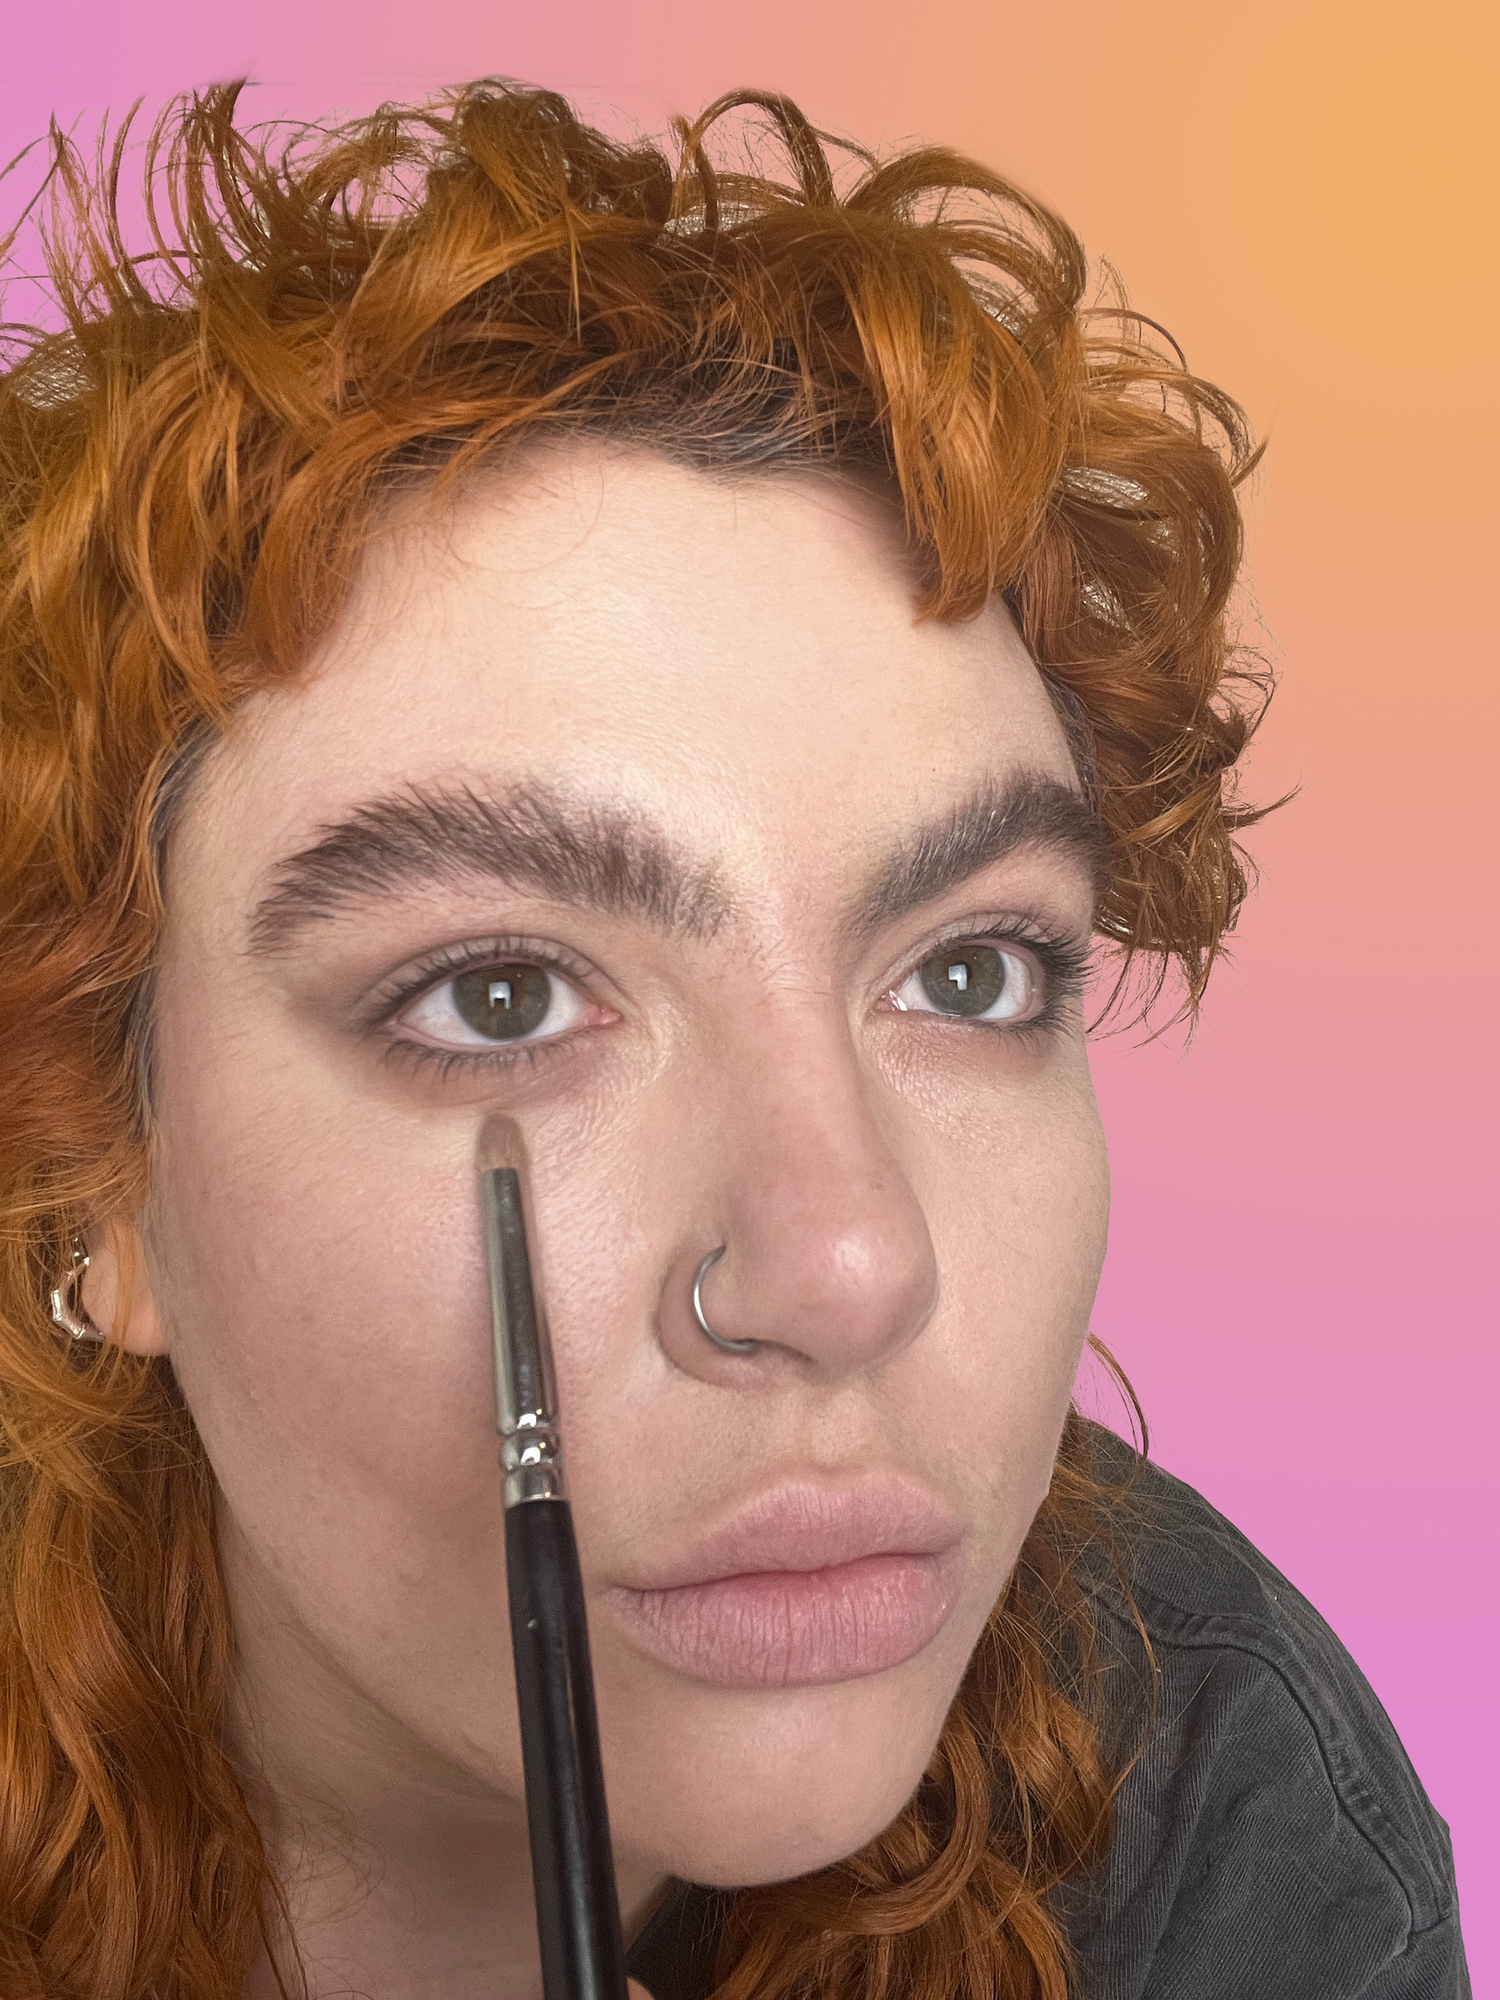
Now, I’m going in with a skin tint. I don’t want a tonne of coverage, just something that is gonna even my skin tone out and make a good base for the contouring. This look is about worn in, partied-all-night looking makeup so I’m skipping undereye concealer altogether.
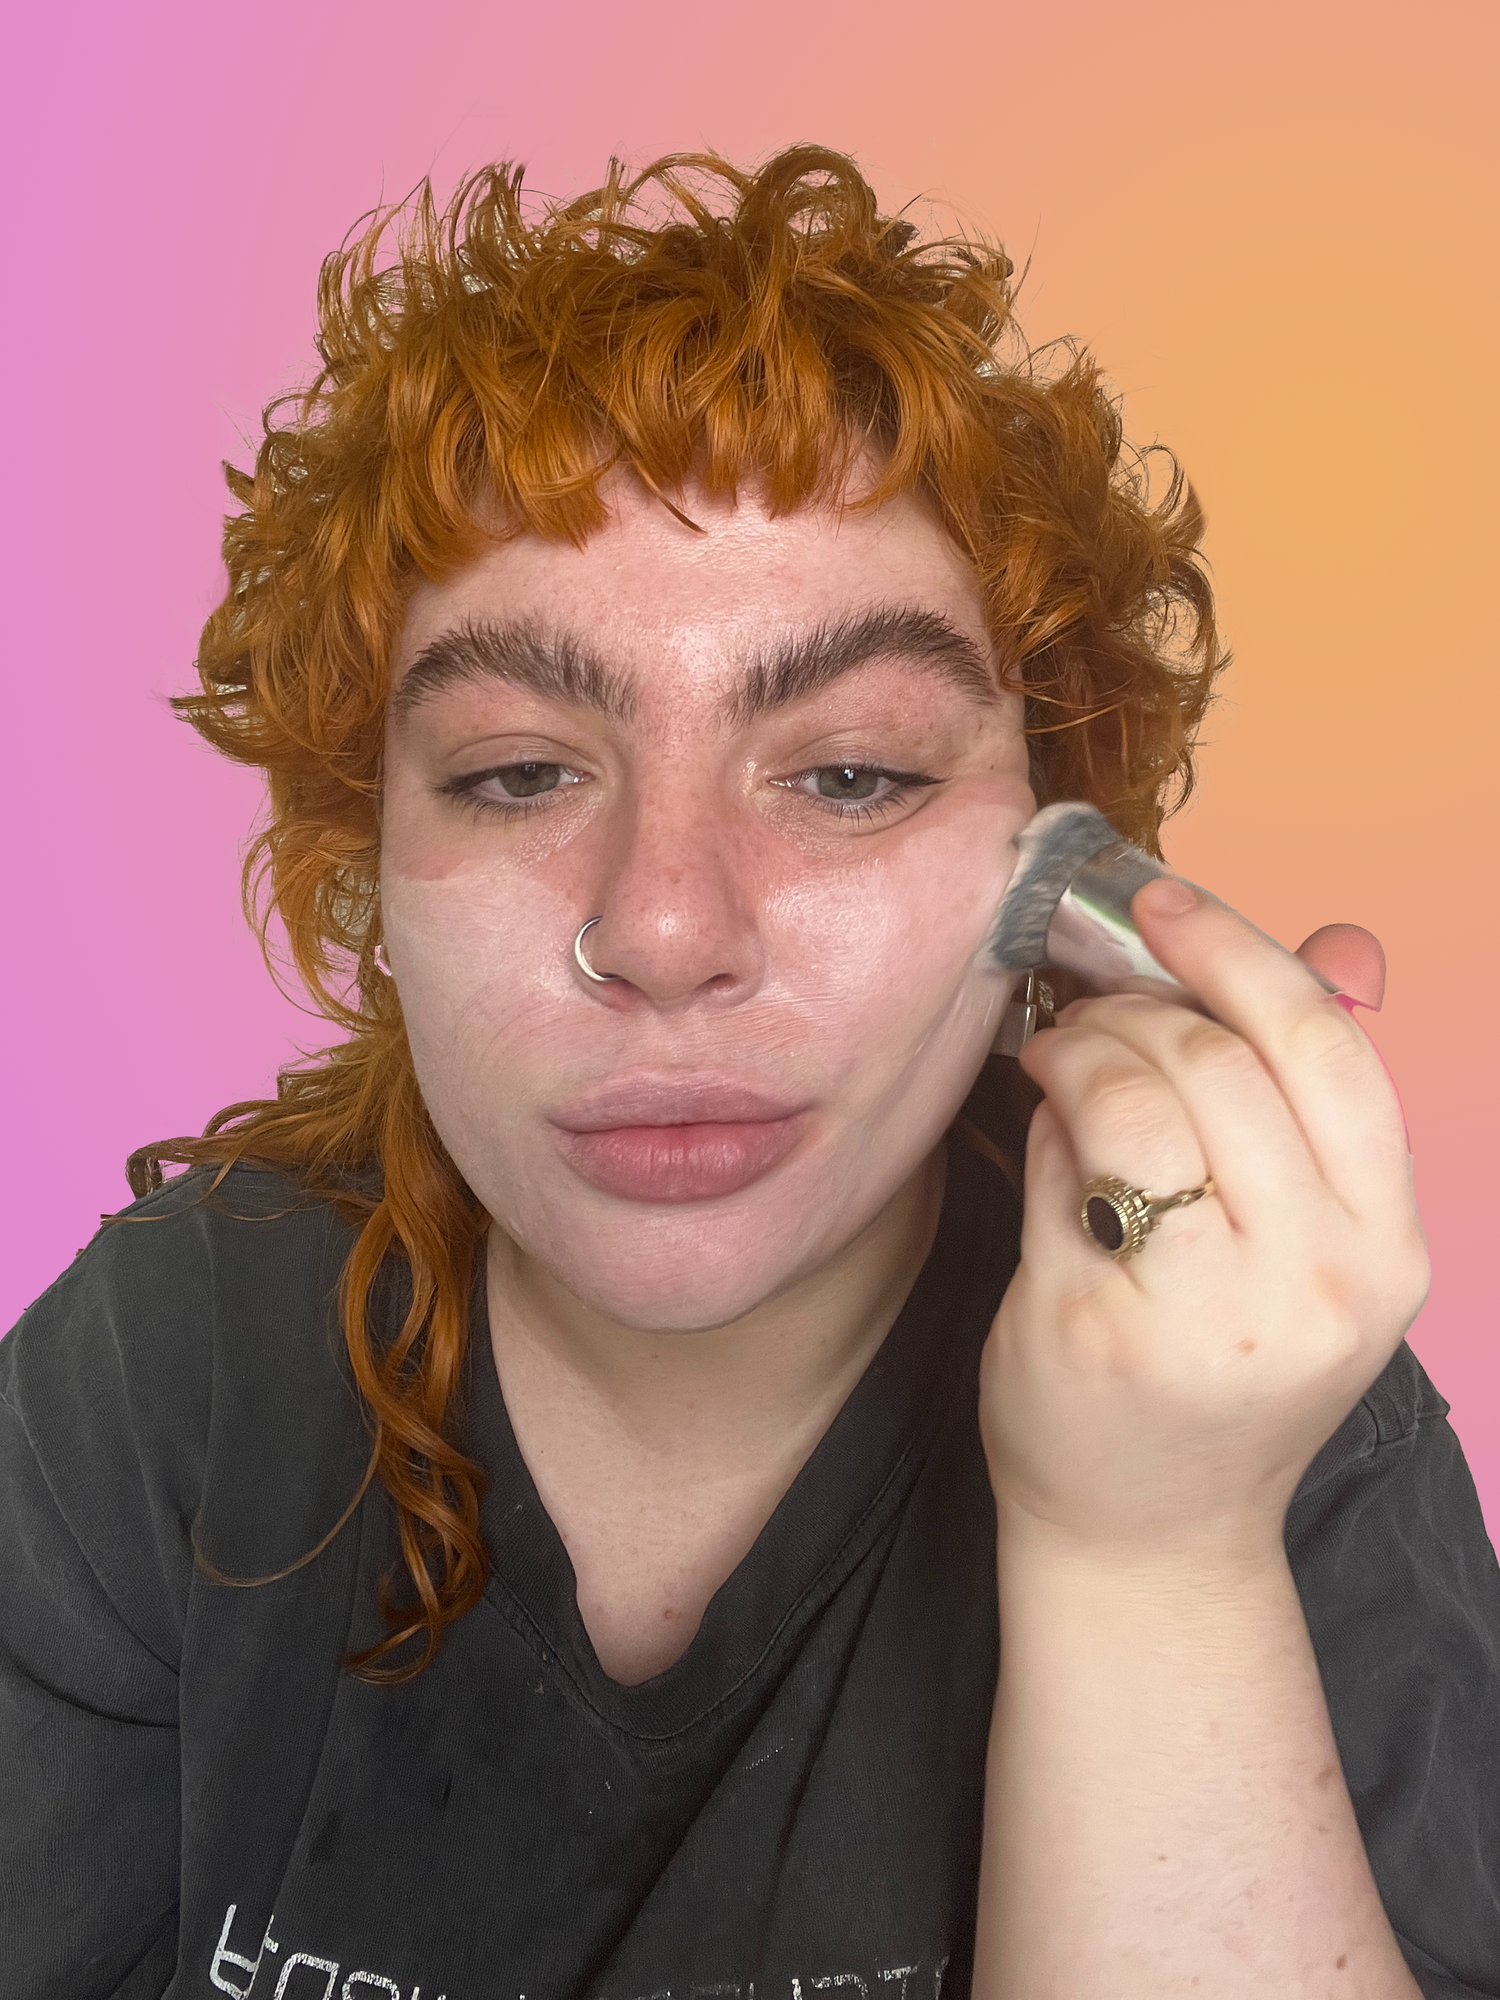
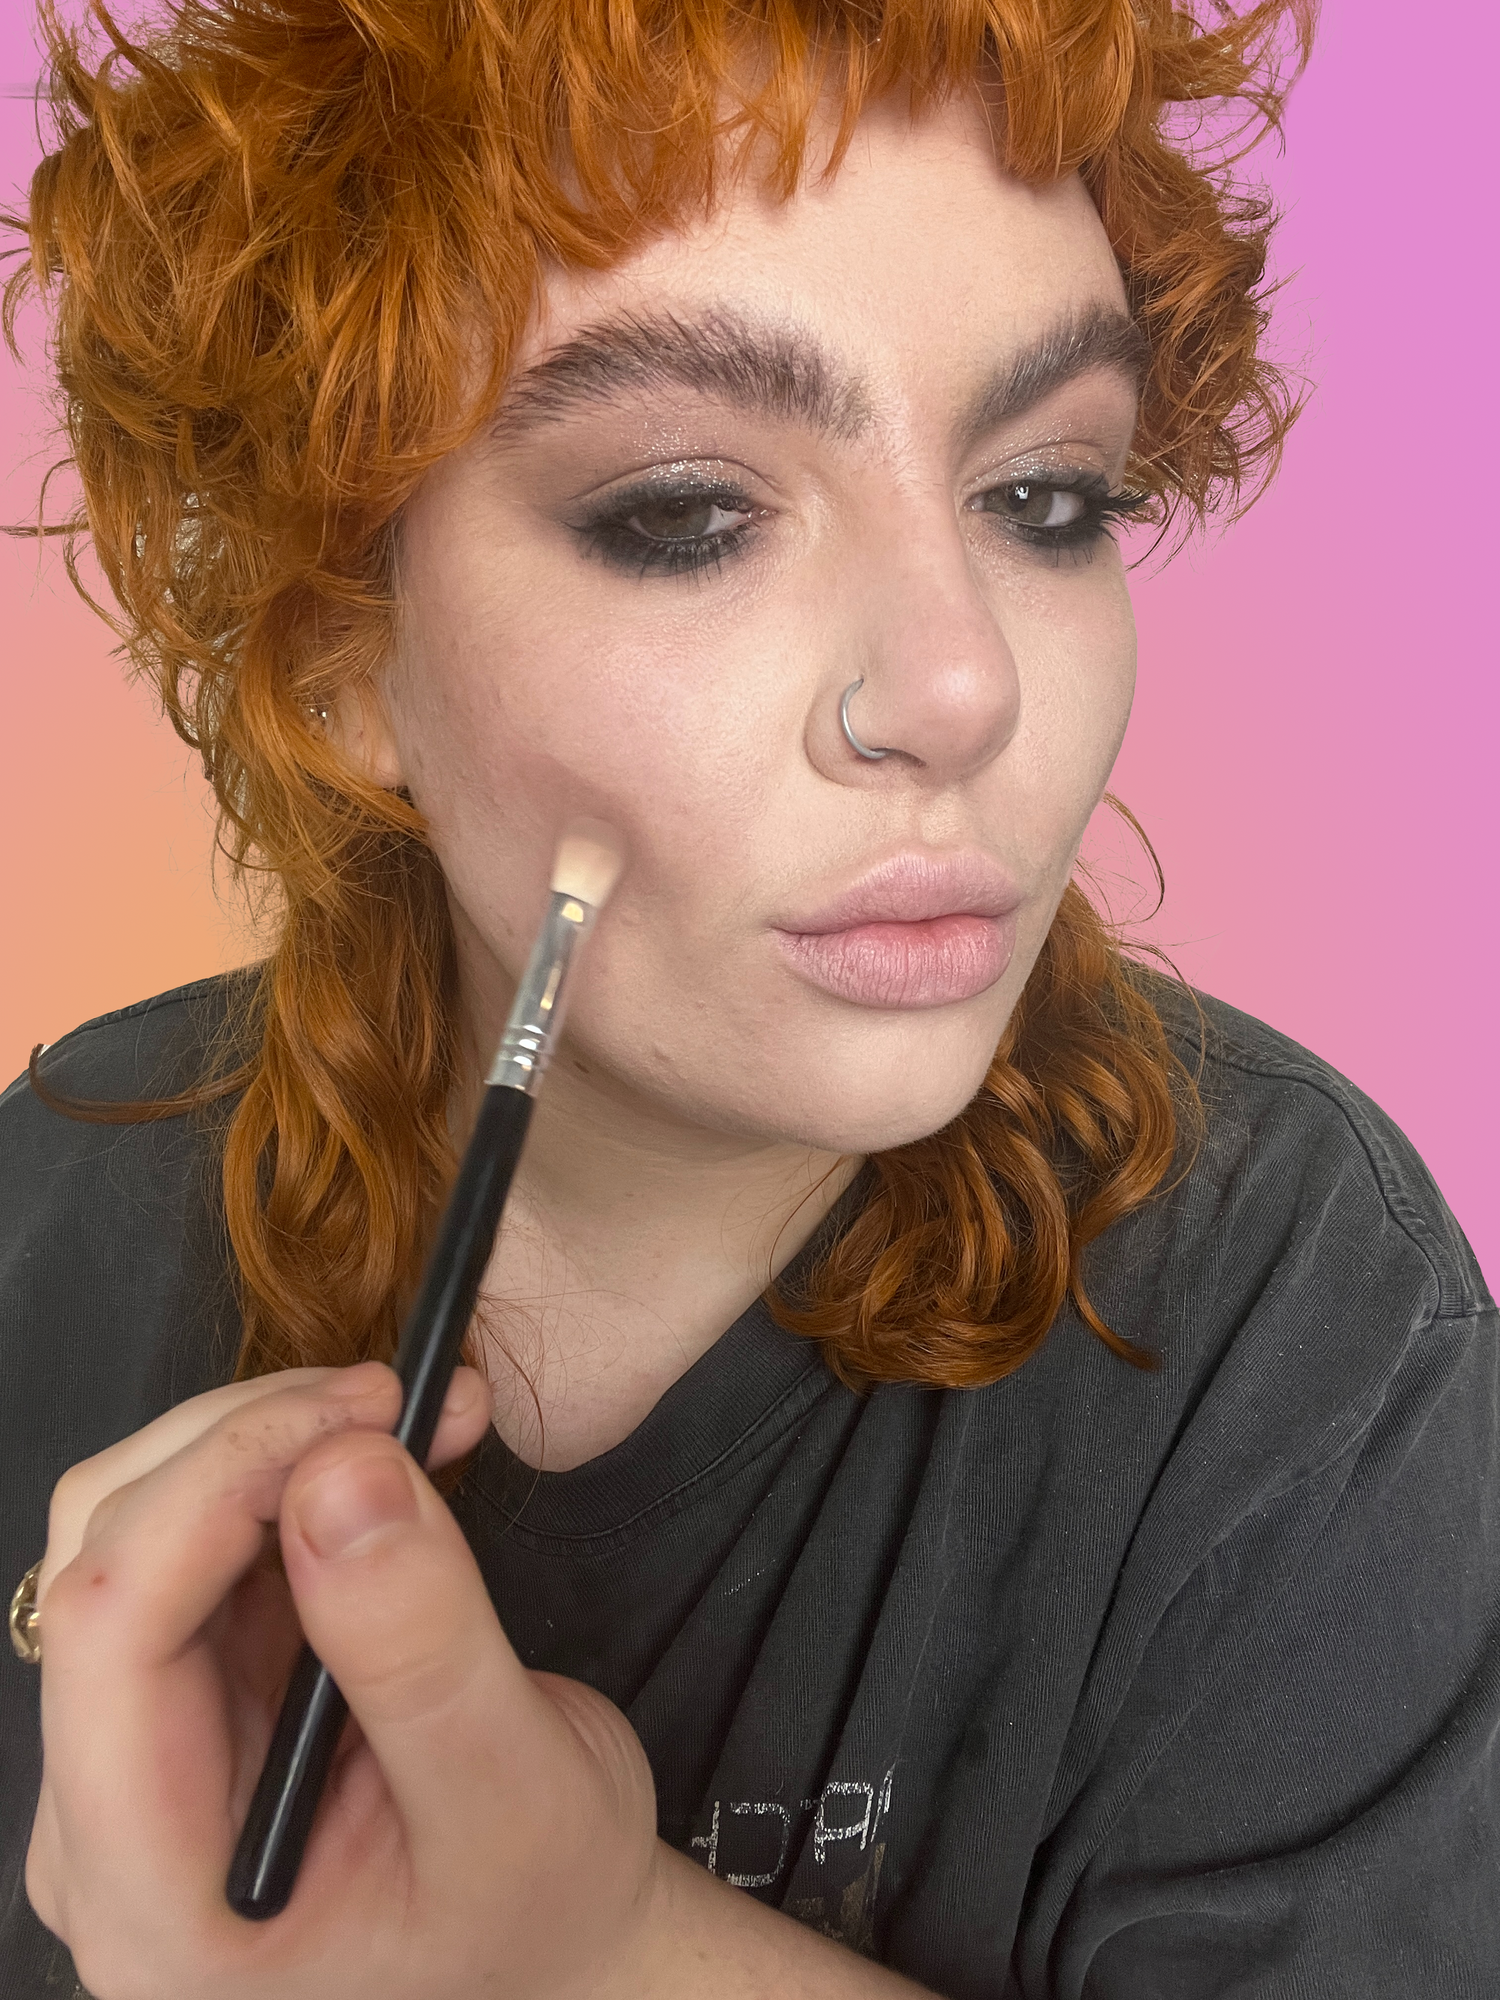
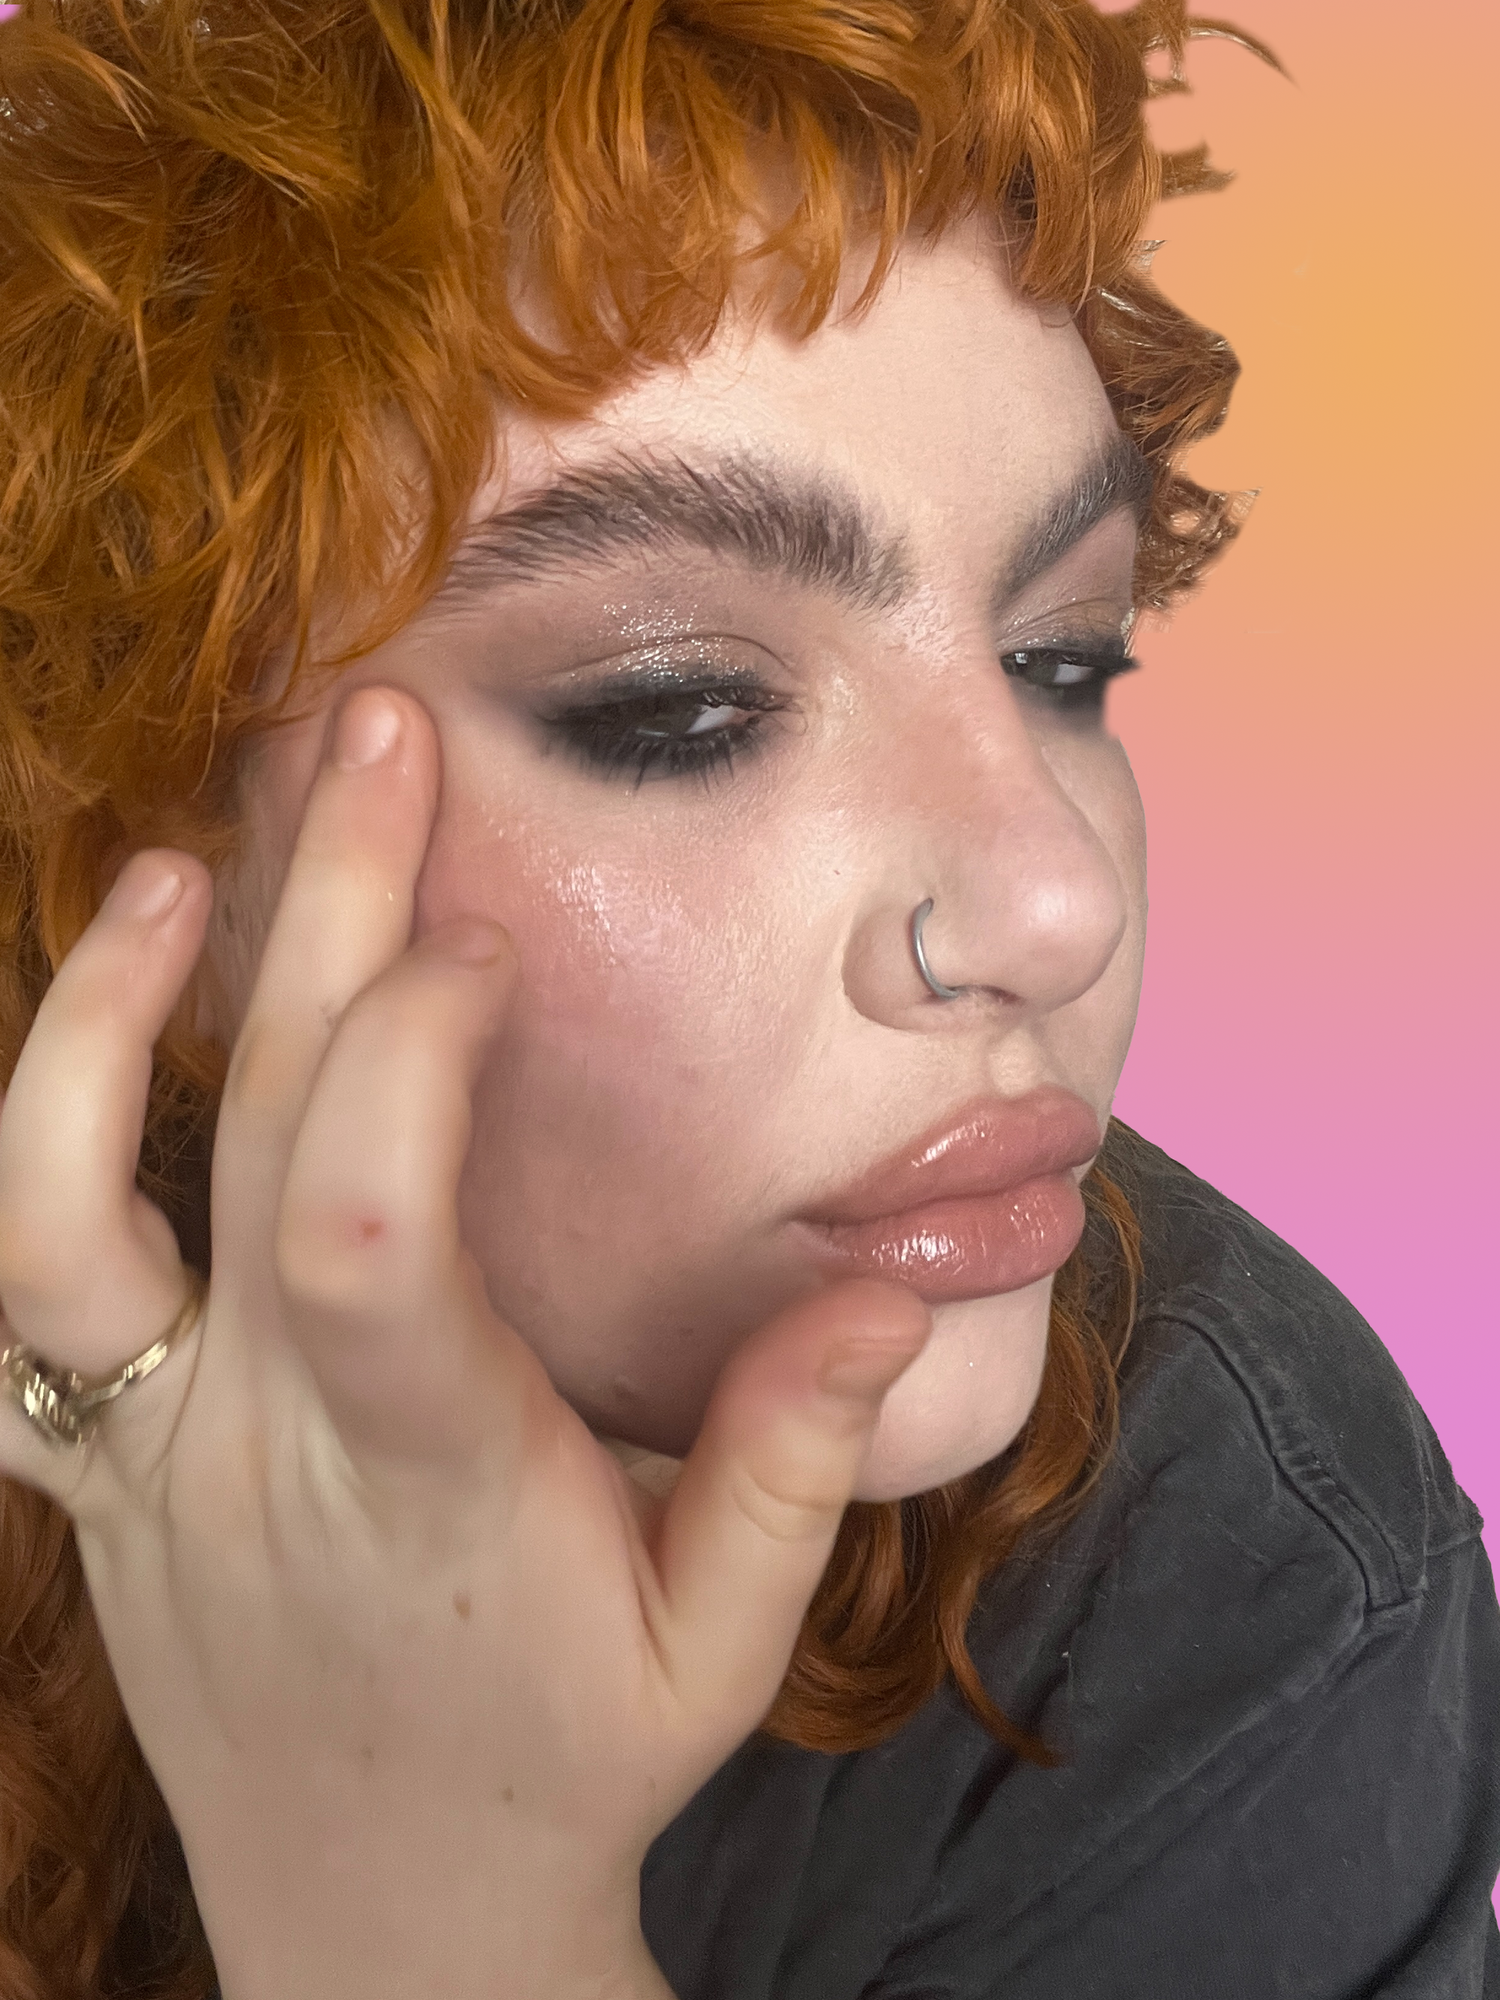
When your base is down, it’s time to do INTENSE contour. Using a cool, grey based contour product, draw lines across your cheekbones, then drag down when you hit close to your nose.
This looks crazy, but when I showed the results on Instagram my DMs exploded with requests. Trust the process!
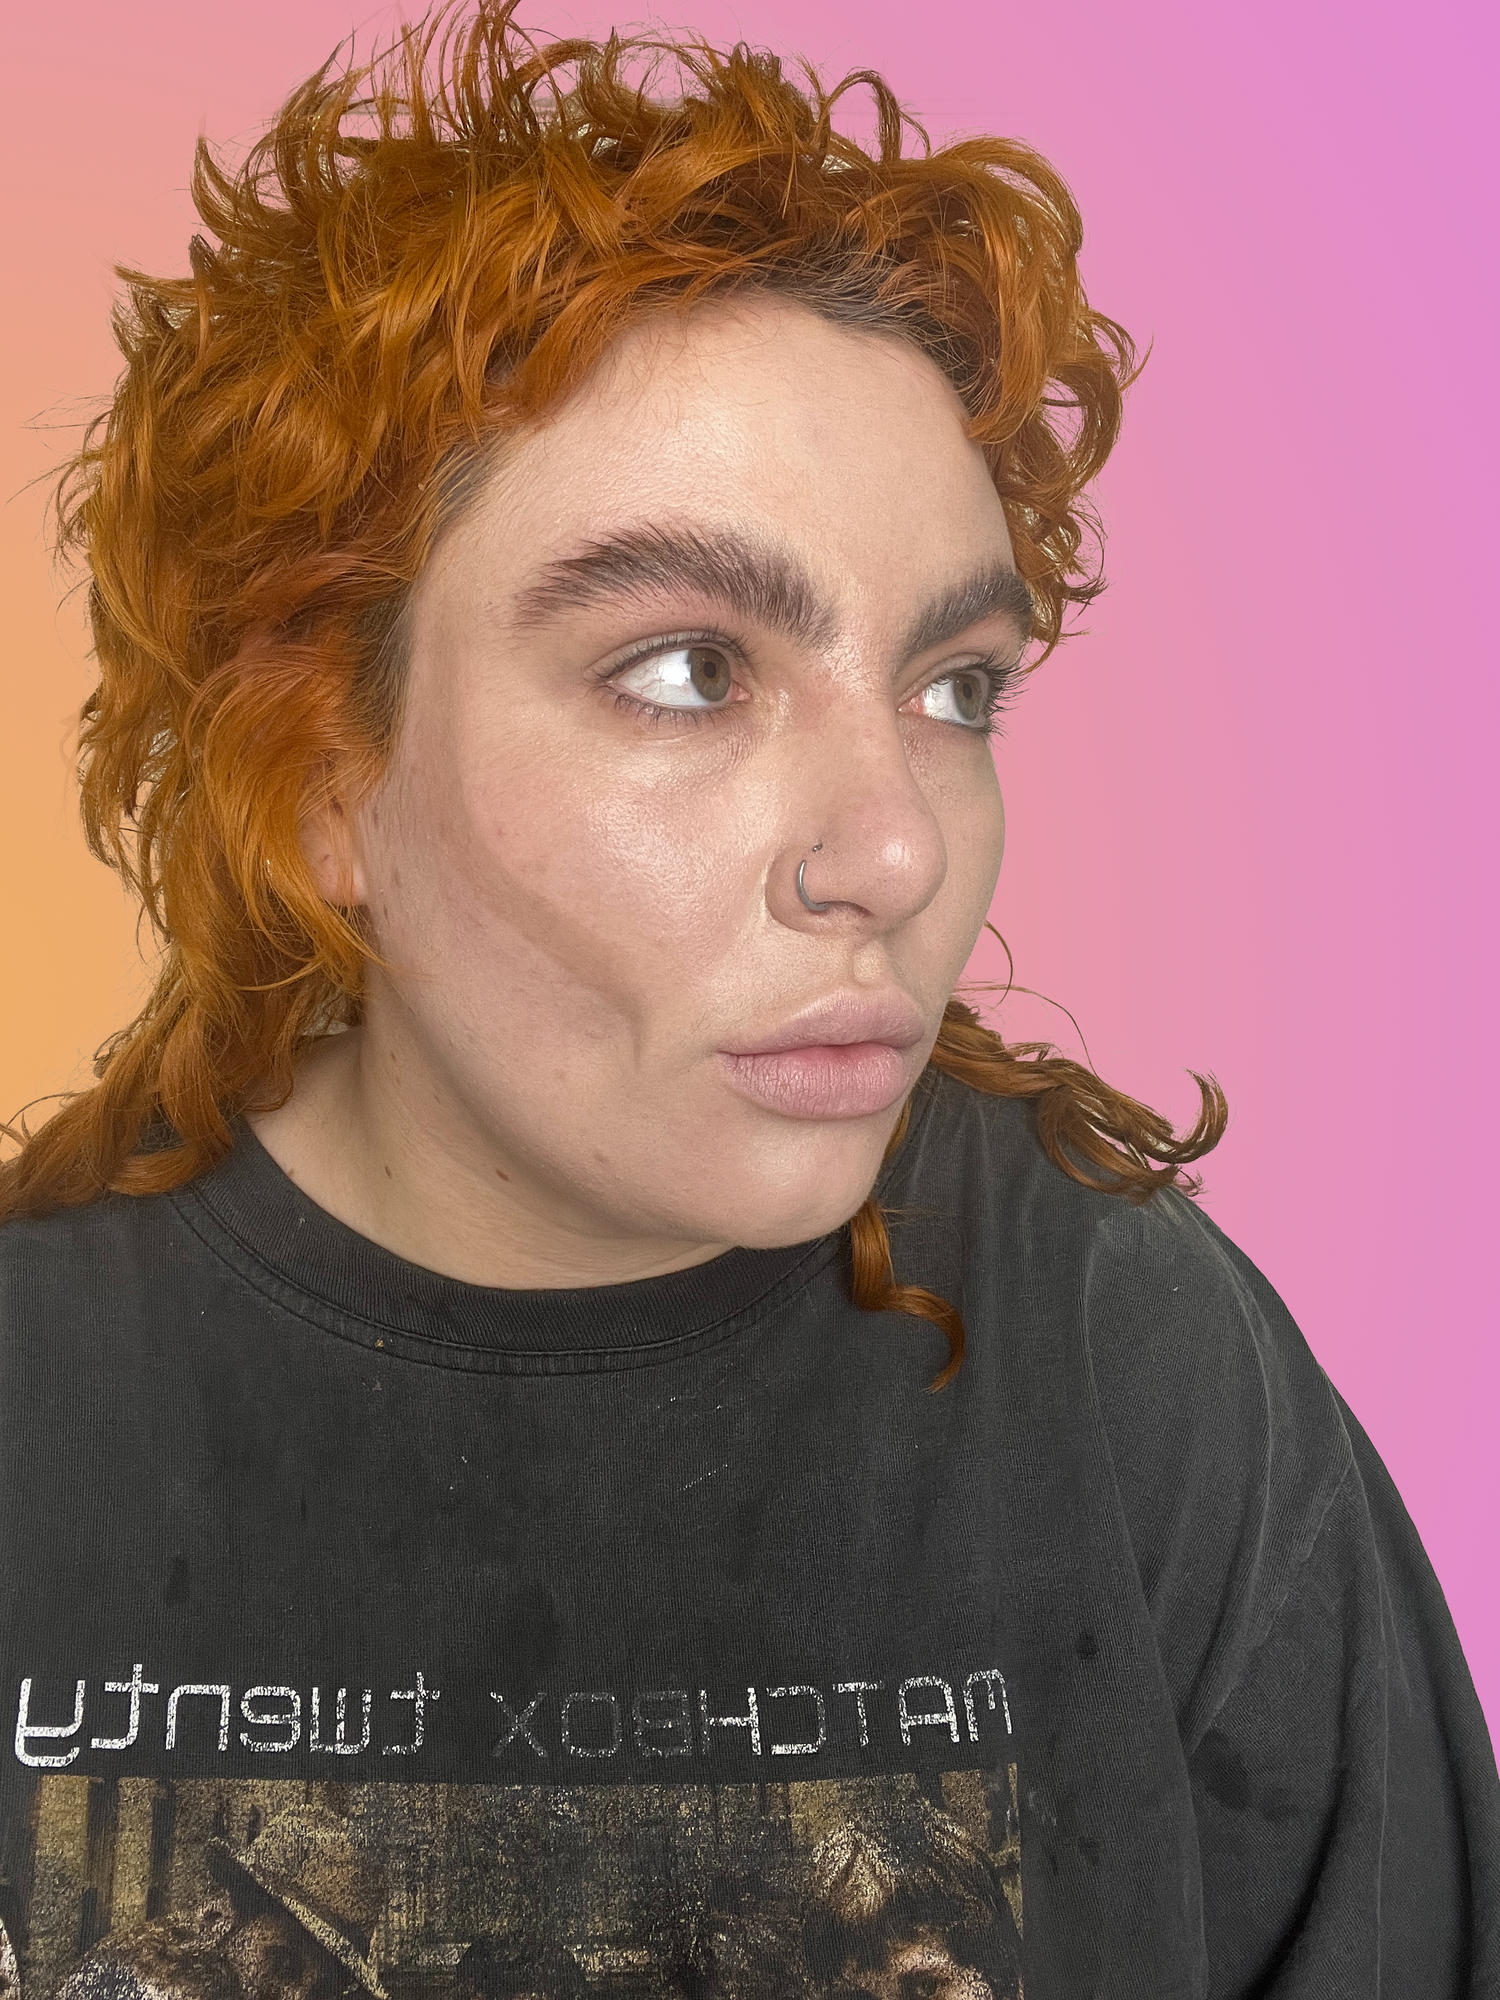
I’ve seen this technique called masculine contouring and skull contouring on Tik Tok. It works because you’re going with the natural shape of the bones under your face, rather than working against them; you are literally mimicking the skeleton you have naturally.
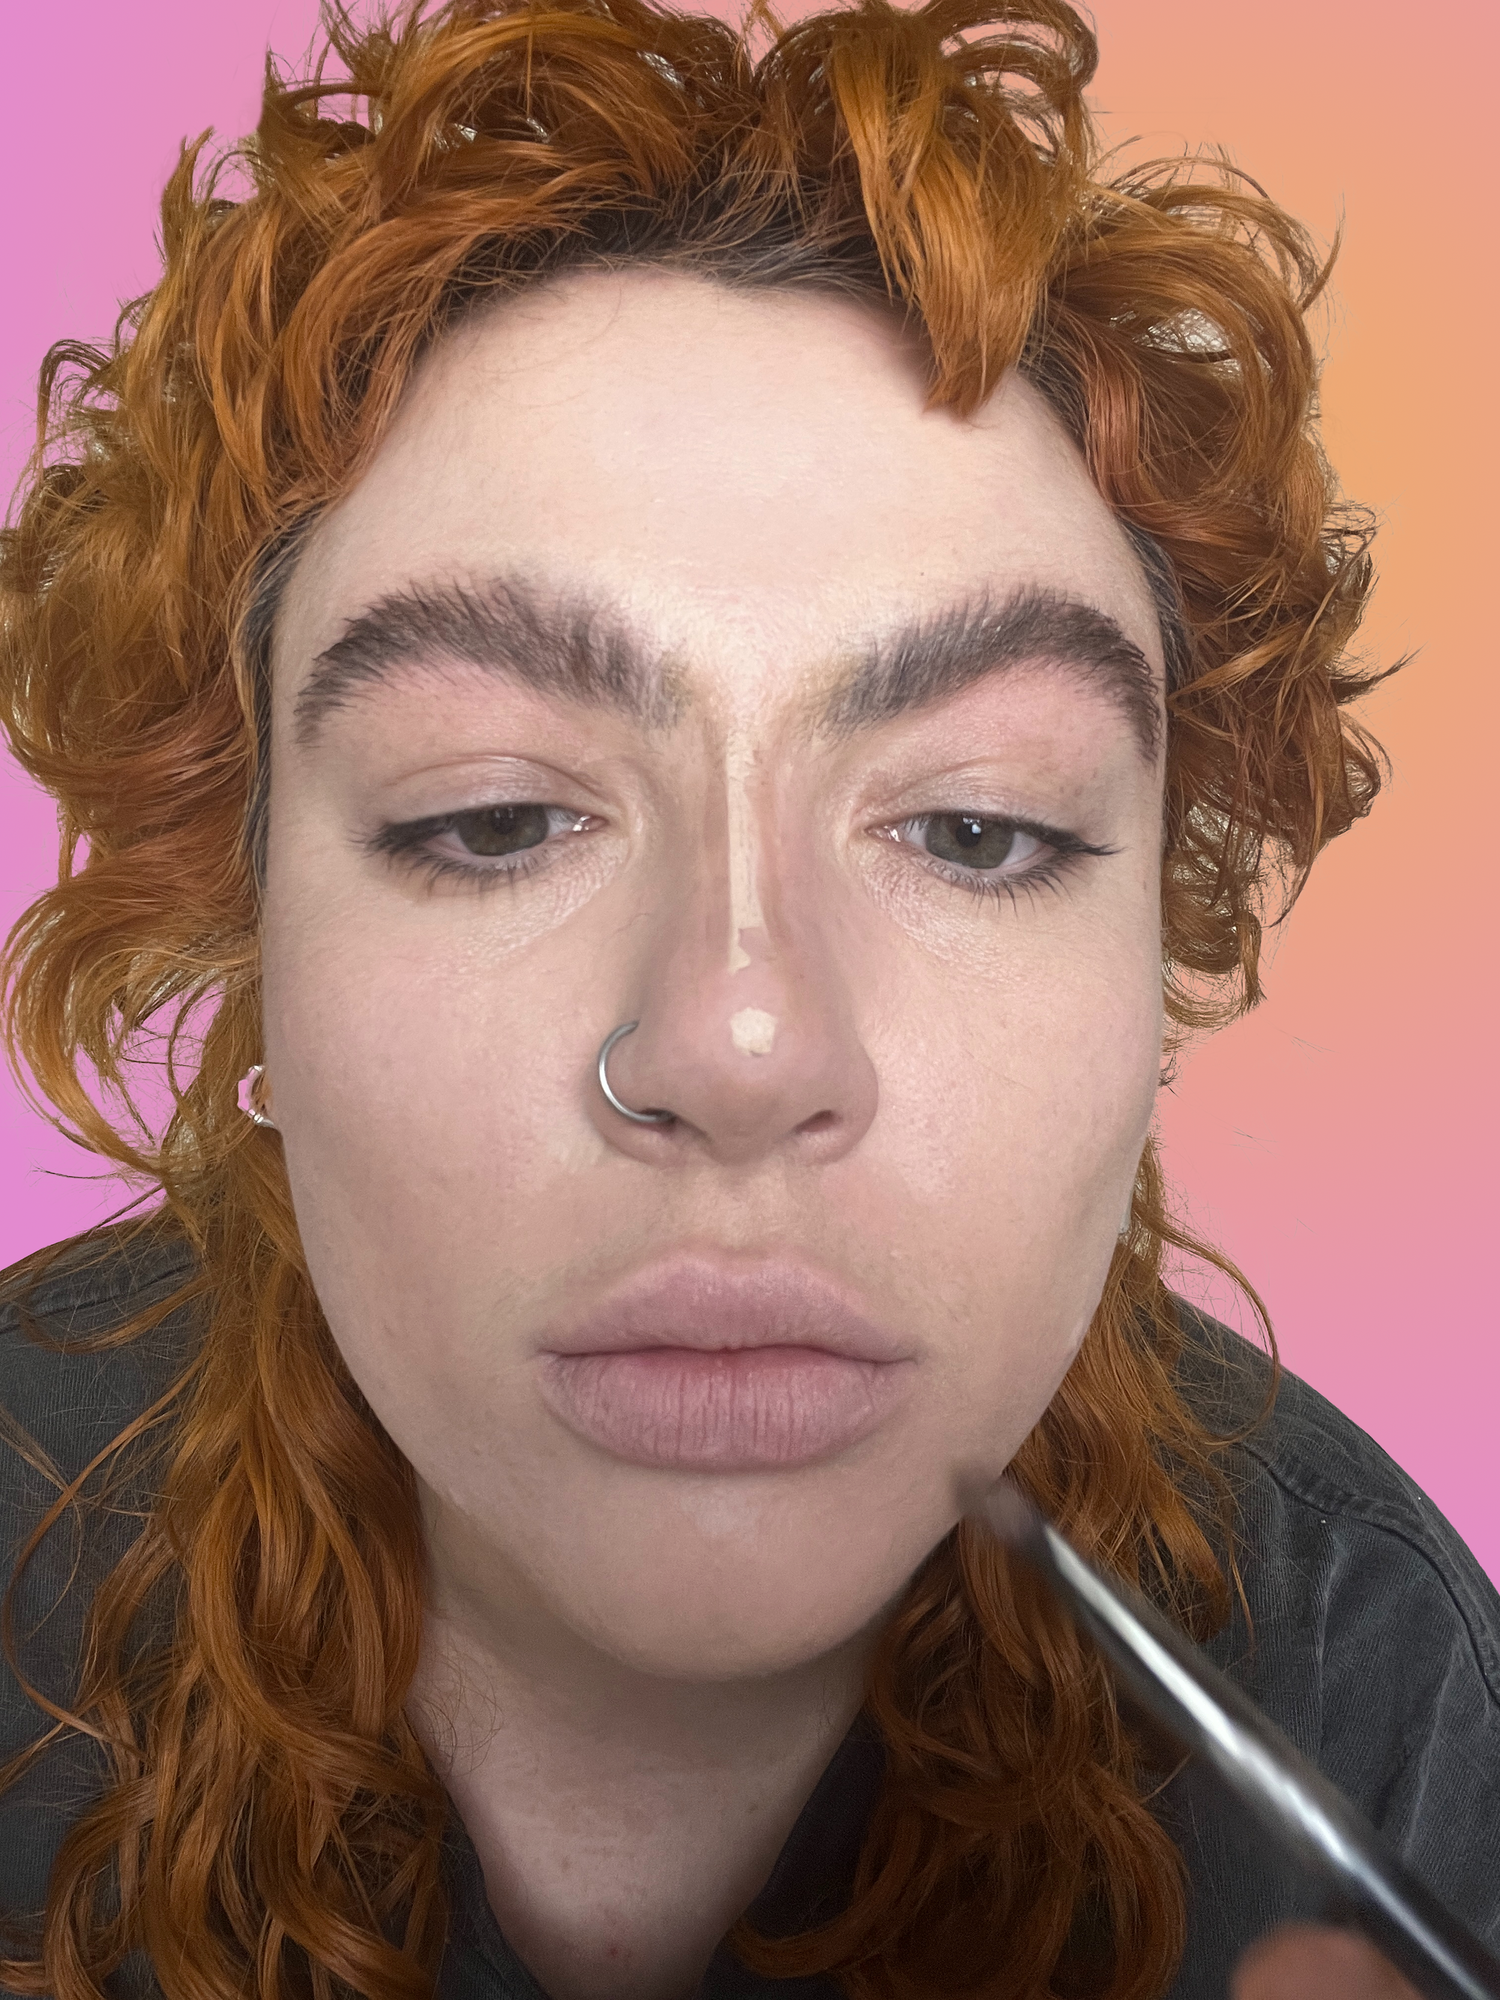
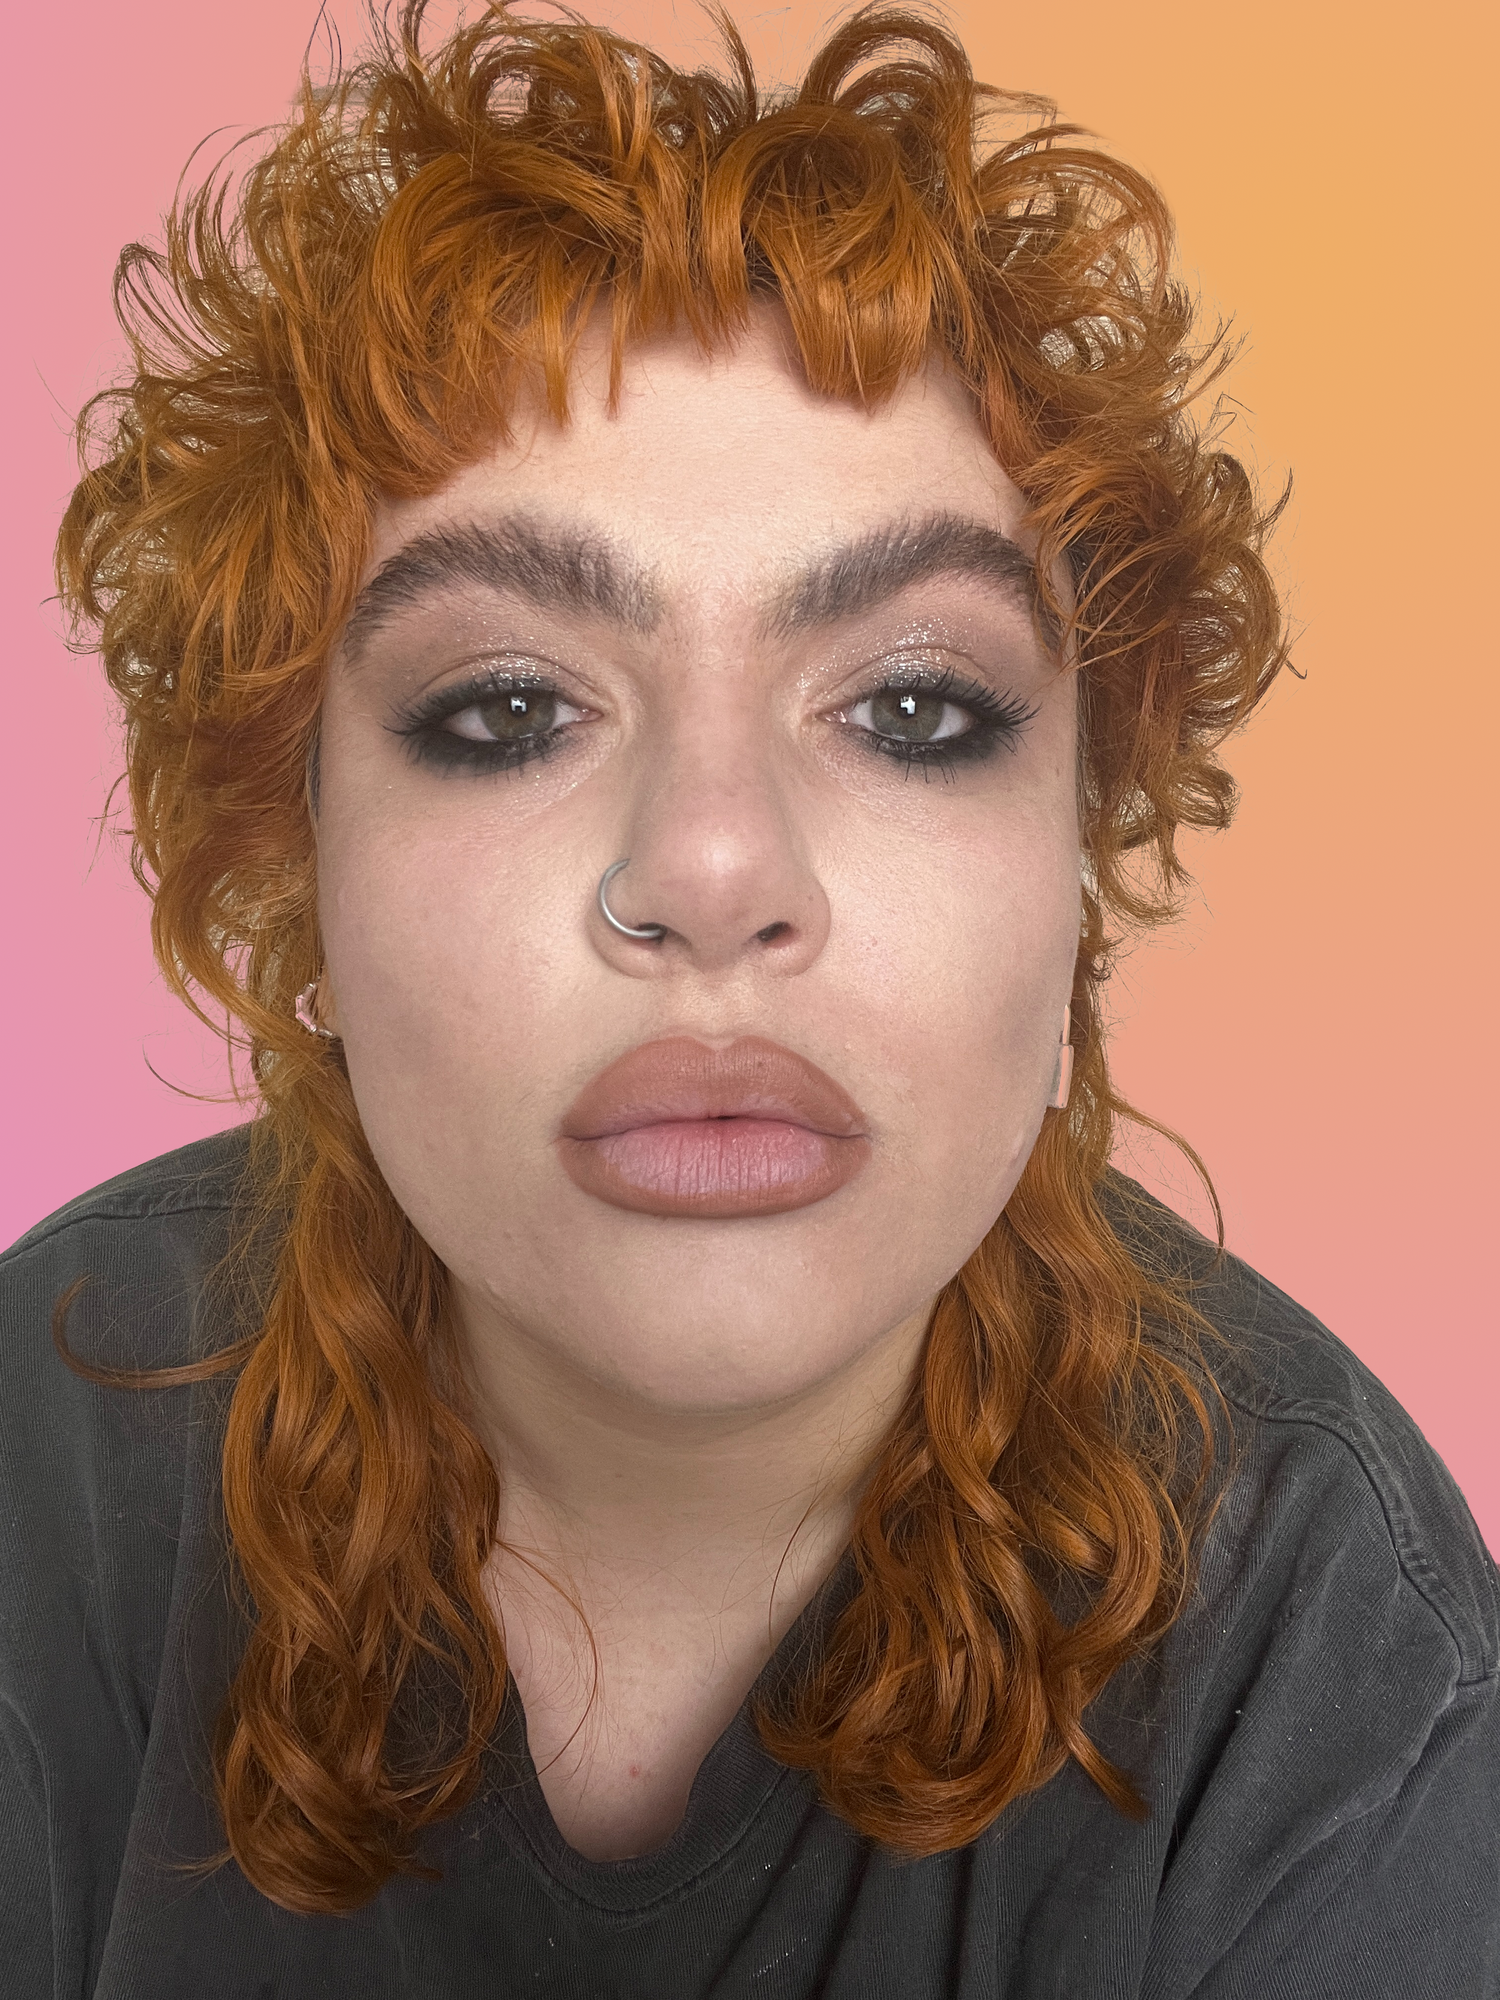
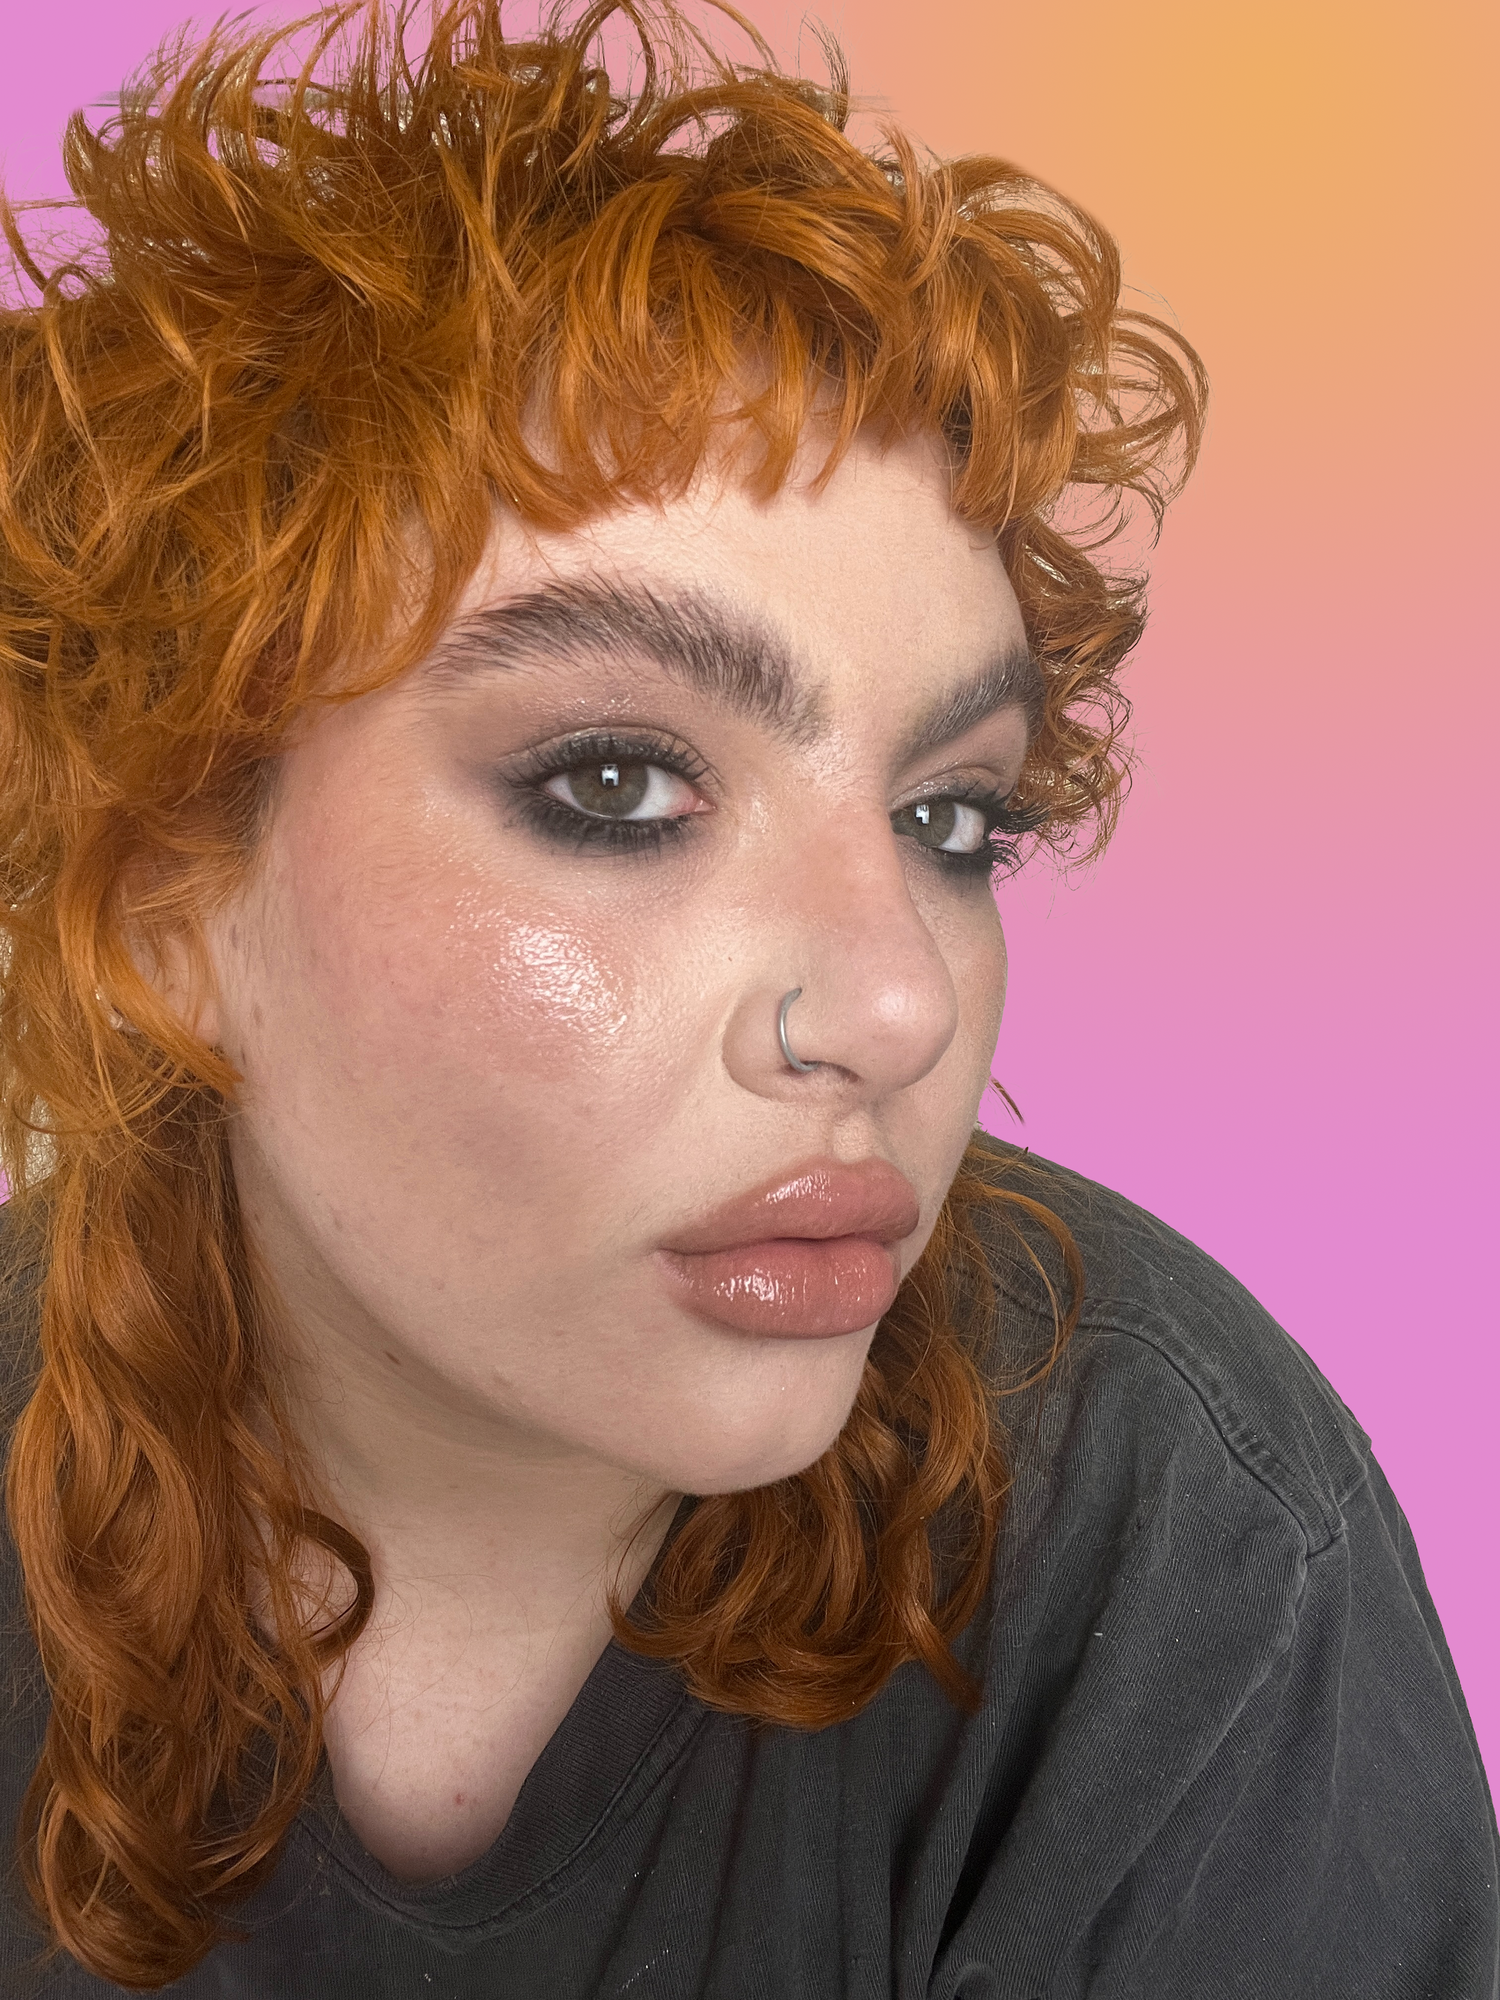
It should look something like this from the front.
After blending out, clean up with concealer. Realistic contouring is about tricking the eye by playing with shadows, so adding lightness next to the dark is really going to make the cheekbones look more realistically deep.
The next step is completely optional, but to add some dimension to my face I contour my nose using the same colours I used on my cheeks. At makeup school, I was told that doing this creates a relationship between all of the shadows on my face, but like most makeup trends it might just be reinforcing yassified european beauty standards - so this one is optional.
Hand in the bucket if you also have an existential crisis when you sit down and think about the way you apply makeup!!!
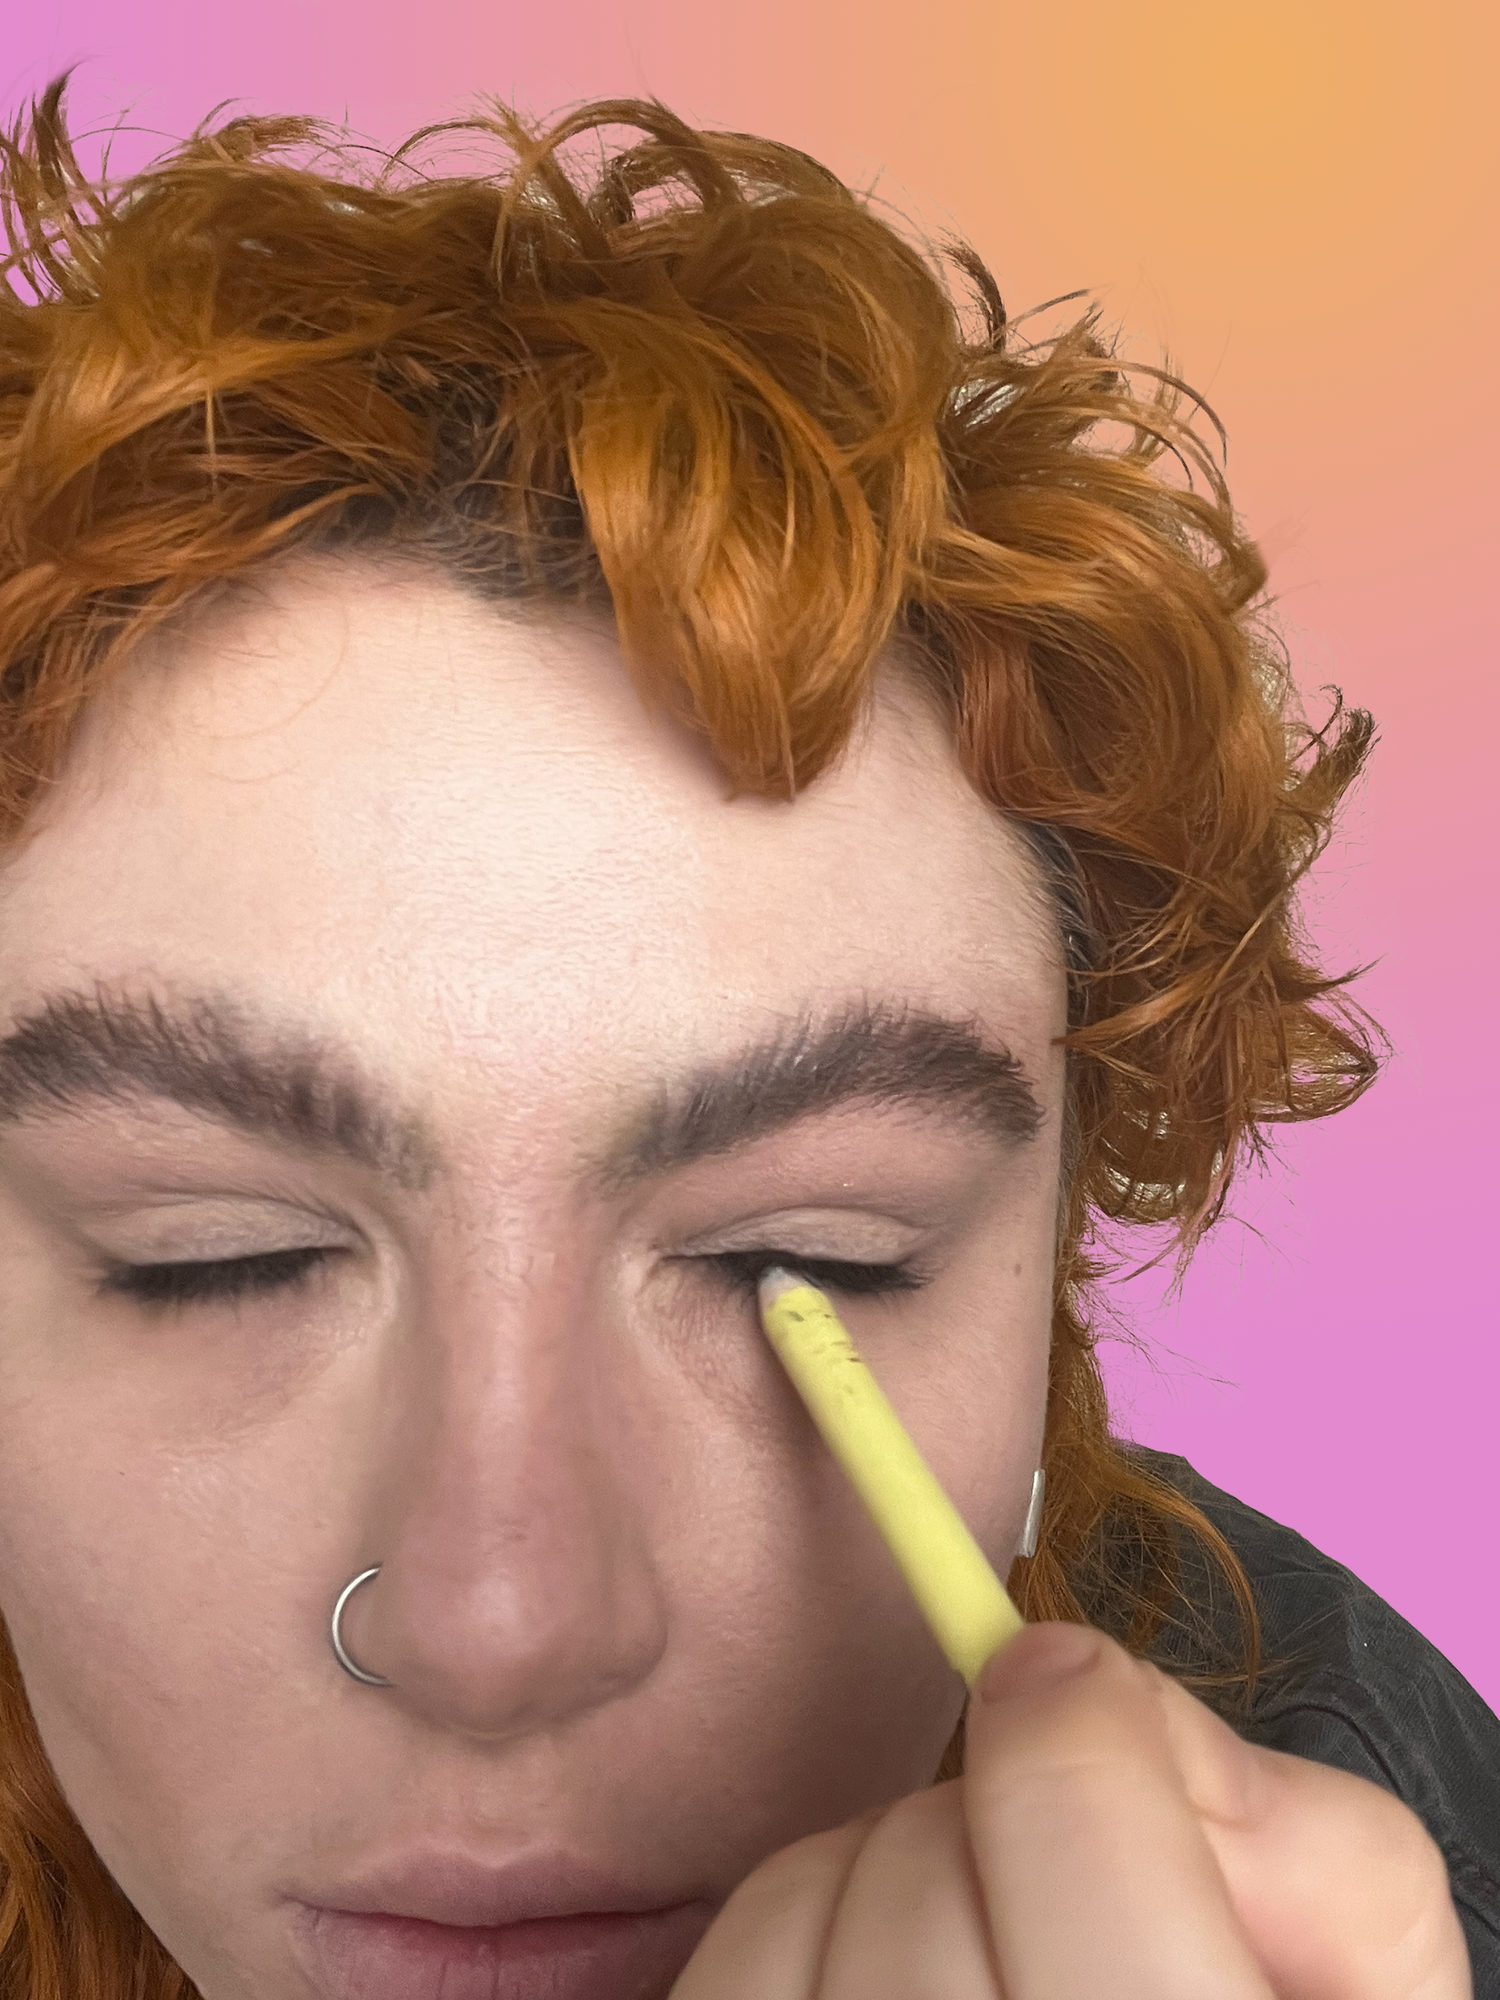
You could skip applying a primer completely if you wanted a realistic 00s look, but I have really oily eyelids so this would last approximately 10 minutes without. I’m using one that’s completely sheer, because the hyperpigmentation on my lids plays really well with the grungy, smoked out shadow.
No concealer or PLouise base here! Sheer products so you can really see any lid darkness. Also it would look weird if you had a makeup free undereye with a really corrected lid.
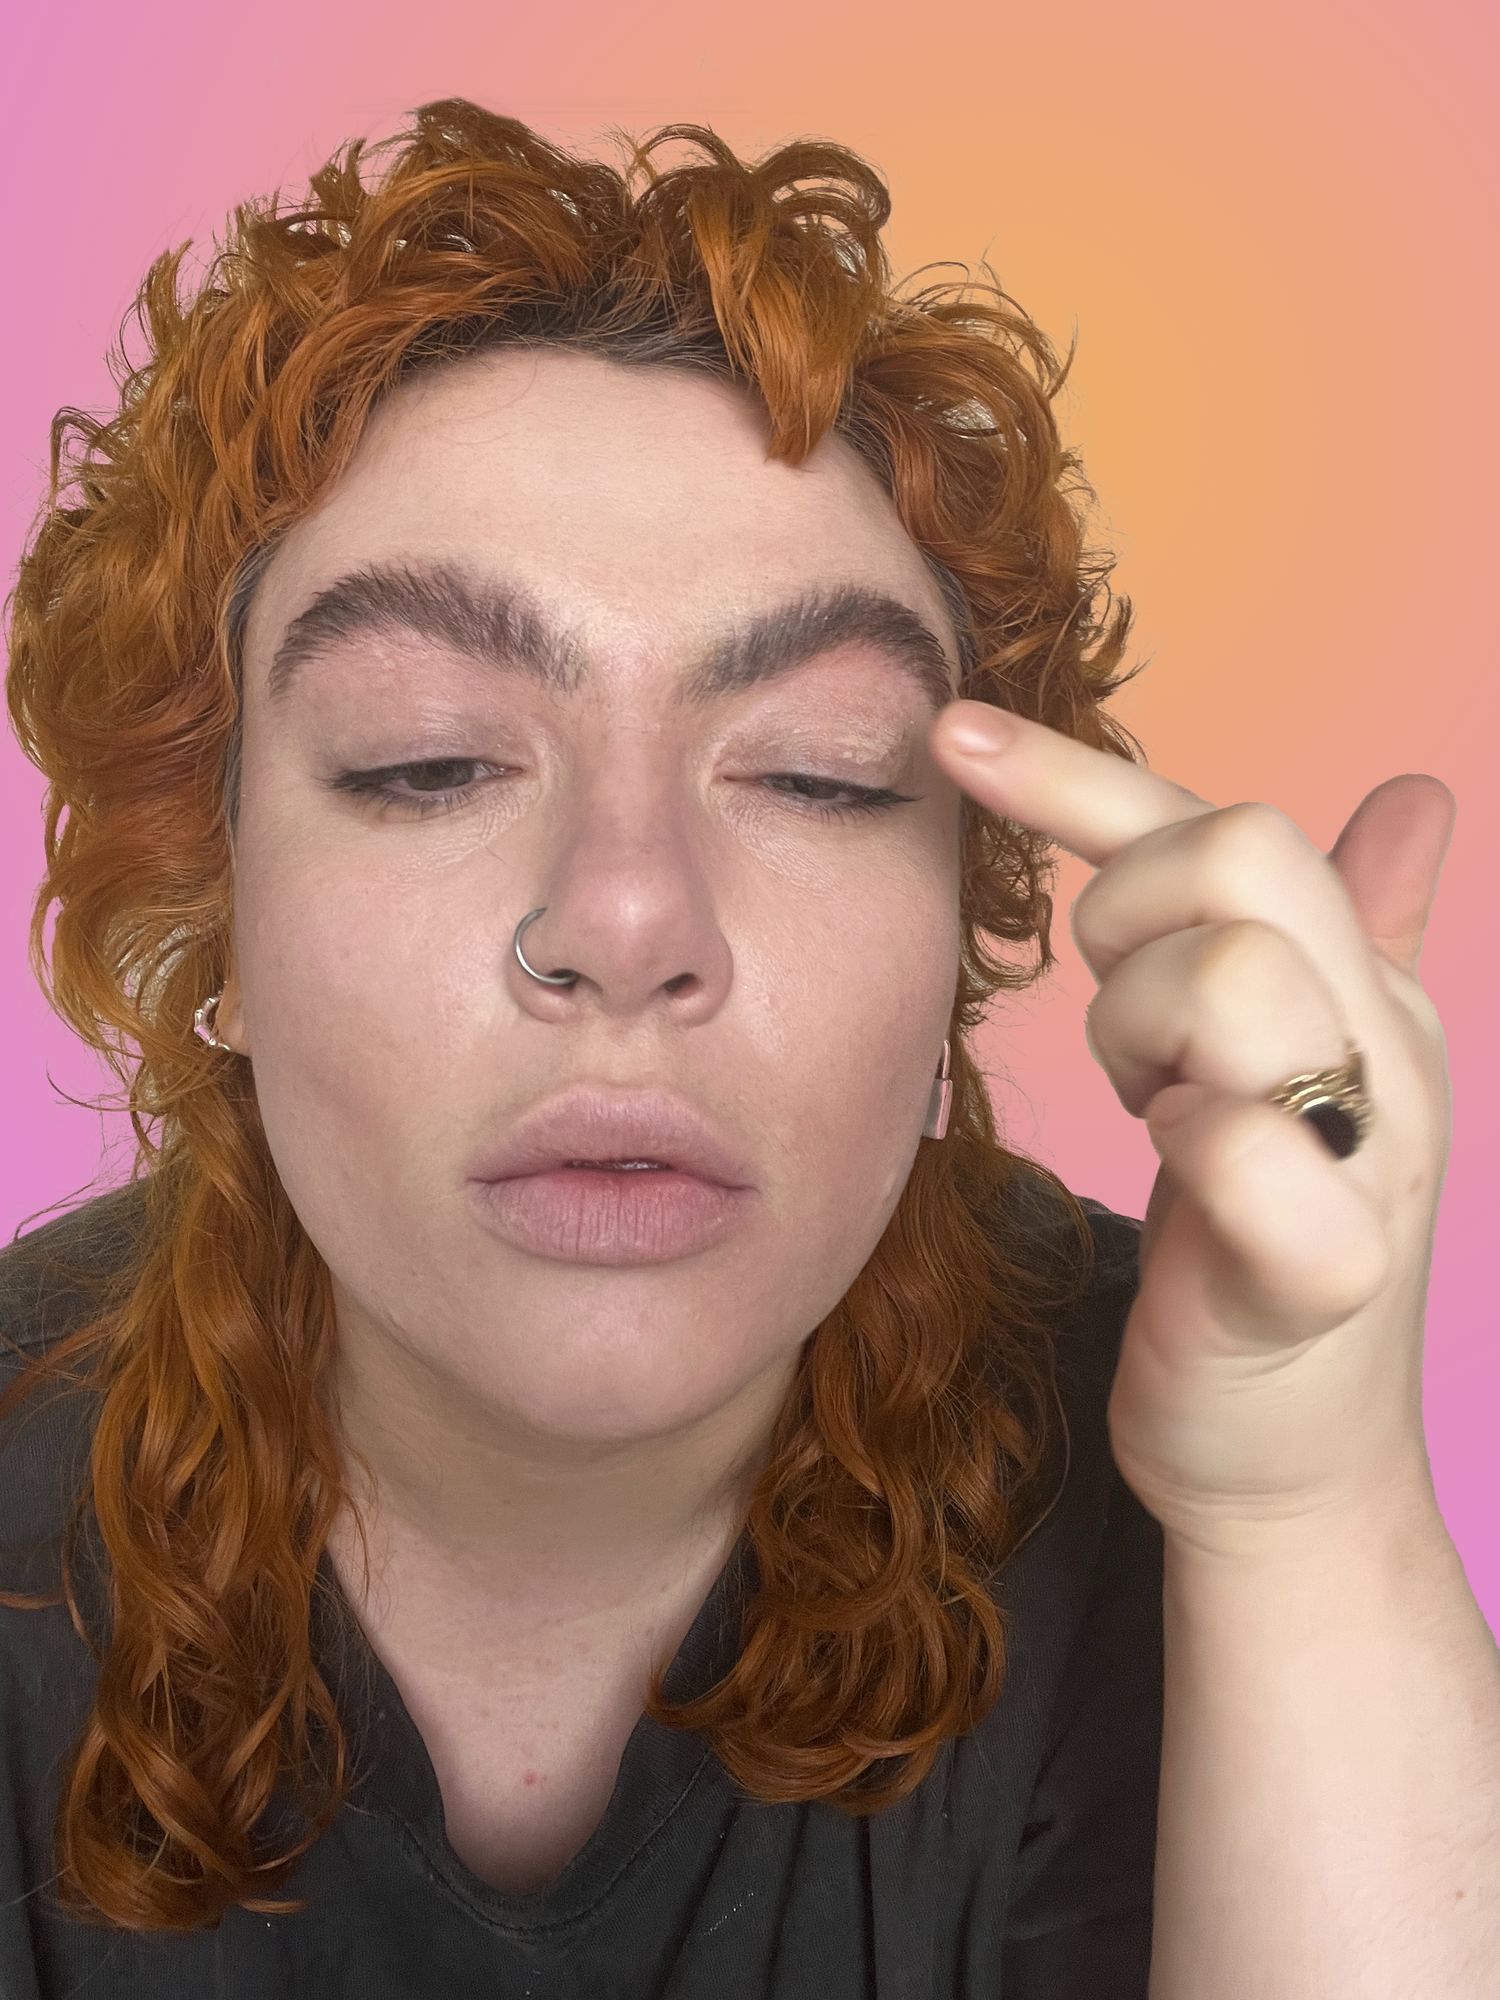
Using the same product you used for your contour, start adding depth to your eye by packing colour in the outer third of your socket and lash line in a v shape.
Like this.
Drag product under your eyes as low as you dare. The aim is to blend in with any natural discoloration.
When it’s blended, it’ll look better, promise.
Then, using a fluffy eyeshadow brush or, if you’re more DIY, a finger, soften the edges.
Told ya! Blended and gorge!
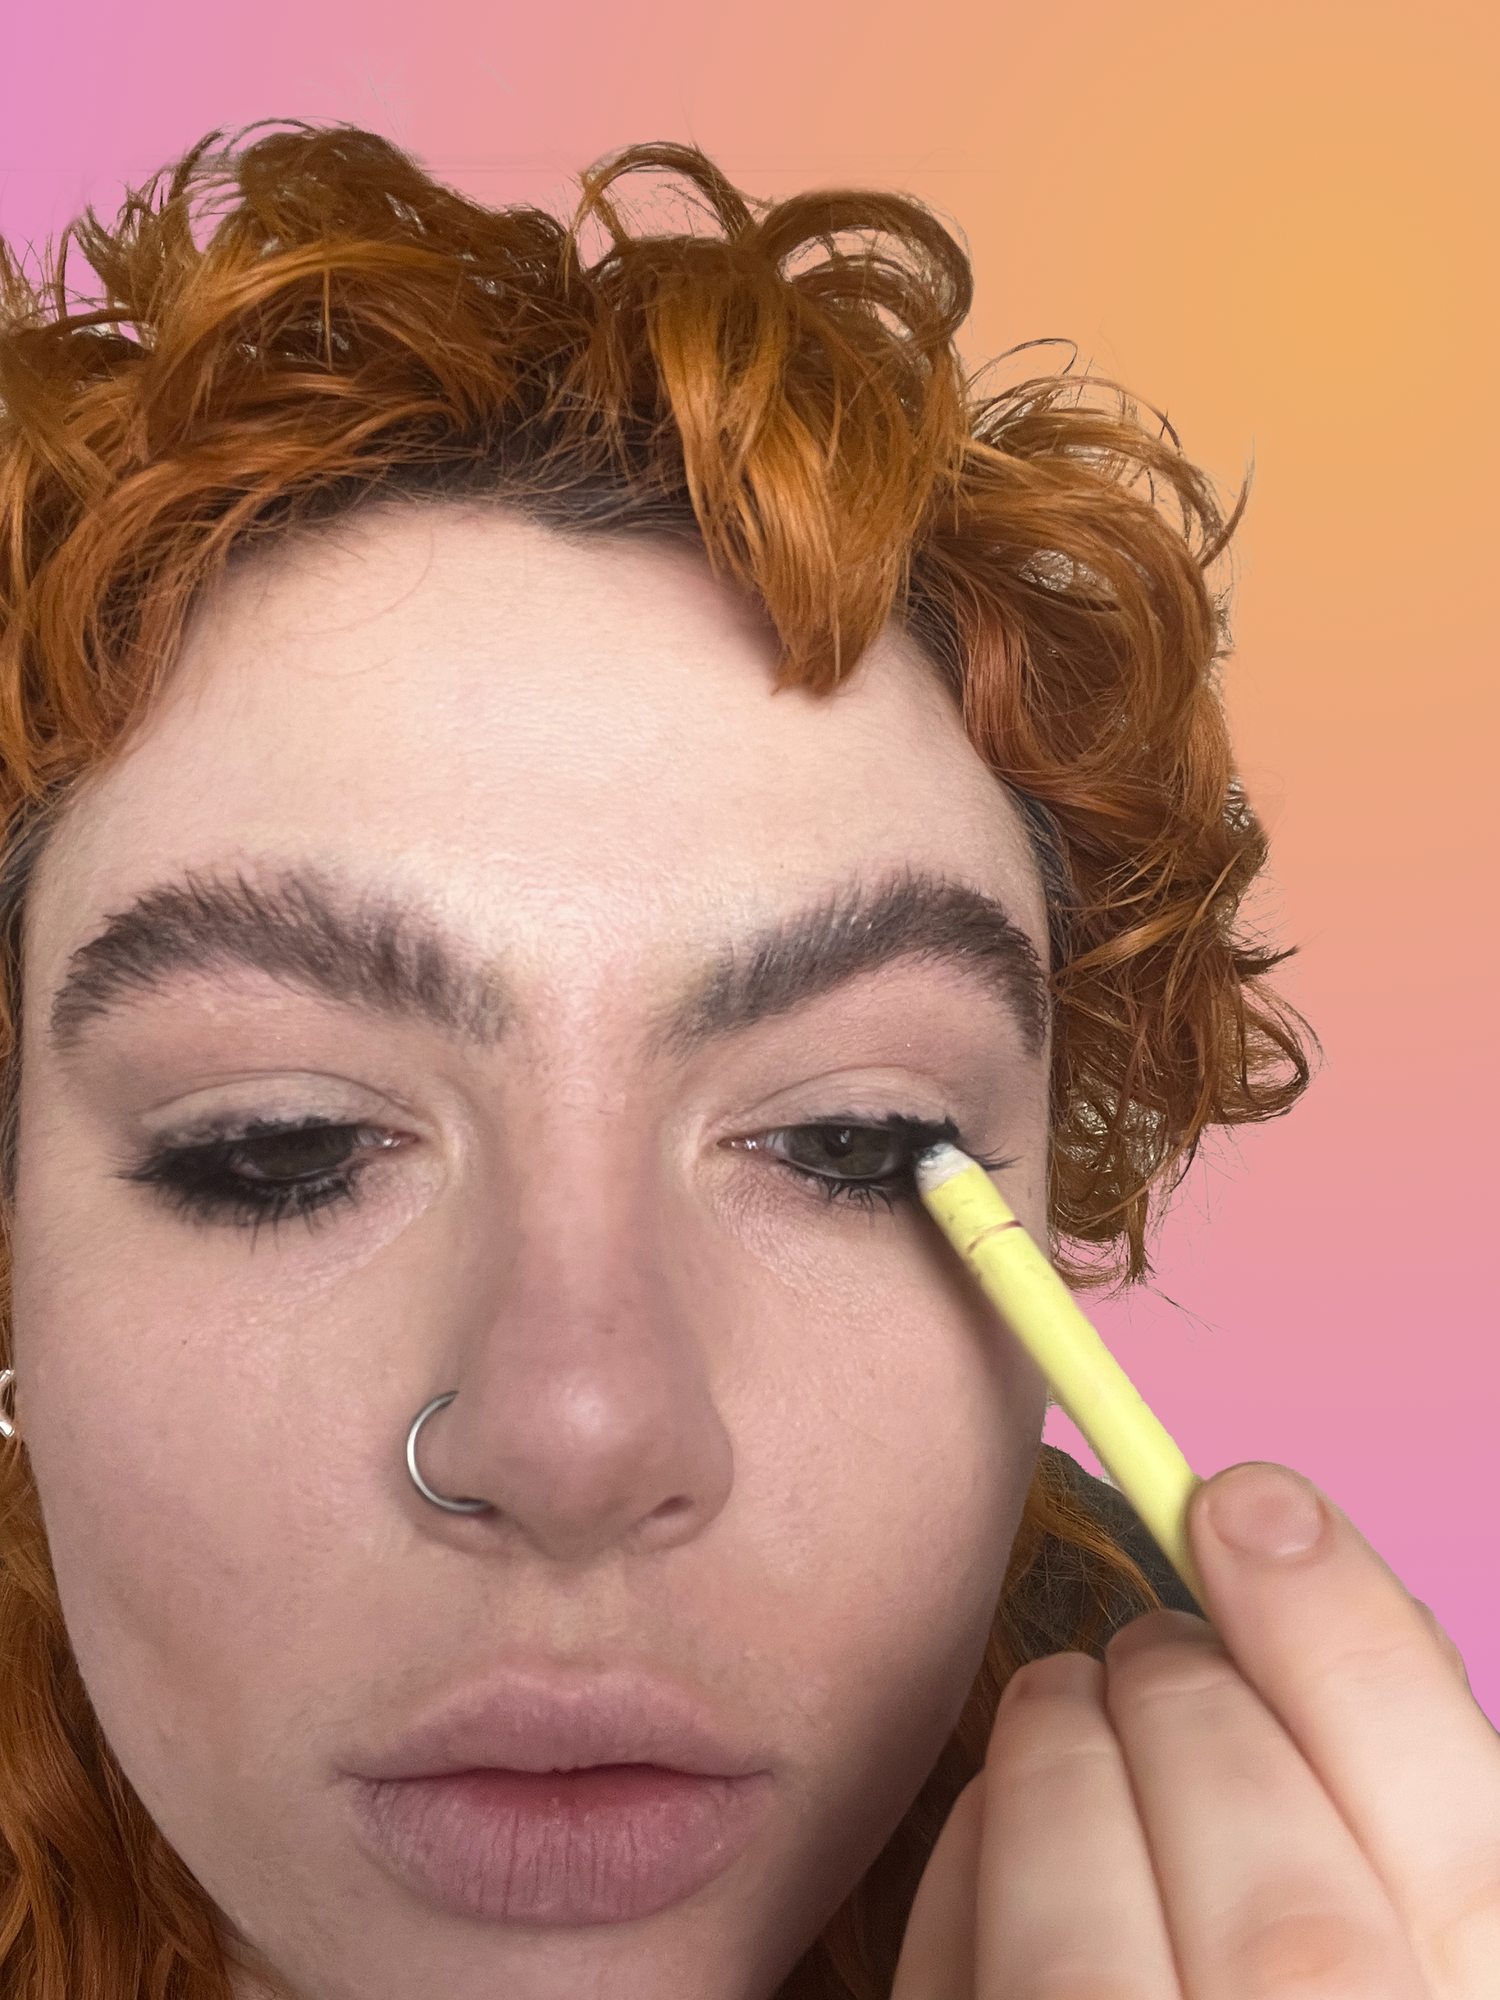
Next, we’re adding black eyeliner. The joy of this makeup style is it doesn’t have to be neat whatsoever, so while black is the scariest colour, you don’t have to stress. Getting it everywhere is only going to add to the fantasy! Go in with a black eyeliner pencil and apply on your waterline.

My bottom eyelashes are so long and unruly they act as a magnet for whatever I’m adding to my waterline. For once, it really doesn’t matter that the pencil has smudged into ‘em!
To tightline (apply liner to your top waterline), aim your pencil upwards and close your eyes around it. This feels weird and looks torturous, but it works and is going to add depth from the very base of your lashes.
Next, start adding black liner to your upper and lower lid. You can do this as slapdash as you want, because the aim is for it to look distressed and worn in.
It truly is the messier, the better.
Blend out with a pencil brush or ya phalanges, dragging the liner into the same shape as the original V you made.
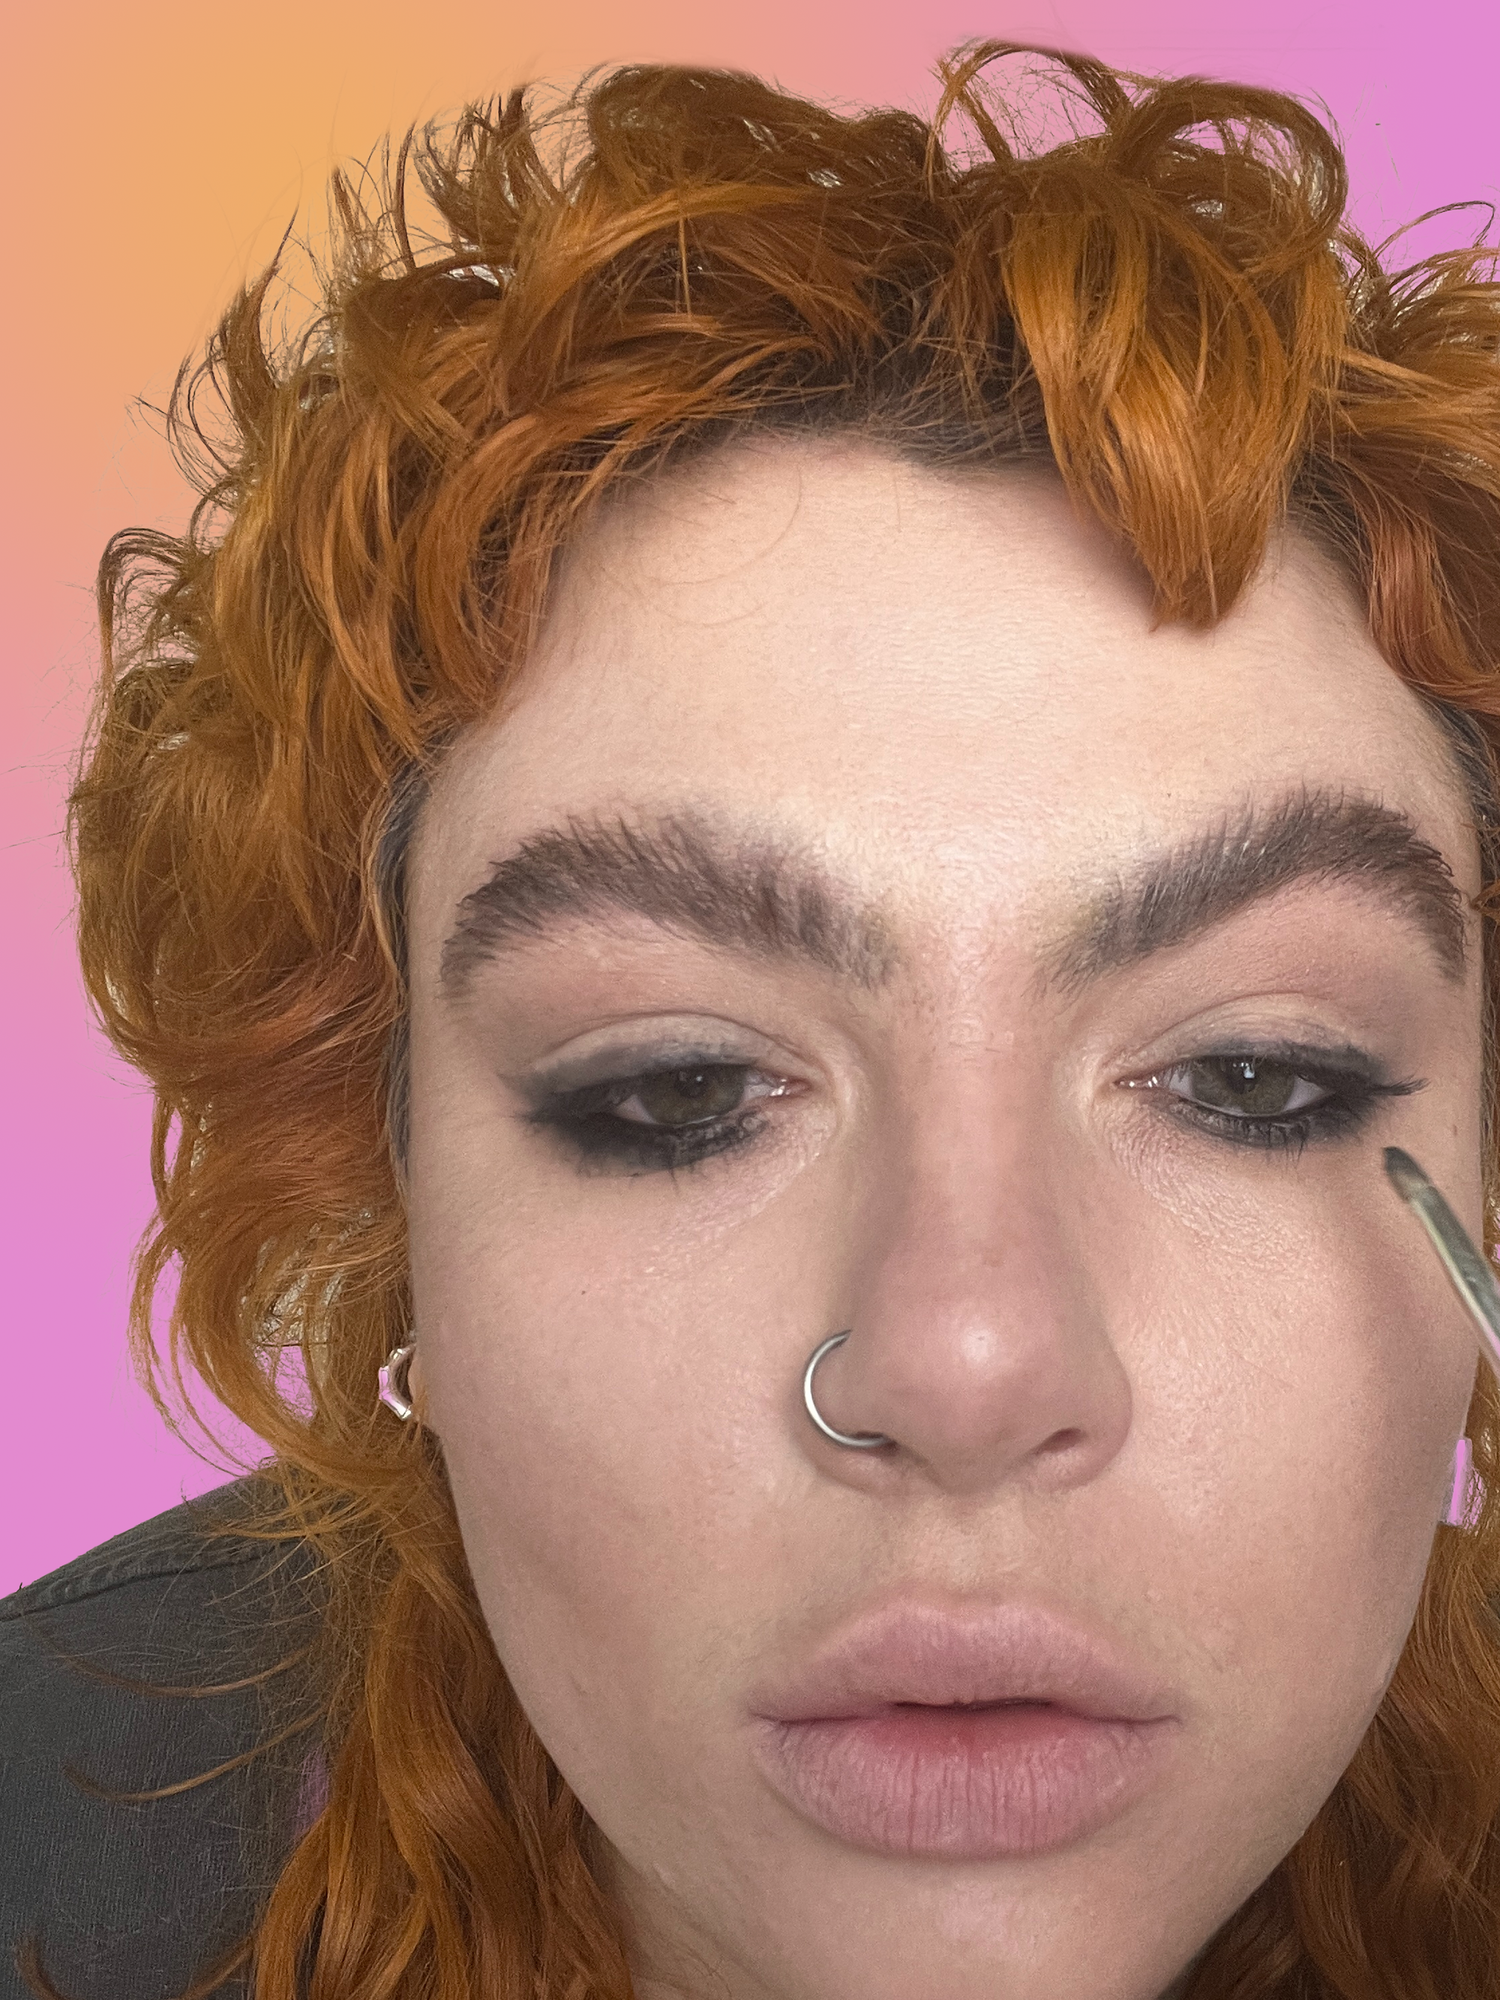
It should start looking something like this!
Then, take a powder shadow or contour product and start adding that to bring back the smokiness. This will help make your edges clean and hazy with a smoother transition from the black liner to the cool toned cream.

You could add lashings of mascara and call the look finished here, but Christmas party season is right around the corner, and I want to amp things up, so I laid down a wet looking glittery eyeshadow.
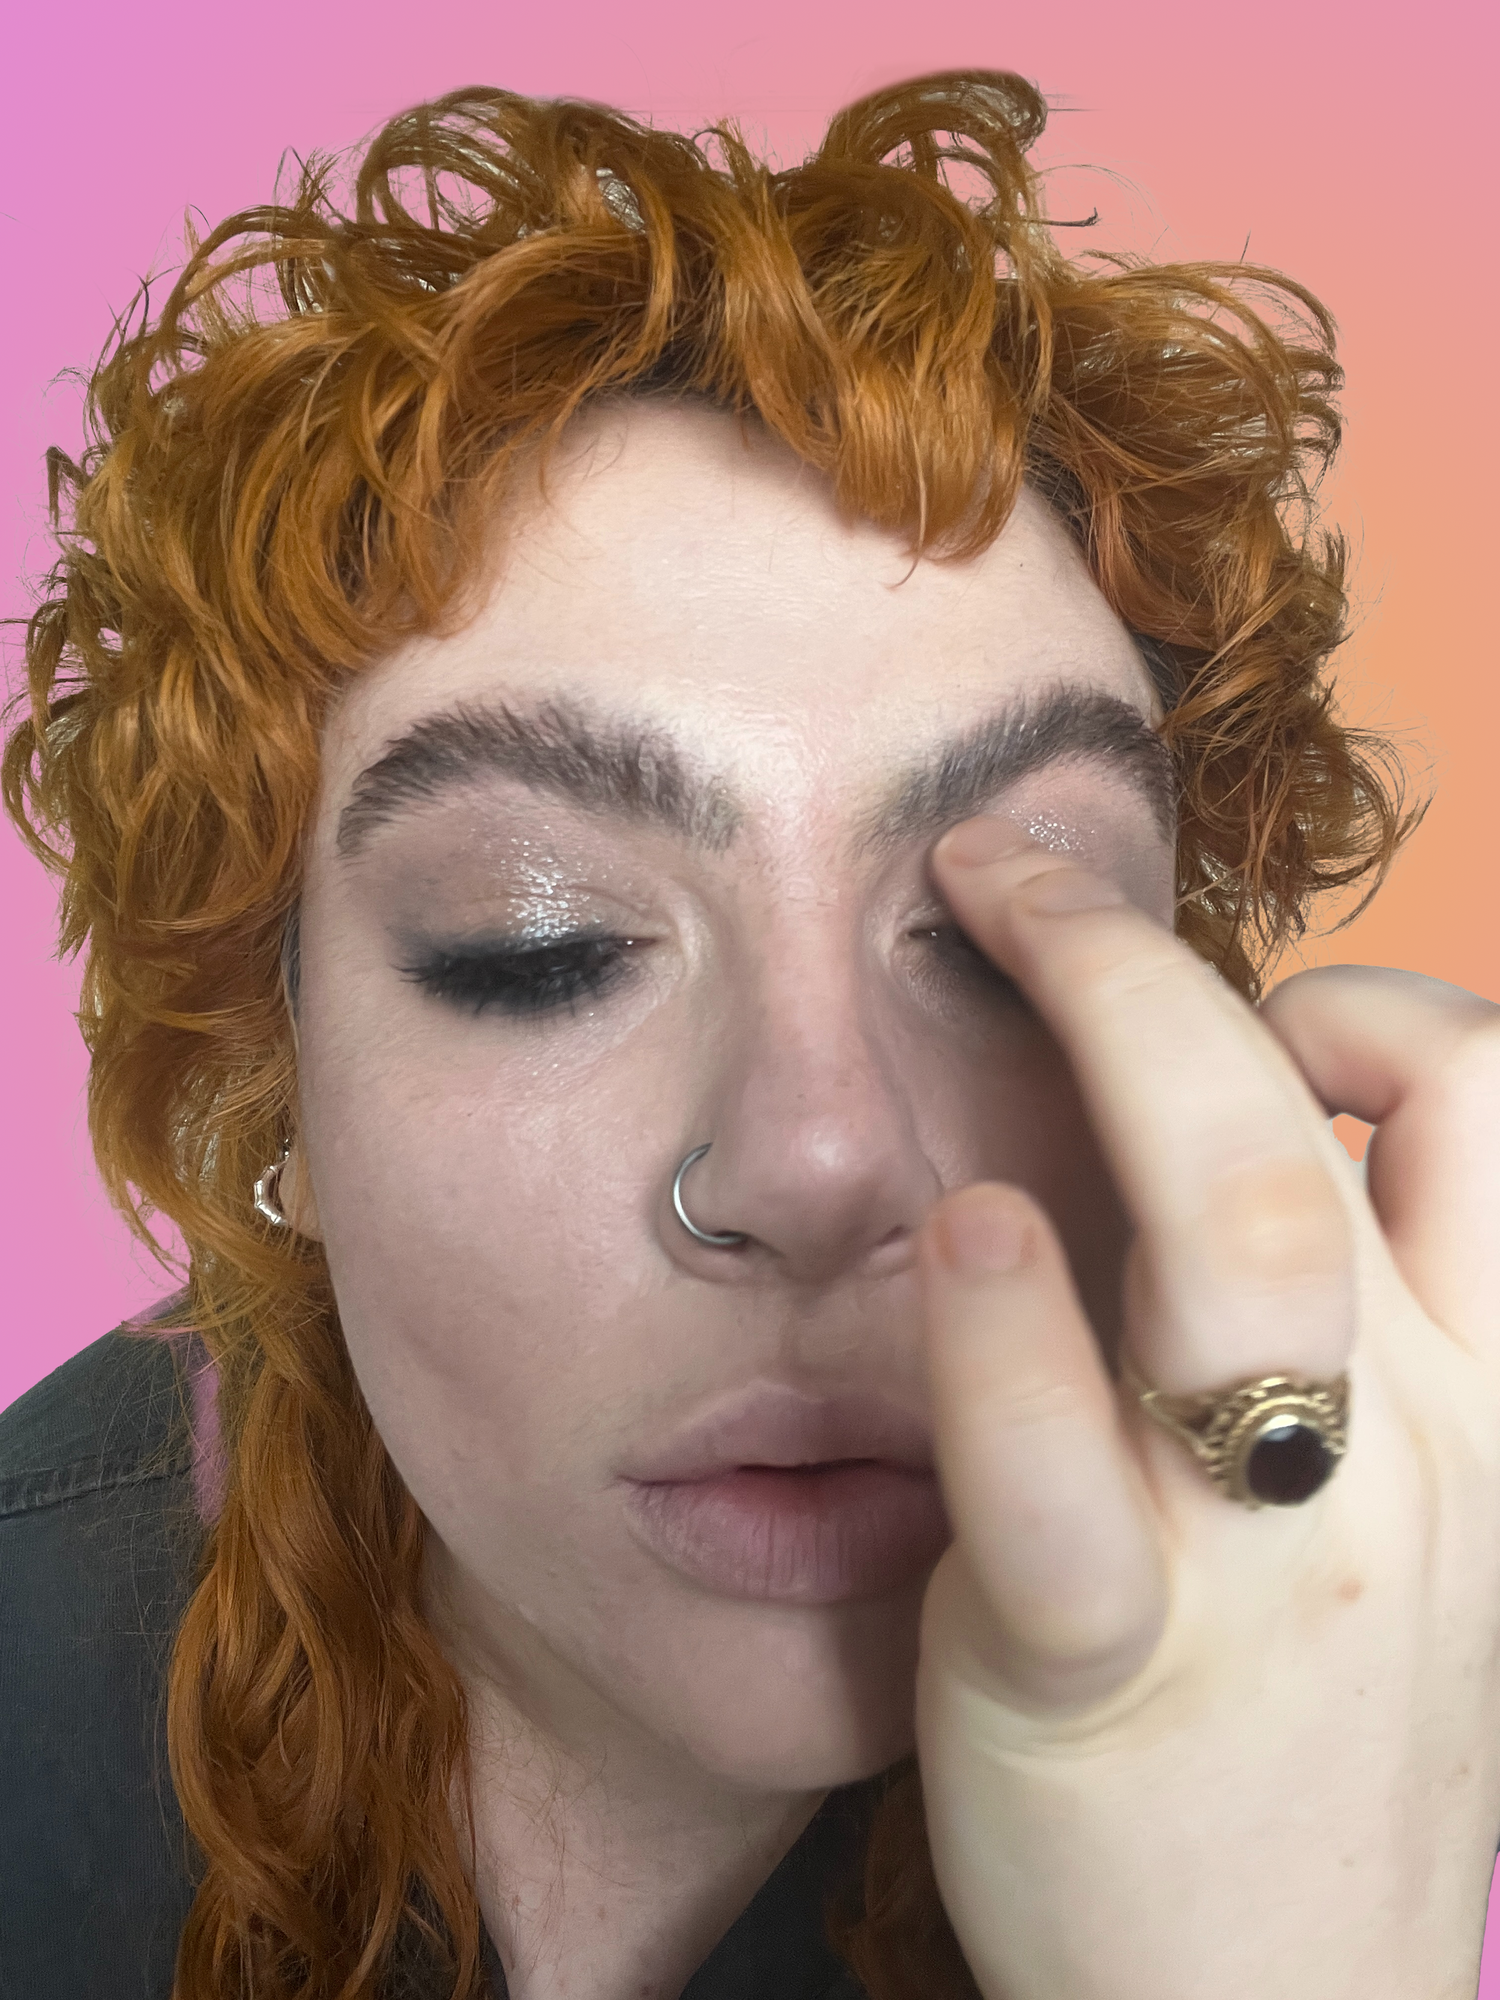
Urban Decay’s Space Cowboy is my plus oneim to every festive event. Look at the shine!
To make things party proof, I’m going back and perfecting my base. Starting by adding a transluscent powder through the centre of my face.
This makeup is supposed to look worn in and fuss free, but in order for it to ACTUALLY be fuss free, you have to set it. Ugh.
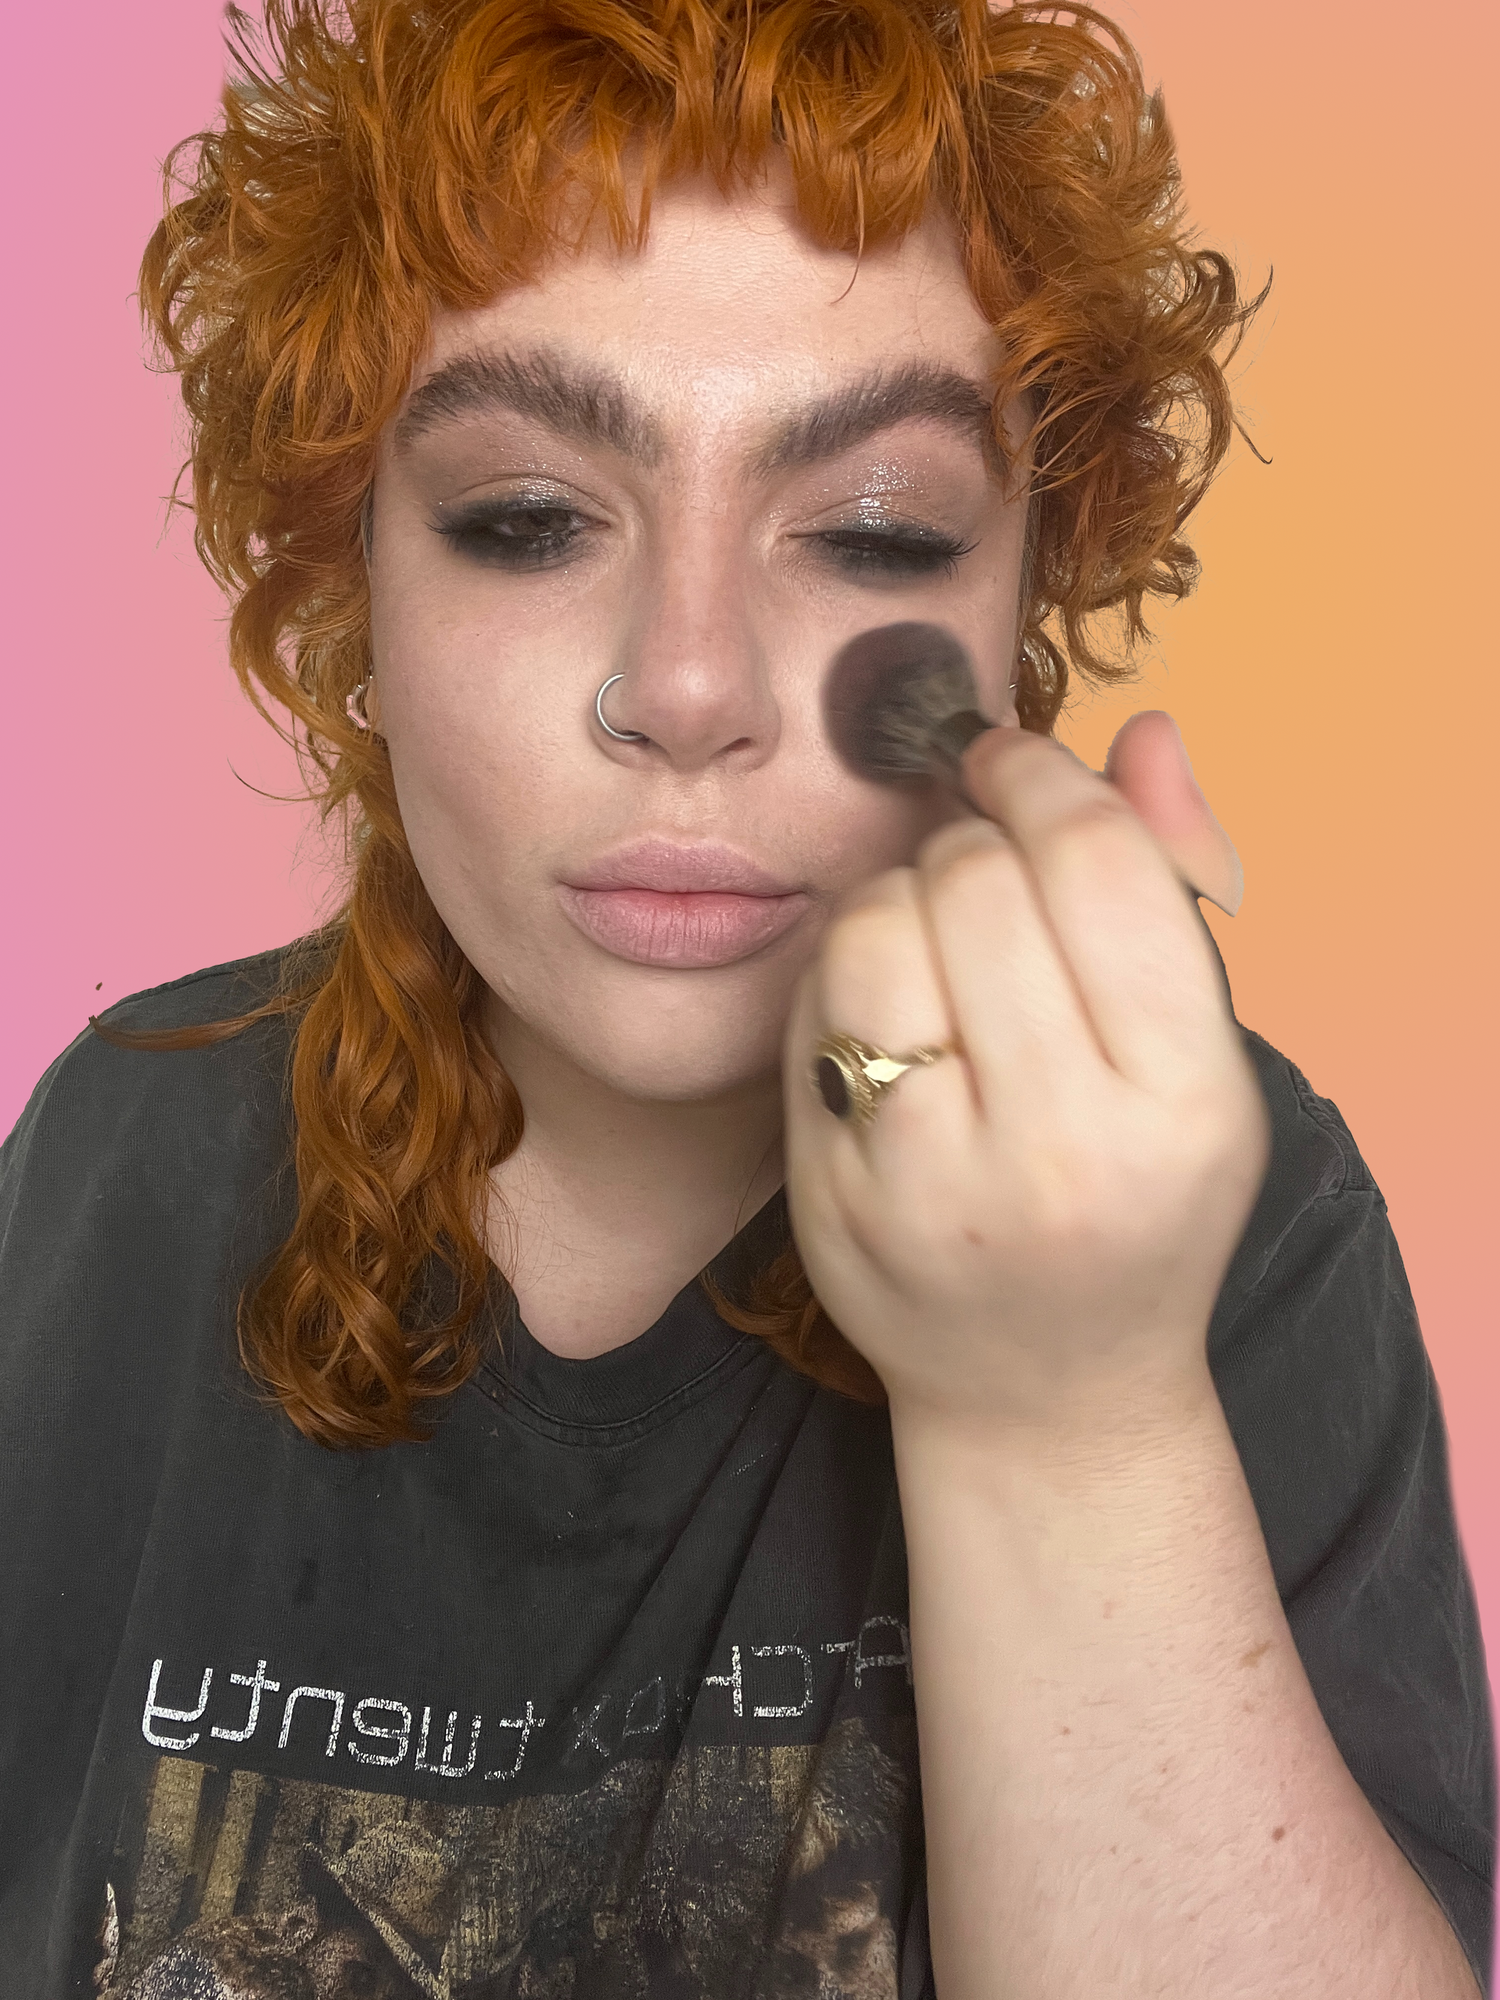
Then reinforcing my cream contours with the cool toned powder we used in our eyes. Focussing on the hollow of the cheek.
You could use any colour you like here, whether that’s Alice Dellal burgundy or Karen O red. I want to avoid looking too festive and glam, so I’ve opted for a nude.
Then buffing out with a pencil brush and my contour powder, to give a diffused look.
The scouse prin in me wished I’d stopped here, but in the 00s visible lip liner felt like a dated relic of the 90s and I wanted to stay true to the era.
To finish the lips I grabbed a browny lipstick, tapping it in with my fingers so it didn’t look freshly applied.
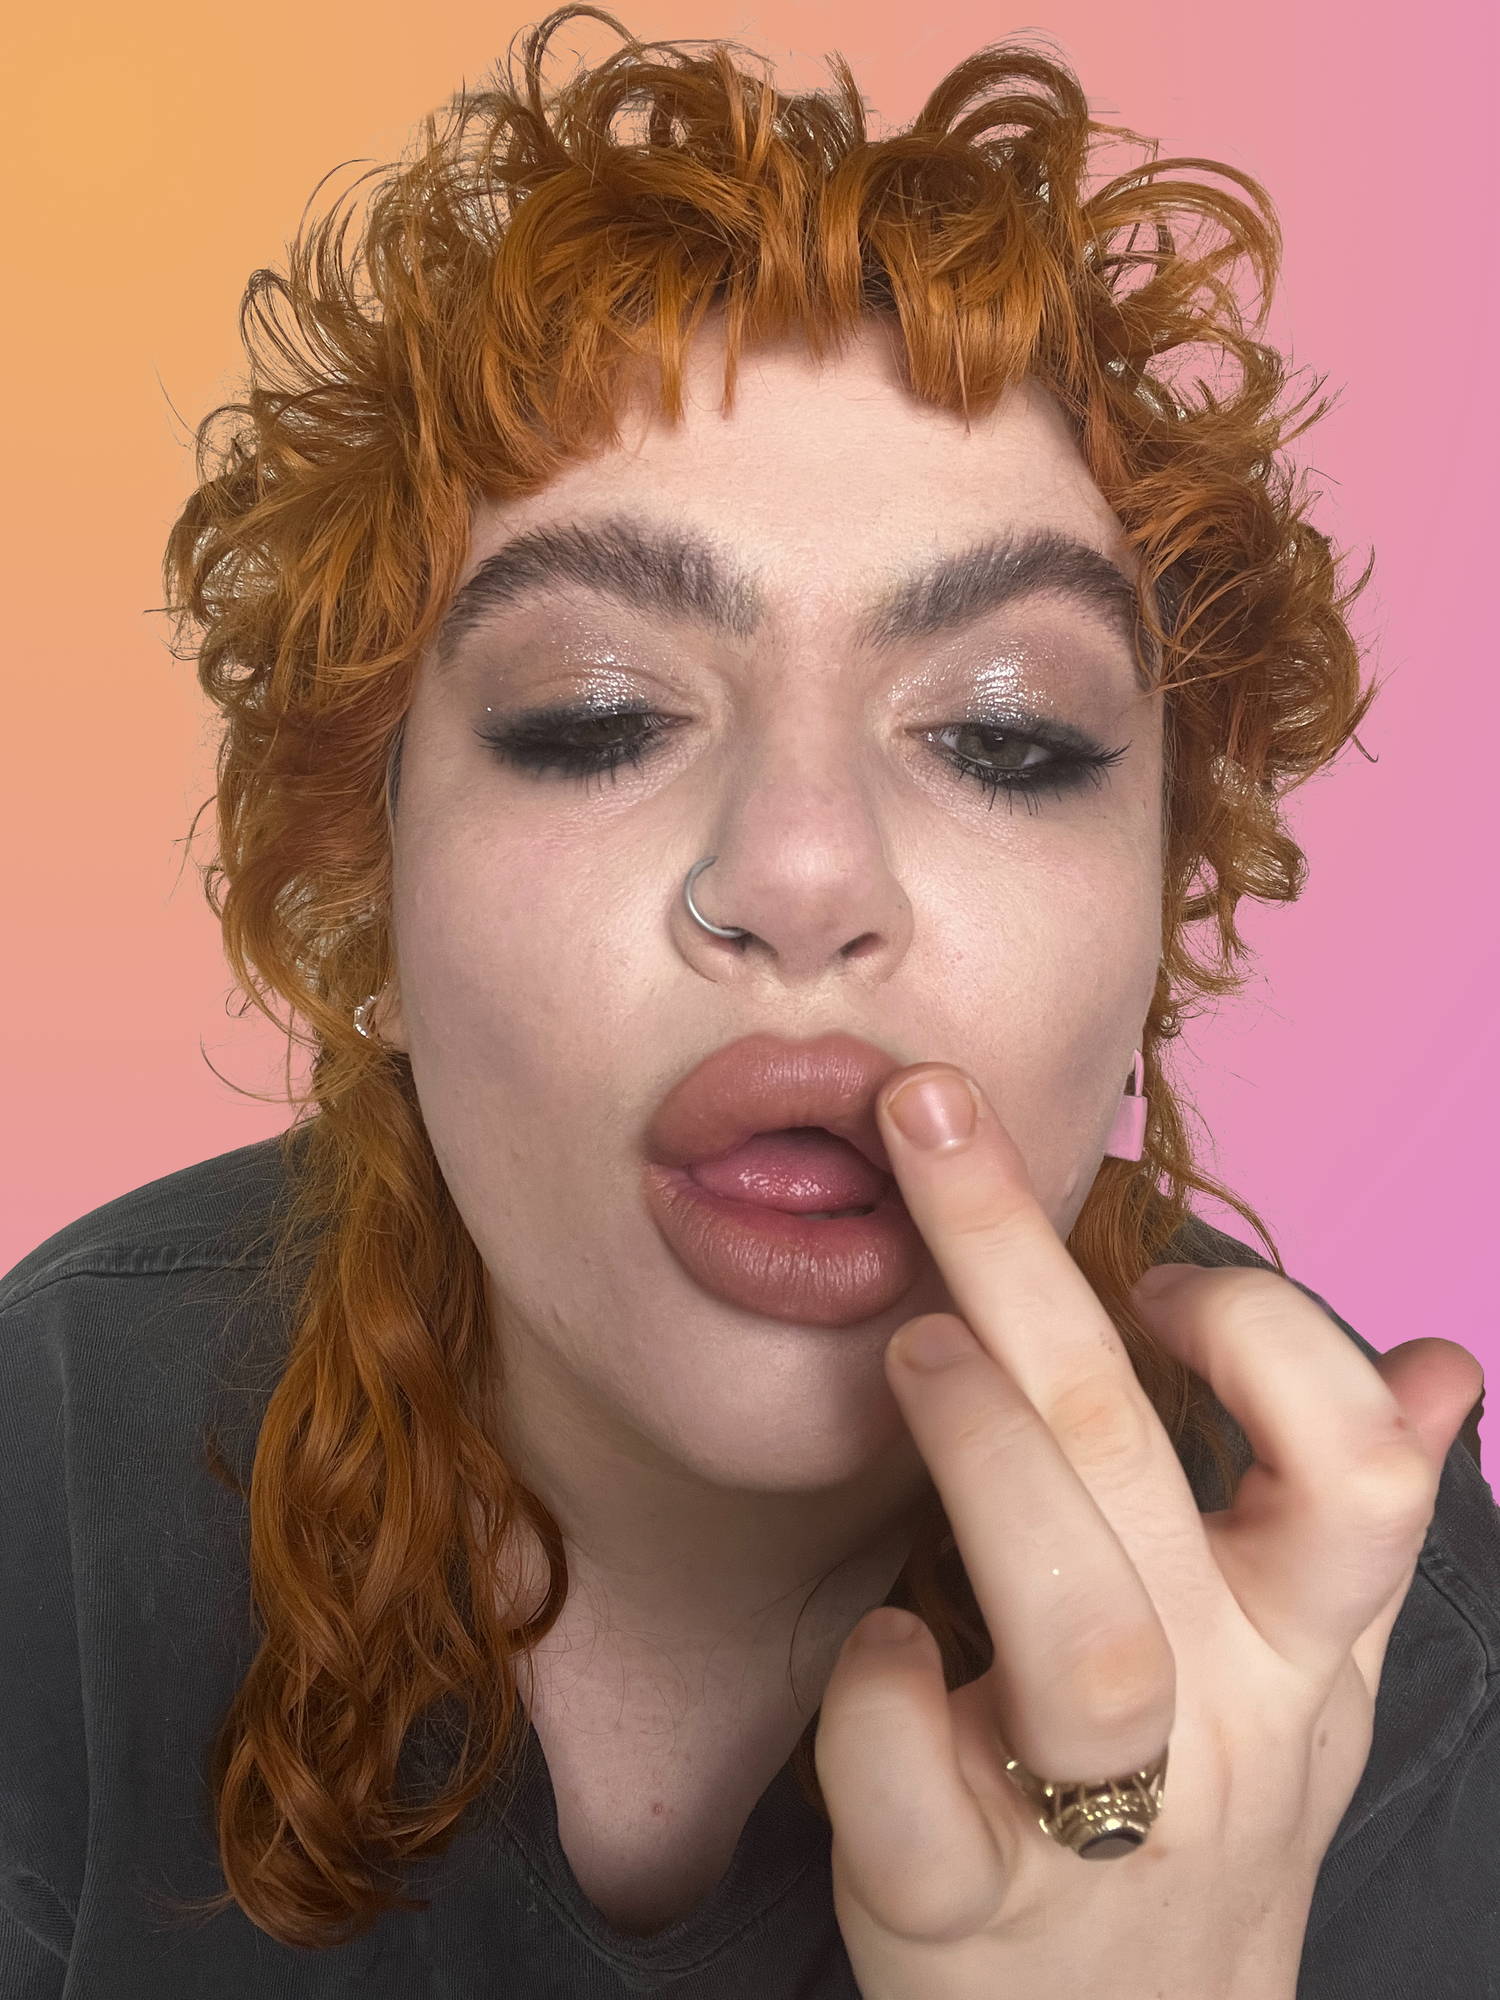
My revolting, hair dye stained nails are an integral part of the look tyvm xx
Then whizzed the same shade on my cheeks and bridge of my nose to add some colour back into my face.
Like this.
Highlighter was not something I had in my makeup bag ‘til around 2014, so I’m adding glow to my face with good old lipgloss. It seems scary, but it’s going to add the most natural, cool girl glow. Is it sweat? Is it just really good skin? ~who knows~
I popped it on my temples, the highest point of my cheekbones and my lips
Glauuuur.
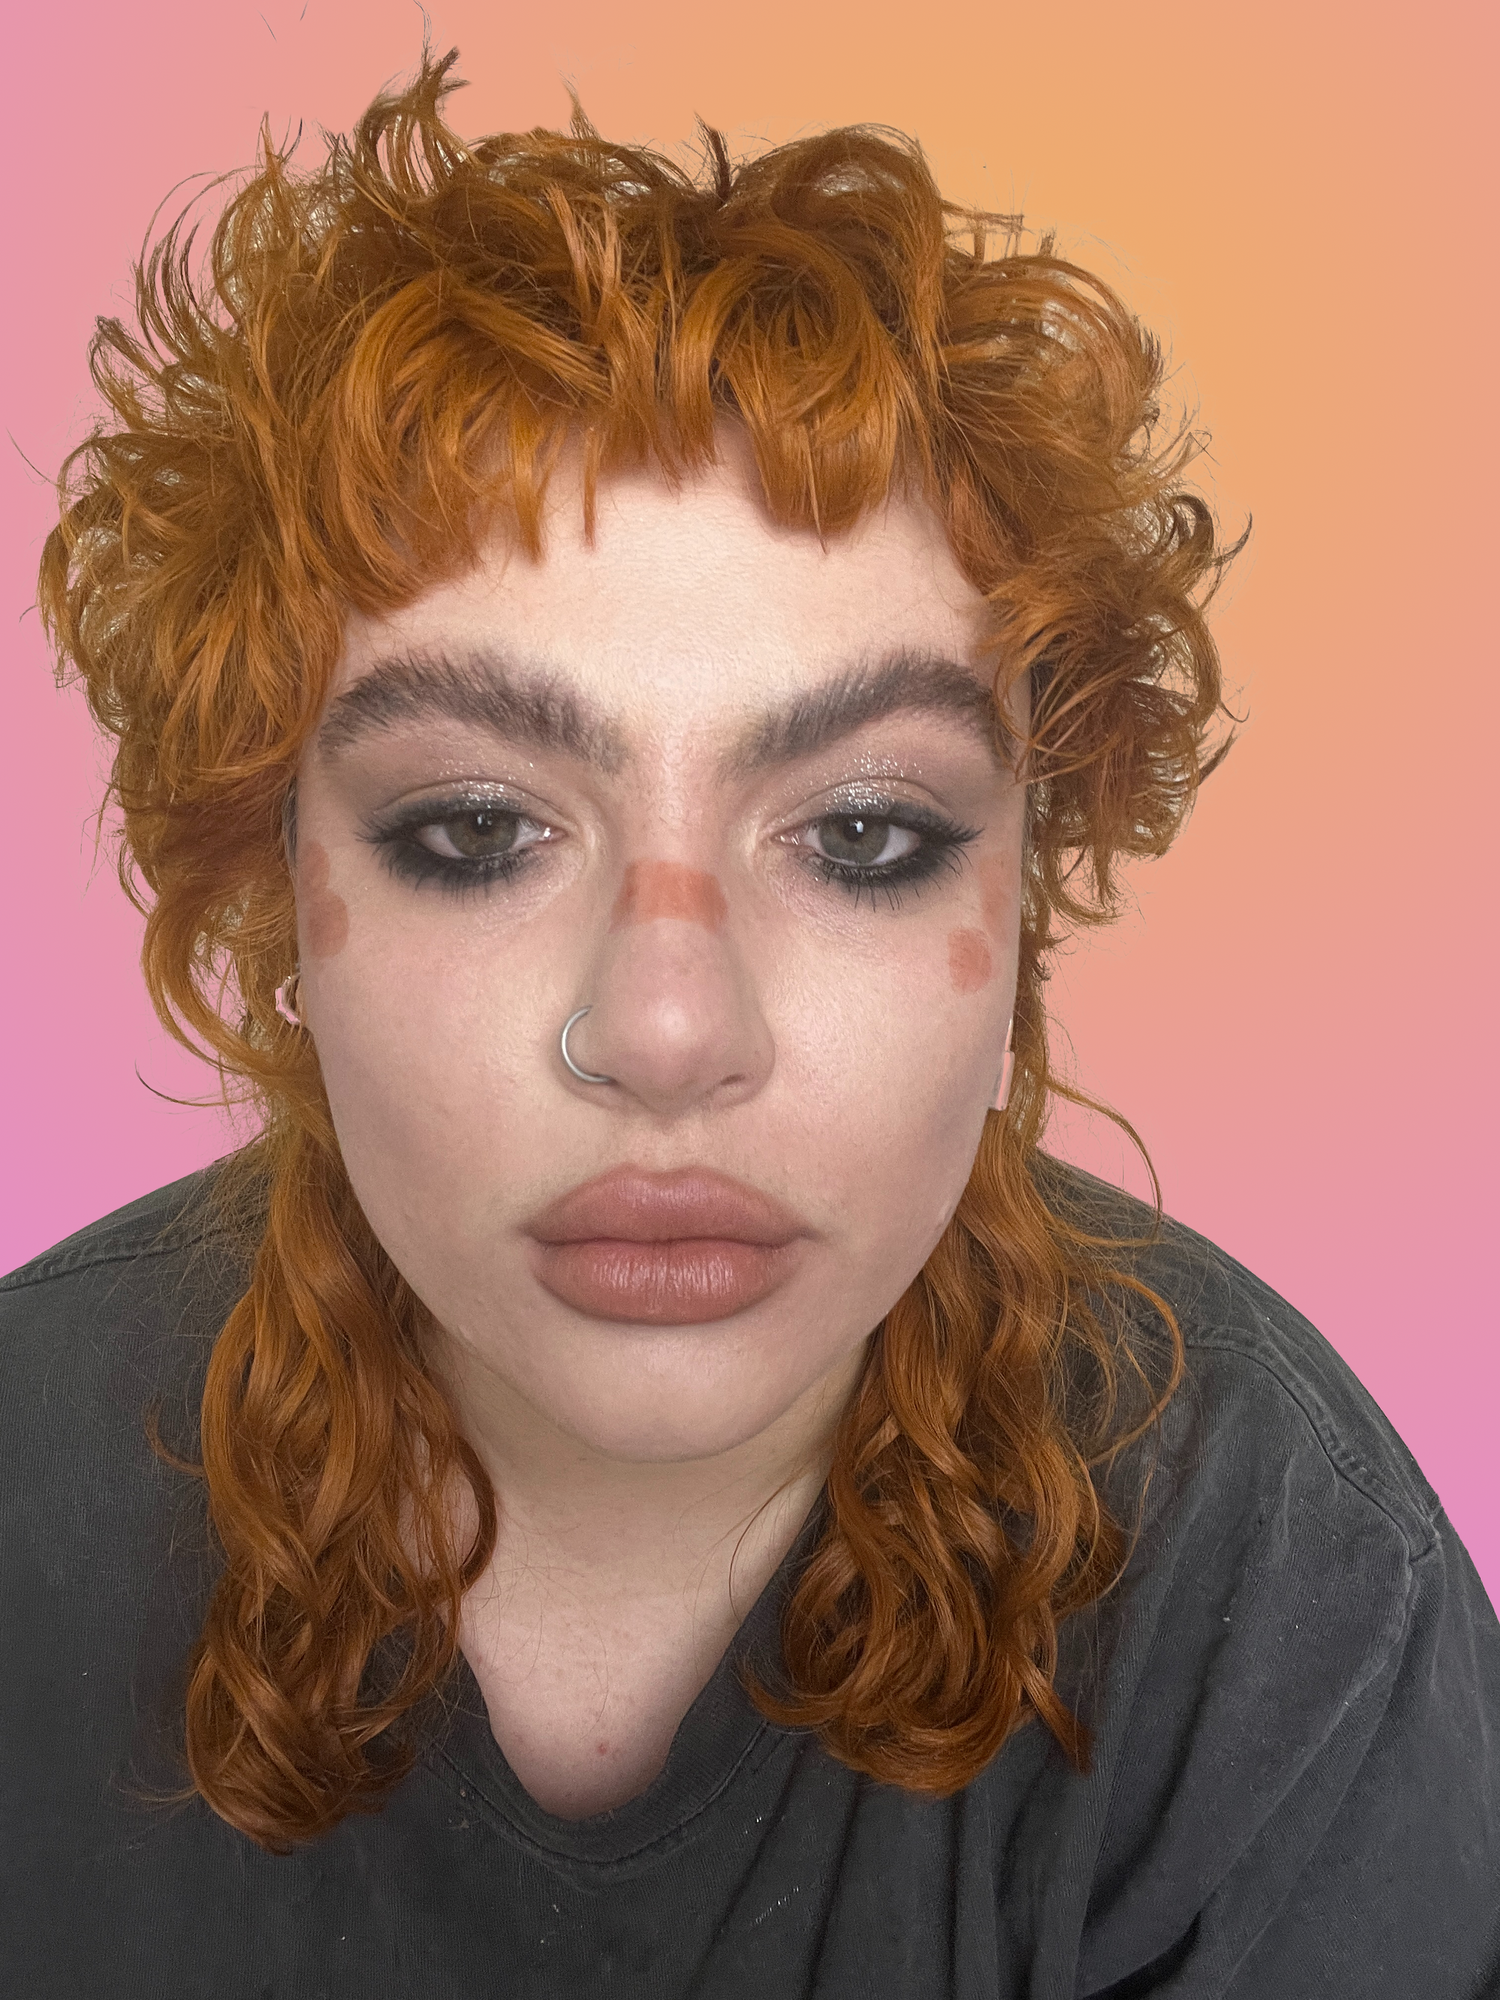
Add your finishing touches and you’re DONE.
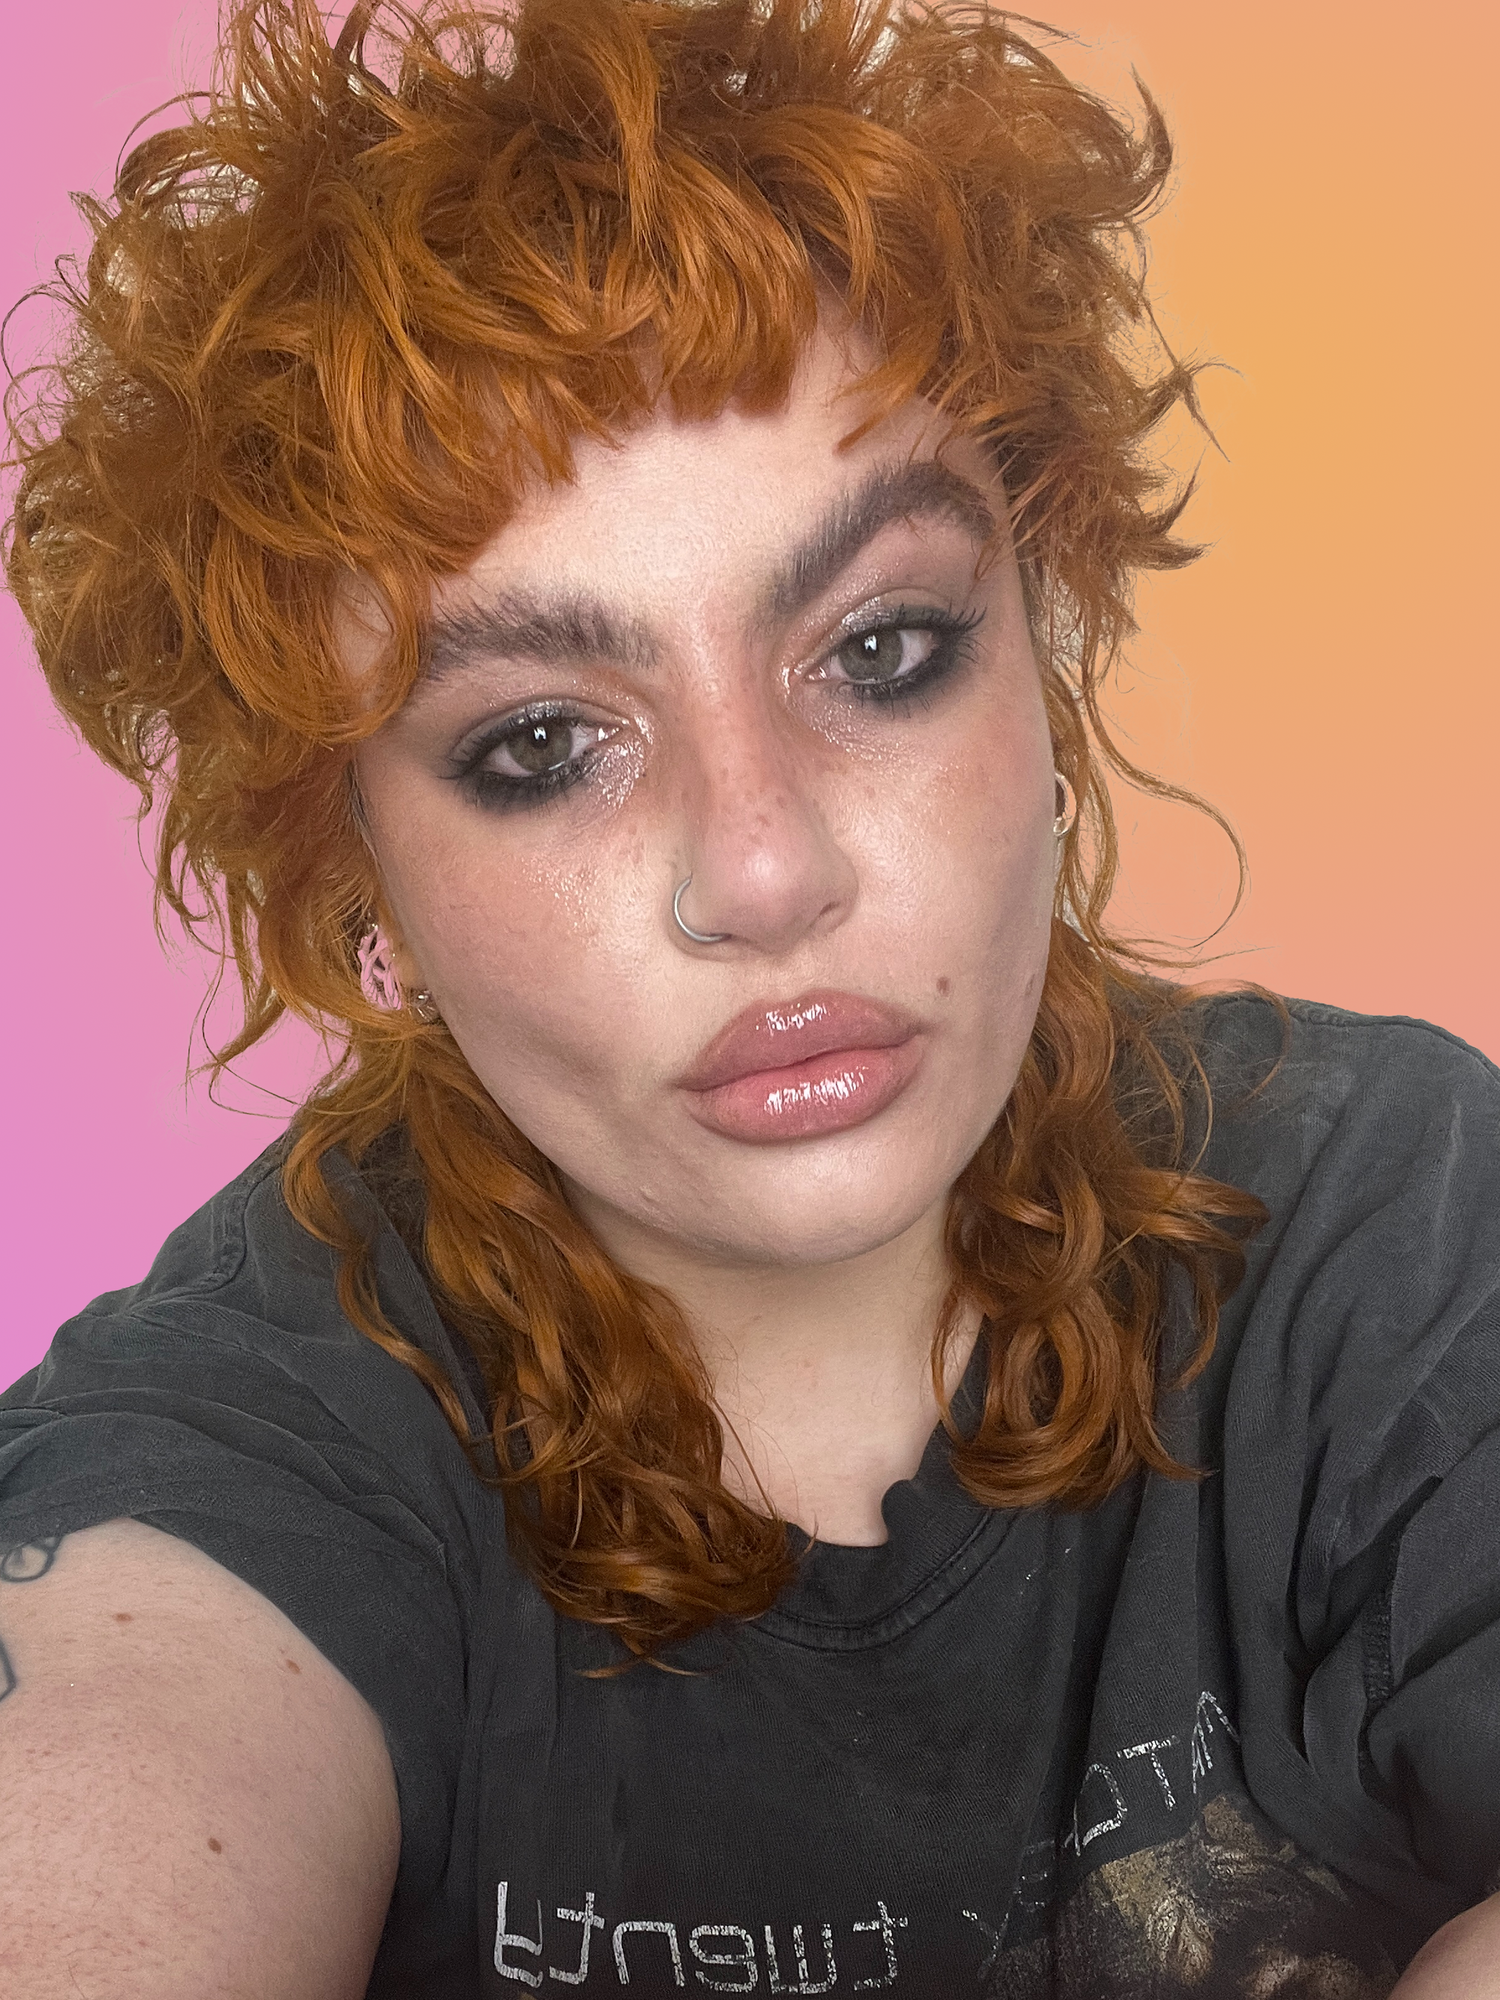
It’s not a makeup look for me unless I colour in my moles and add a few signature freckles.
Which era of indie did you live through? Can you tell I lived through both? Do you think I look good for 29? Let me know, and send any other beauty questions to hello@polyesterzine.com with subject line AGONY AL, or DM me @lipglosslezza on Instagram.
XOXO, Agony Al