Agony Al: What’s a Siren Eye? What’s a Doe Eye? Why are They Fighting? Am I Too Old for TikTok?

If you’ve used Tik Tok in the last couple of weeks, you’ve probably seen a variation of the Doe vs Siren Eyes video. My feed is FULL of influencers cutting between simple makeup looks that totally alter the look of their face and, apparently, bring out opposing sides of a personality: a bright, wided Doe Eyed look versus upturned, sharp and sultry Siren Eyes.
There’s probably layers of weird, pedophilia and orientalism to unpack here … Is the youthful, wide-eyed gaze of doe eye makeup linked to patriarchal society’s fetishisation of youth? Is the siren eye another iteration of the fox eye trend, a makeup look that appropriates and exoticises upturned eyes as sexy and mysterious? (Side note: check out the podcast for a deep dive on siren eyes from Halima and Ione!) or am I just another out of touch millennial trying to assign deeper meaning to social media trends?
On a surface level, it’s just pretty incredible to see how you can completely change the look of your eyes and face simply by applying your eye makeup. Check out my tutorial on both of these eye looks and decide for yourself which is ya fav!
Here’s how ya achieve both of these eye looks, using the same products: any neutral matte eyeshadows, a basic black or brown eyeliner pencil, false lashes and mascara.
(I’ve got to preface this tutorial with some context about when I took the photos: the hottest day Liverpool has EVER had. Not just this year, not just this decade… but EVER. I like to go for a glowy base makeup and while on a normal day that looks good, as these photos progress I begin to look like I have dipped my visage in KY jelly. I shan’t apologise for looking a lil worse for wear while battling the devastating symptoms of global warming to bring you an article! Do not perceive my glistening pores or sweaty fod too critically! It is hotter than the hobs of hell and I am sat under a ring light, I will not be judged!)
___STEADY_PAYWALL___
Doe Eyes
The aim of the game when achieving a doe eye, is to make ya peepers look large, round, and bright. To start, using a pencil brush, take a matte brown eyeshadow that’s a couple of shades darker than your natural skin tone and apply it to your eye, following the round, natural shape of your eyeball.

I have hooded eyes, so I do this a couple of millimetres above my crease, so that my shadow is visible even when my saggy eyelid is swallowing my lid.
Soften the edges of the shadow you laid down with a fluffy blending brush to avoid any harsh lines.

Blend and snap x
To increase definition, layer a darker shade of shadow where you’ve drawn your crease, before blending it into the softer colour. You want to create a soft gradient between the colours, with the darkest shades in the hollow of your socket (or, if you’ve got hooded eyes like me, your fake socket), fading into a lighter brown, then into your skin.

A beige rainbow
When you’re happy with your blend, it’s time to cut the crease to fake a large, round eye with a super defined socket. Coat a small, rounded lip brush in an eyeshadow base (if you don’t have one, concealer totally works) and then stamp out a semi circle, using the shape of the brush to create your edges. The easiest way to get precise lines is to rely on your brush, rather than freehanding. Stamp your product on, then drag it down and apply more product to the brush, stamp it on, drag it down and apply more product to the brush… repeat until you have a crisp cut crease.

Put ya brushes to WORK
To avoid your wet lid transferring everywhere, set it down with a bone coloured eyeshadow. This will also make for a smooooth canvas for eyeliner. When I’m using pencil eyeliner, I always start by tightlining, which is a fancy way of saying I put a pencil on the literal inside of my eye. I open my eyes, look up, stick the pencil on my upper waterline and glide it along, which is going to give me depth from the very root of my lashes.I never thought I’d have to include a trigger warning in a makeup tutorial, but here goes: you’re about to see the inside of my eye. This is a bit gross. Feel free to scroll past!

Is this body horror? Watch ya back, Julia Ducournau!
Next, take the same pencil on your lid and start sketching out a rough line. For a rounded eye look, you want the line to be thickest in the centre of your eye, above your pupil and tapered on either side.

R O U N D
To really play up the wide eyed, dolly look, add a light colour to your lower waterline. The eye base I used is safe for use on the waterline, but I wouldn’t recommend using concealer there, so opt for a white or bone coloured pencil if you haven’t got a similar product to moi.

Wands at the ready!
The way you apply mascara can really affect the look of your makeup, so to keep everything rounded (take a shot every time I use a variation of the word round in this article and you will die x), wiggle your wand towards your nose, pulling the lashes so they follow the shape of your eye, rather than fan out.

If you enjoy unflattering photos of me, you’ll like this mascara face picture and LOVE how greasy I get as this tutorial progresses
Before applying top lash mascara, curl your lashes, making sure to keep them fanning around your eye like petals from the middle of a flower, as opposed to winged out like a cat eye. When I want an extra wide awake looking eye, as the doe eye look calls for, I go really ham with my curling, flipping my curler round almost 90 degrees.

Again, a needlessly gruesome eye picture! Is the heat frying my brain and making me a purveyor of the grotesque?
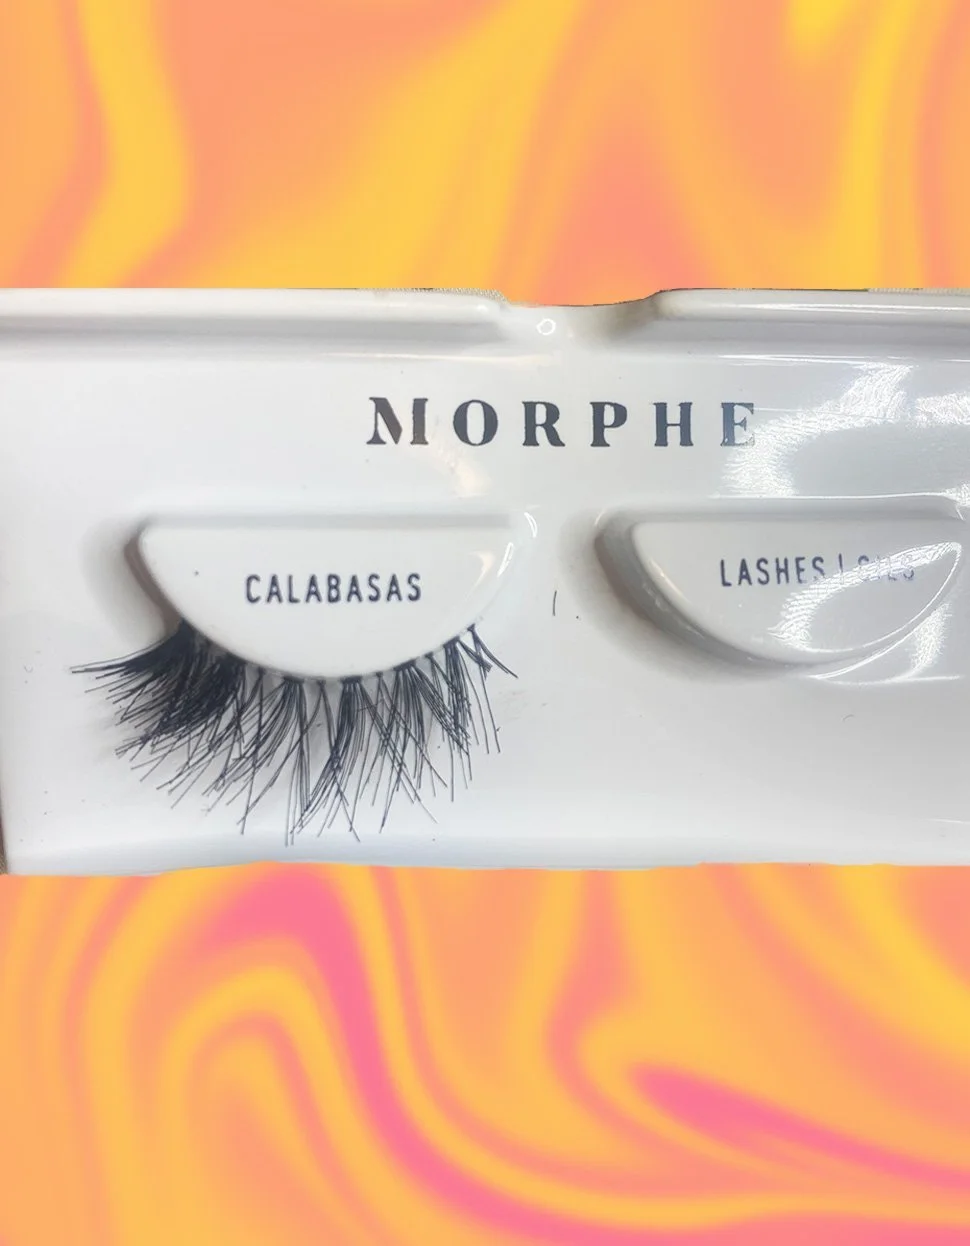
For both looks, I’m going to be using the same pair of false lashes, to show how easy it is to customise falsies to match ya vibe. These are just a cheapy, wispy pair that I always have on hand because they’re so versatile.

Scissors at the ready
To build a doe eye appropriate lash, I snipped the end of the band off so that the lashes were fullest in the middle. I always keep the sections I snip away, because Frankenlashes are the best lashes.

Again: R O U N D
Focus your lash glue on the top side of the lash band apply them with your eyes open. This will make it so that falsies stick straight up, opening up the eye.
All that’s left is to pop a bit of shadow on your lower lash and you’re doe eyed and DONE.

Doe eyed (and doused in sweat… I told you I started to look clapped ‘cos of the heat.)
Siren Eyes
The shadow for siren eyes follows the same basic formula as the doe eyes look: shadow, blend, darker shadow, blend. However, the placement is totally different. Start by using a pencil or liner brush to apply a matte brown eyeshadow following the trajectory of your lower lash line, up and out.

Don’t worry about being too precise, this look is more about smokiness than sharpness.
Soften the line with a blending brush and the sultry siren eye will start taking shape. Play around with the intensity by tapping in deep eyeshadow with your smaller brush, then buffing out with your larger one.

Shmooooky
To tightline for this look, I penetrate my poor little peepers while my eyes are shut, this means that both my upper and lower waterlines will get liner.

Siren VS doe eye tightlining: More invasive technique, less graphic photo, equally grim description.
Then, messily line the lid side of your eye, making sure to hit the top and bottom. This looks really terrible but, as always, trust the process.

What’s more frightening, the prospect of going out with eyeliner left like this, or skin left like this? Cast your votes!
Soften the liner with your blending brush, following the shape you mapped out with the winged shadow.

Ta dah! The look is back on track!
To compliment the lifted, winged out shadow, apply lifted, winged out lashes. I achieved the look with my wispy lashes, by affixing pieces I’d sliced from my doe pair to the outer corner to add weight and lift.
Aaaand LIFT
For a lifted look, apply lashes on the outer third of the eye, with the edge glued almost on your winged makeup, following it upwards.

To ensure the fake eyelash adheres to your skin, rather than your natural lashline, hold it in place whilst the glue dries.
And voila! You’re done!

Snatched like a siren
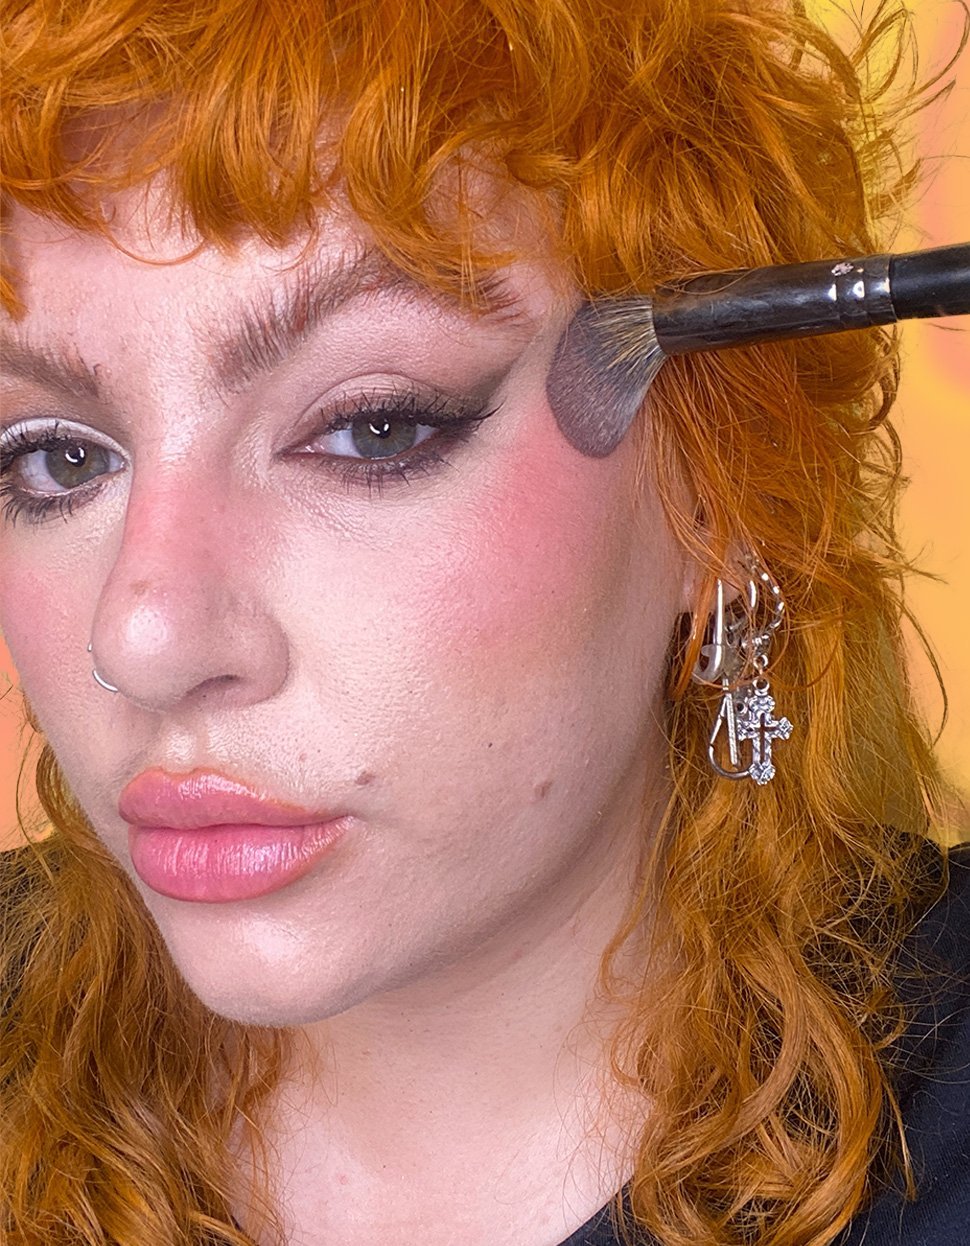
BONUS BLUSH
We’ve noted that the main differences between doe eyes and siren eyes is that doe’s are rounded and open, as opposed to siren’s lifted and heavy. You can apply this concept to blush, too.
For a more youthful, plump cheek focus your blush on the centre of your face, on the apples.

Perhaps you’re wondering how I had time to apply blush but not face powder when my oily, oily face is crying out for it and honestly, me too babes x
To lift and sculpt your face, focus your blush on the tops of your cheekbones where you would usually highlight, never bringing it further in than the pupil of your eye.
S for siren, snatch and SWEAT.
Are ya team Doe?

Or team Siren?

Let me know, and send any other beauty questions to hello@polyesterzine.com with subject line AGONY AL, or DM me @lipglosslezza on Instagram. See ya next month, unless the earth has melted, which judging by my drenched visage in these photos is very, VERY likely.
XOXO, Agony Al
Words: Alex Ogden Clark
Check out our video tutorial here: